
Making Sure the Dryer Works with Your Home
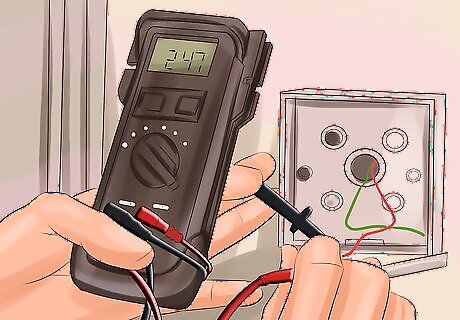
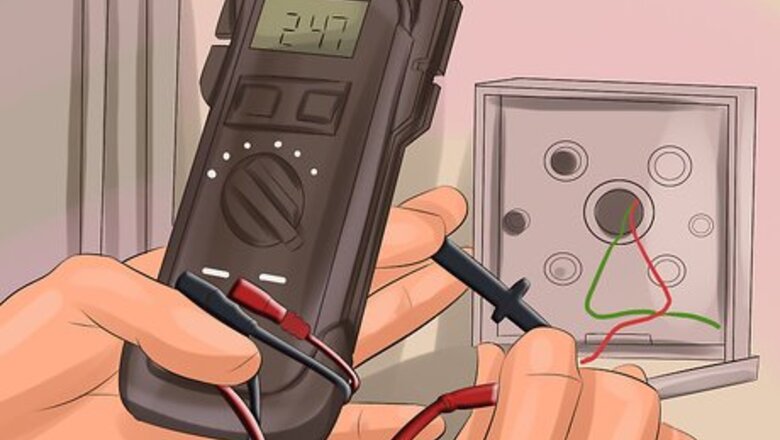
Check the voltage on the dryer. Most new gas dryers use 120 volts of electricity. Make sure your home supports this. Some older homes only offer 110 volt service, while most modern homes are equipped to support 240 volt service. Check your circuit breaker to make sure you have two columns of 120 volt circuits. If you’re not sure what to look for, ask a qualified electrician to look at your circuit breaker and make sure that your home can handle a 120 volt dryer.
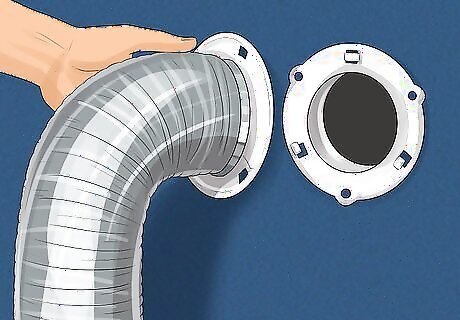
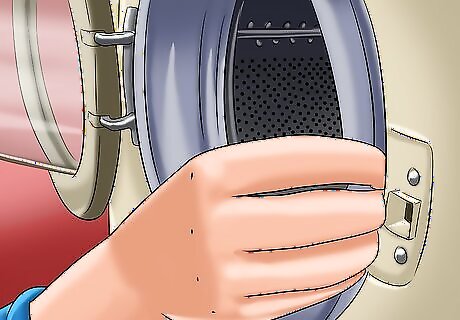
Make sure you have a compatible exhaust vent. The vent on your dryer needs to match up with the one in the wall in your laundry room. Most exhaust vents are 4 inches (10.16 cm) in diameter. If the vent in your dryer does not match the one on your wall, you should be able to purchase a vent adapter or transition pipe at a hardware or home supply store.
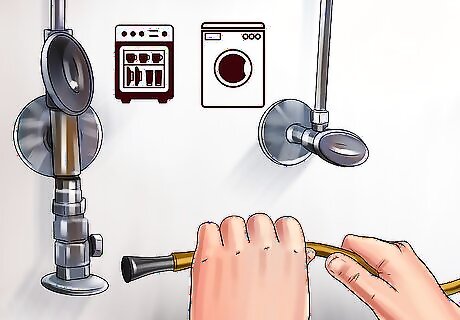
Check that there is a gas line in your laundry room. Your gas dryer will need an appropriate gas hookup. The gas line should have a supply valve in the same room where you intend to install the dryer, preferably within 6 feet (1.8 m) of the unit. If there is no gas pipe in the laundry room, you will have to have one installed by a qualified technician.
Connecting the Gas Supply
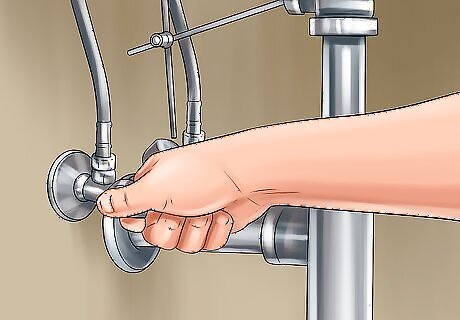
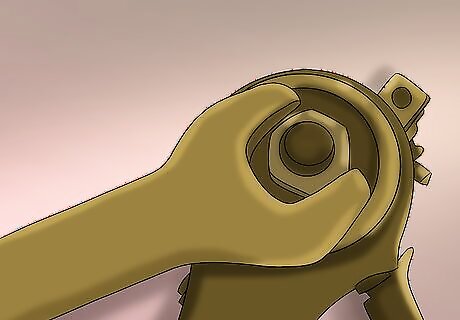
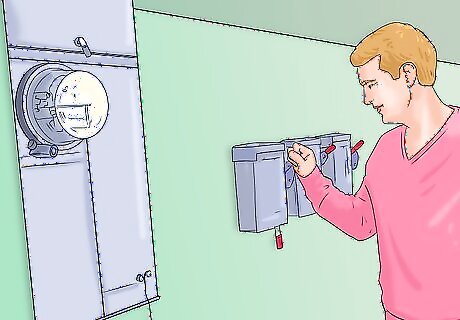
Turn off the breakers and gas valve. The breakers can be turned off at the main breaker panel. The location of this varies from home to home, but they are usually found in the garage or basement for houses and in utility closets or bedrooms for condos and apartments. The gas valve can be turned off at the supply valve for the dryer’s gas pipe, or at the main gas service shutoff valve. The location of the main shut off valve varies from home to home. In many homes, the gas valve can be turned off by using a 12 to 15 inch (30.5 to 38.1 cm) adjustable wrench. Turn the valve until the tang (handle you attach the wrench to) is perpendicular to the pipe. If you are unsure of how to turn off the gas valve, contact your gas supplier.
Put thread compound on the threaded pipe ends. Before connecting the piping on your dryer to the gas pipe in your wall, you will need to coat all threaded connecting pieces with a pipe thread compound. This will help create a good seal between the pipe components and prevent dangerous gas leaks. Look for a pipe thread compound designed for use with liquid petroleum gas (LPG) at your hardware or home supply store.
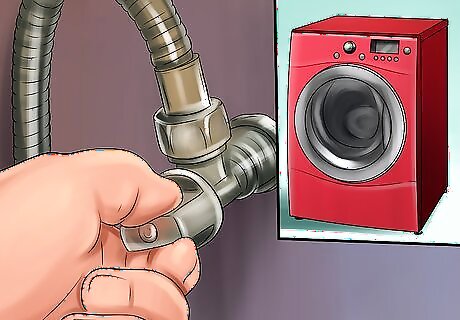
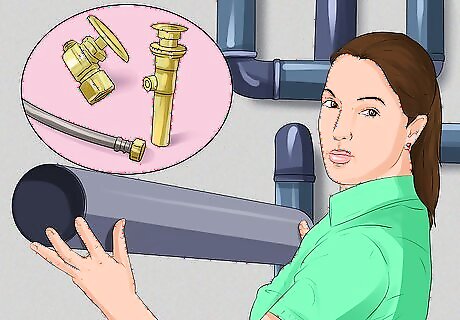
Attach a pipe connector. Fasten a flexible connector with stainless steel fittings to the gas pipe on the dryer. These are sometimes included when you purchase a dryer, or you can find them at your local hardware store. Explain what you are doing and the store employee should be able to help you find what you're looking for. You may need an adapter to attach the 3/4 inch (1.9 cm) end of the pipe connector to the 3/8 inch (1 cm) pipe end on the dryer. Make sure your connector is long enough to connect your dryer to the pipe in your wall. Do not attempt to reuse an old pipe connector! If you are replacing a previously installed gas dryer, throw away the old connector and replace it with a new one.
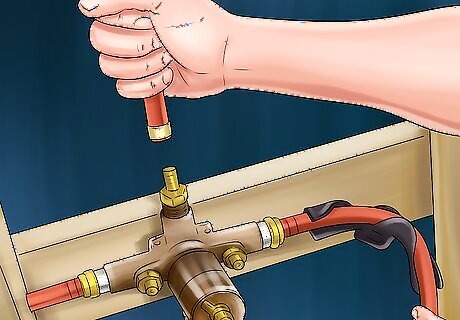
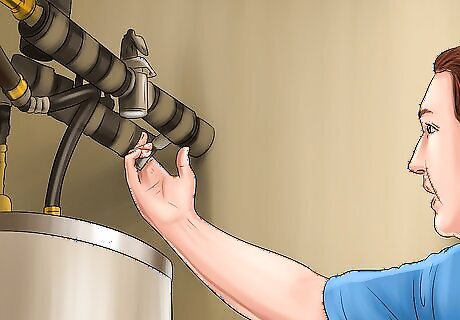
Connect the dryer to the wall pipe. Once you’ve hooked the pipe connector to the pipe on the dryer, connect the other end to the gas pipe in your wall. The gas pipe should have a threaded valve component attached to it. You will be attaching your pipe connector to the valve component. If you have older gas fixtures in your home, you may wish to replace the old valve with a modern-style ball valve designed for use with gas. If you choose to do this, you will have to shut off the gas at the main service valve first. You will probably need an adapter to attach the connection pipe to the valve.
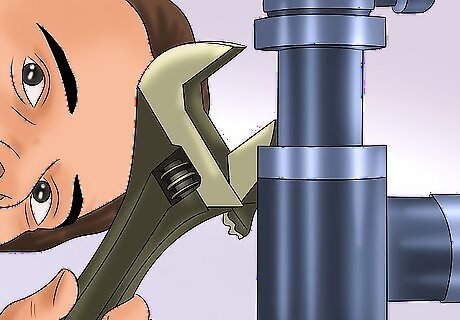
Tighten all the connections. Use a pair of adjustable wrenches to tighten the connections between all the gas line components. Take care not to over-tighten and torque the pipes or strip the threads.
Check for gas leaks with a dish soap solution. Make a solution of one part water and one part mild dish detergent. Spread a thin coating on the connectors between the various gas pipe components. Then, switch on the gas at the dryer supply valve. If you see bubbles forming on the connectors, this means there are leaks in your gas line. If you do see leaks, turn off the gas, carefully tighten your connections, and try again. To be extra certain that there are no leaks, you can rent a gas leak detector from your local hardware store. Never attempt to test for gas leaks with an open flame!
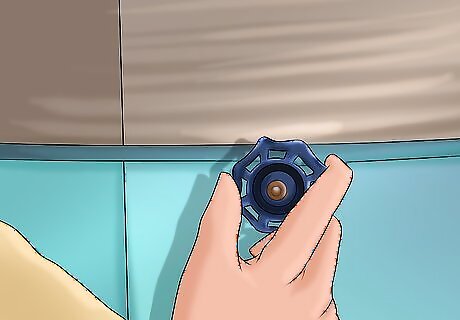
Turn off the gas. Shut the gas off again at the dryer supply valve. Leave the gas off until the full installation is complete.
Attaching the Exhaust Vent
Attach a vent hose. You'll need a venting system, but you'll have to choose between two types. There is rigid venting, which comprises a hard metal tube that works for distances no greater than 40 feet (12.2 m). There is also semi-rigid venting, which uses a flexible hose that works for no more than 20 feet (6.1 m). In general, rigid venting is best for dryer vents that are installed at floor level. If you need to attach your dryer to a vent above floor level, you may need a semi-rigid vent hose. Or, if you use a rigid vent hose, you can attach a pair of elbow-shaped bends to the top (where the hose connects to the wall) and the bottom (where the hose connects to the dryer). Dryer vent hoses should be 4 inches (10.16 cm) in diameter. Use a metal vent hose rather than plastic or vinyl, as these are a fire hazard.
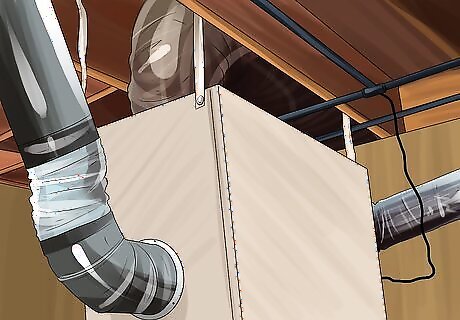
Secure the vent with a hose clamp. Make sure the connections at both ends of the vent hose are secure. You can do this with hose clamps, duct tape, or foil tape. However, hose clamps are the most secure option, as tape can eventually dry out and lose its adhesive properties.
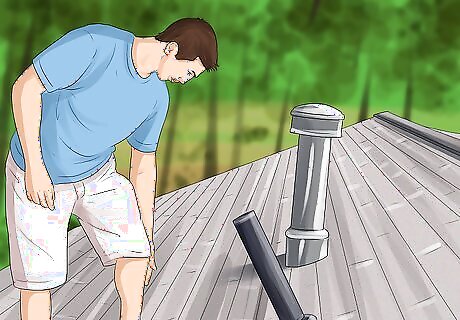
Check your outside duct opening. Make sure that it is clear of lint and other blockages, and that the vent hood is still in place. Carefully clean out any buildup.
Finishing the Installation
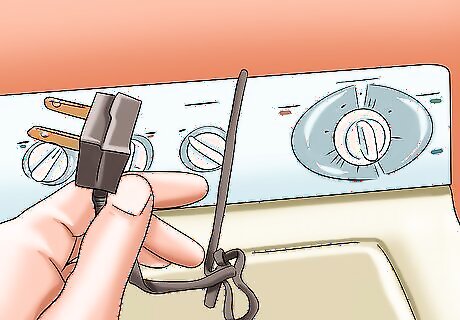
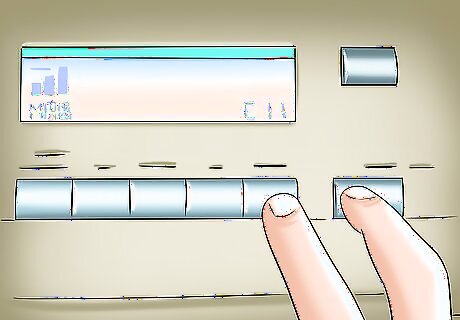
Attach the power cord. If your dryer does not come with a cord, buy a power cord which is suitable for the dryer you have purchased. You will also need a strain relief to keep the cord from becoming damaged. The appropriate cord and strain relief type should be listed in the manufacturer's manual. Install the strain relief at the power cord through-hole. Open the terminal block access cover and attach the ends of the power cord to the appropriate terminals. Tightly secure the ends of the power cord and the strain relief with the screws, and then replace the terminal cover.
Move the dryer into its final position. It should be several inches away from the wall. It should also not be located in an area that is overly cold, as this can inhibit the dryer's function. If you are using a flexible or semi-rigid exhaust vent hose, take extra care not to crush the hose between the dryer and the wall.
Level the dryer. Keeping your dryer level will ensure that it is stable. Get a basic level and check it side to side and front to back, at all four corners, and at the center. If necessary, adjust the lengths of the legs on the dryer to make it completely level.
Turn the breakers and gas back on. You should now be ready to use your new dryer.


Comments
0 comment