
X
Research source
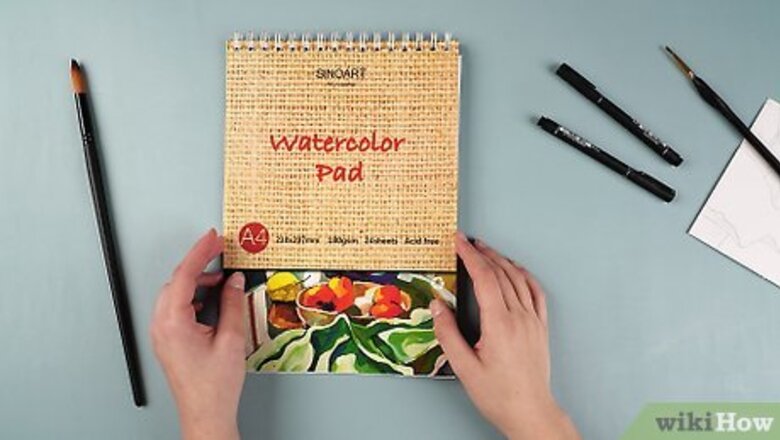
Regardless, you’ll need apply both ink and watercolor to a high-quality watercolor paper. Before you begin painting, purchase the paper and all other supplies at a local art-supply store.
Creating the Base Sketch
Choose your paper weight. When creating an artwork with both ink and watercolor, you’ll need to use a heavier, more absorptive paper than if you were just using pen and ink. The weight of art paper is measured in grams per square meter (gsm), with higher numbers indicating a denser paper. For an ink and watercolor project, try using a paper with a weight around 180 gsm.
Select a paper texture. Watercolor paper comes in a variety of textures, including Rough, Medium (cold pressed), and Smooth (hot pressed). If you’re a beginning watercolor artist, you can choose simply based on aesthetics, or select whichever option is cheapest.
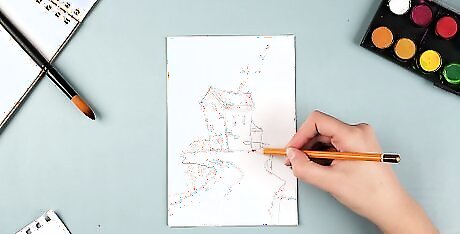
Pencil in the subject of your drawing. Before applying either ink or watercolor, start out with pencil. Lightly sketch in the shape of whatever subject you’ve chosen to draw. Keep your pencil strokes short and light, so that they won’t be visible as part of the final product. Later, after you’ve applied the watercolor, you’ll return to trace over these light pencil lines with ink.
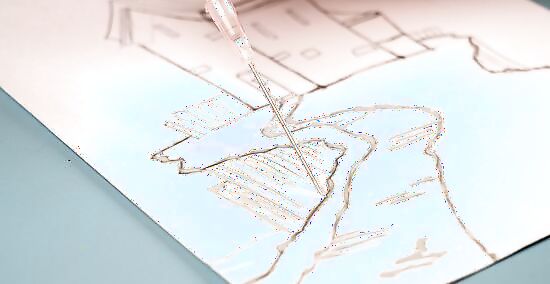
Apply liquid mask over your pencil lines. Apply a delicate line of liquid mask over all of the pencil lines you have already sketched. This will preserve your drawing and allow you to trace over it with ink later. Let the liquid mask dry fully before you start painting over it. It should dry in about 30 minutes. Liquid mask is a thin, putty-like substance that dries quickly and will protect your pencil lines from being smudged or washed away by the watercolor paints. The fine line applicator comprises a small plastic bottle (which can be filled with any liquid) and a fine-tipped, needle like point that you’ll use to apply the liquid mask precisely over your pencil lines. Both of these supplies will be available at any art-supply store. You can also purchase liquid mask and empty fine line applicator bottles online.
Applying the Watercolor
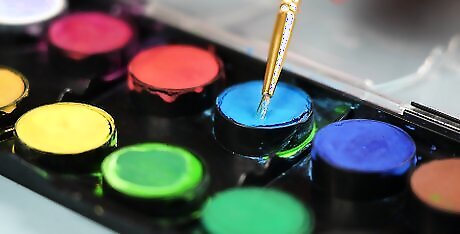
Mix your paints with water on a watercolor palette. Take the brush that you plan to begin paining with, and smear it in the color you want to use. Then dip the brush in water, and rub the brush on a palate until the color has mixed into the water. Add more water until the paint is loose and runny. Repeat this process with each of the paint colors that you plan to use, being careful to keep each color separate from the others. Thoroughly rinse your paintbrush off between colors. Otherwise you’ll end up ruining one paint color by smearing another in it. A watercolor palette contains multiple shallow-bowl like indentations. This allows you to mix multiple colors without letting them run together. As a rule, watercolors look better when the colors are mixed generously with water. This will increase the transparency of the wash and allow for more expressive final results. Mix only the colors that you’ll need for your painting. For example, if you’re painting a mountainous landscape, you’ll need to mix a few different shades of gray, white, blue, green, and probably black.

Paint background sections of the canvas using large brushes. Begin painting by applying the watercolor with a 2- or 3-inch brush (5–7.5 cm) to provide background color for entire sections of your painting. This is known as “toning” a watercolor painting. Don’t worry about being too exact when applying paint at this point; watercolor paintings are deliberately imprecise. In the mountain landscape example, start out by using half a dozen large brushstrokes to paint the sky deep blue, the mountains gray, and the lower plains green. You don’t need to let this paint dry before moving on. It will quickly be absorbed into the paper, and shouldn’t smear as you continue painting.
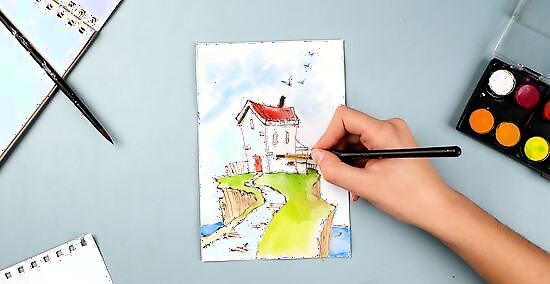
Apply detailed paint using smaller brushes. Once you’ve toned the paper, use smaller watercolor brushes to fill in visual detail. You can use a variety of brush sizes to increase your precision (but remember that the most precise details will be added by ink). You do not need to wait for a color to dry before you add the next color of paint. It’s fine if colors bleed together; this happens commonly in watercolors. For example, you could apply small amounts of very light gray to mountain peaks to indicate snow, or add small streaks of darker green or blue in the plains to show different grasses.
Applying the Ink
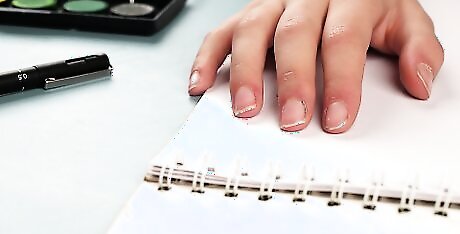
Strip off the liquid mask. By this point, the liquid mask will have hardened and will have roughly the same texture as rubber cement. Wait for the paint to dry, and then remove the liquid mask. Strip it off of the paper by rolling your palm or fingers over the top of the dried liquid mask until it rolls off of the paper. Use your hand to brush off any lingering small pieces of liquid mask. You want the material completely gone from your paper so that you can ink smoothly.
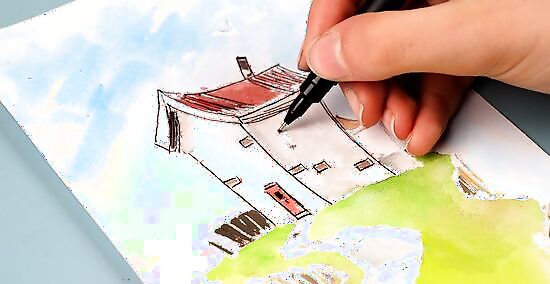
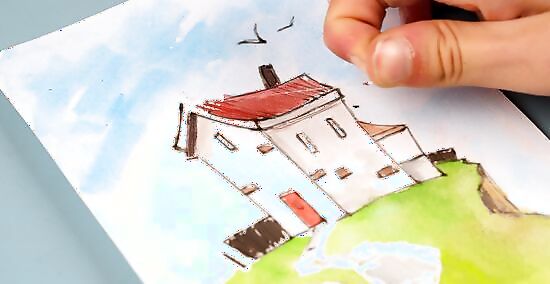
Draw with ink over the pencil lines. Once the liquid mask is off of your paper, it’s time to add the ink. Carefully apply ink over the pencil lines to draw the subject of the picture. However, there’s no need to perfectly trace every line that you initially drew with the pencil. Take some liberties: altering the position of lines or leaving some areas un-inked. Use a fine pen for this work. Try a 00 or .30 size pen. Use a high-quality art pen, like the ones made by Rapidograph.
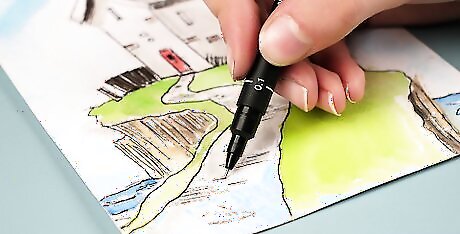
Use different weights of pen for various styles. If you’re interested in creating multiple visual effects with ink, you can incorporate differing types and thicknesses of pen. Try using a Brush pen (such as the ones made by Patel) for a thick, almost paint-like texture. For detail work, use a very fine-point pen like the Sharpie Pen or the Pigma Microns. Your local art store will sell a large variety of high-quality artist’s pens. Check there first when looking for new art supplies.
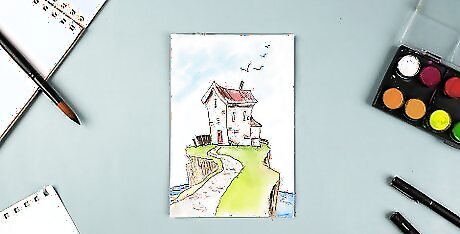
Try various inking styles. As you add lines and ink details over the pencil lines, you can experiment with different styles of drawing. You don’t need to only draw straight lines; try crosshatching, repeating patterns, or adding scribbles for shading. A variety of ink patterns will add variety to the work’s visual texture. In our example, you could add crosshatching near mountain peaks to indicate shade, and fill the sides of lakes or streams with a half-circle pattern to indicate moving water.


Comments
0 comment