
Using the Android App
Launch the Lightroom app on your Android phone or tablet. Look for the icon with "Lr" written inside a green square on a black background.
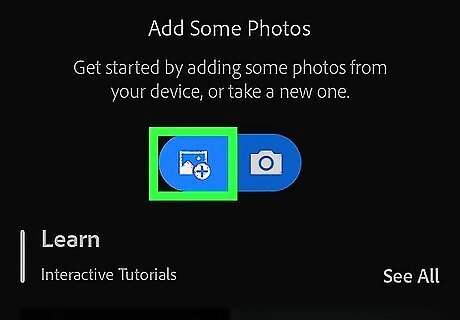
Tap on the "add photo" icon. This is in the bottom right and looks like a picture with a plus sign. To take a new picture instead of importing an existing one, tap on the camera icon instead.
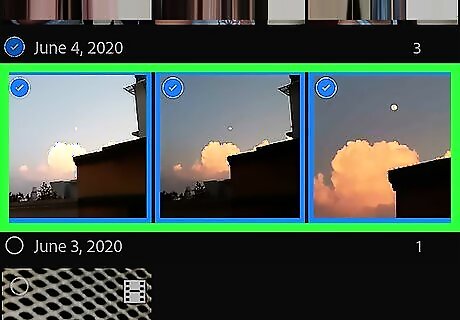
Tap on one or more photos to select them. To select all photos, tap on the 3 dots in the top right and choose Select All. By default, the app will show recent photos, sorted by date taken. To search through specific folders, tap on Time at the top and select Device Folders.
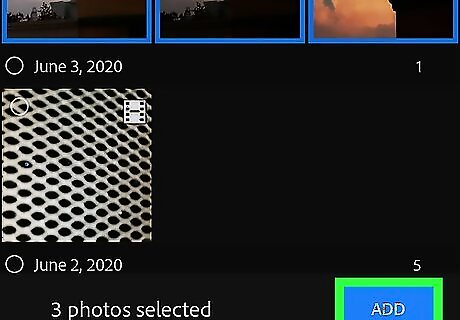
Tap Add. This is a blue button in the bottom right. This will add the photos to your Lightroom library, but will not remove them from the original location. To access this library, tap on the bookshelf icon at the top and select All Photos or a different folder.
Using the iOS App
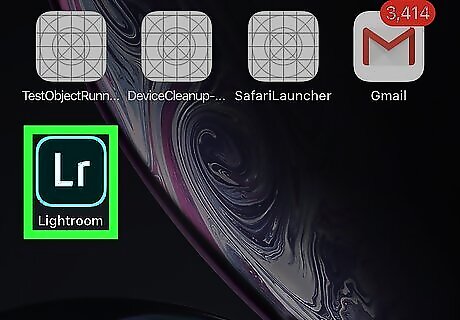
Launch the Lightroom app on your iPhone or iPad. Look for the icon with "Lr" written inside a green square on a black background.

Tap on the "add photo" icon. This is in the bottom right and looks like a picture with a plus sign. To take a new picture instead of importing an existing one, tap on the camera icon instead.
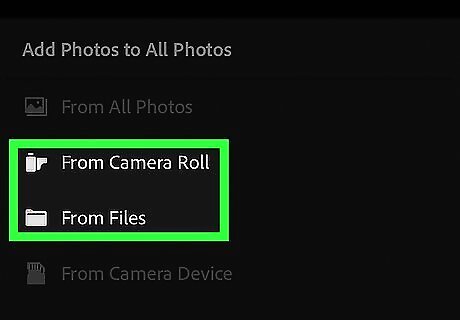
Select the location of photos. Choose from the camera roll or from your files.
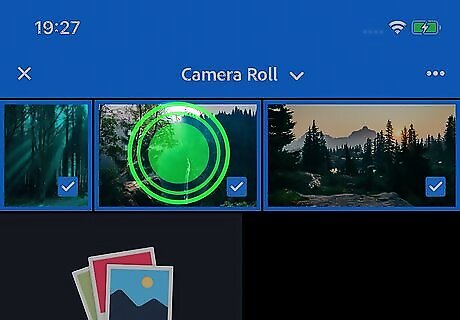
Tap and hold a photo to select it. Continue tapping to select more photos. Tap on a photo quickly rather than holding it if you want to view it in full size first. Use the settings at the bottom to edit your photo, then tap the checkmark in the top right to add it to Lightroom.

Tap Add. This is a blue button in the bottom right. This will add any photos you've selected to your Lightroom library, but will not remove them from the original location. This option will be skipped if you selected a photo from its full-size view. To access your Lightroom library, tap on the bookshelf icon at the top and select All Photos or a different folder.
Using a Computer
Connect your camera's storage to your computer. You can either plug the camera in using a USB cable or place the SD card in your computer.
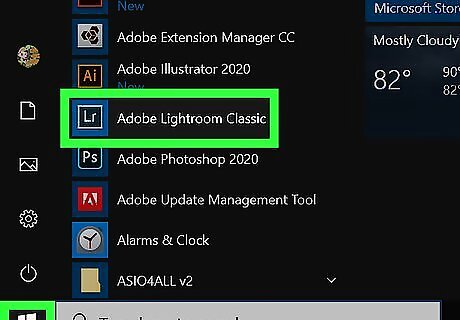
Open Lightroom on your computer. Look for the icon with "Lr" written inside a green square on a black background.
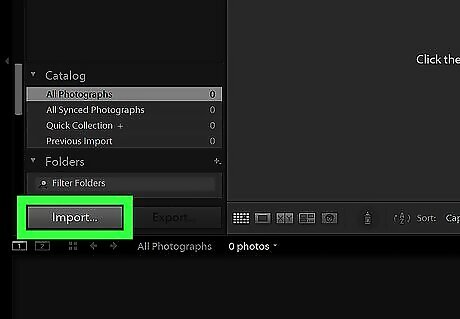
Click Import. This is a gray button in the bottom left corner.
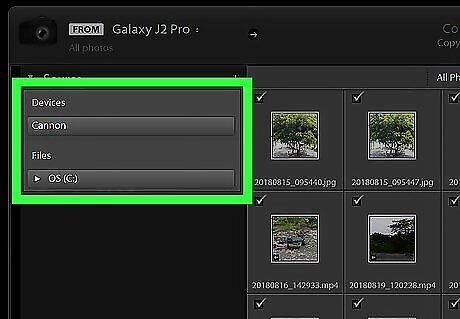
Select your camera's storage. Use the left panel to search for the connected camera or the SD card. Click on the folder name when you have found it.
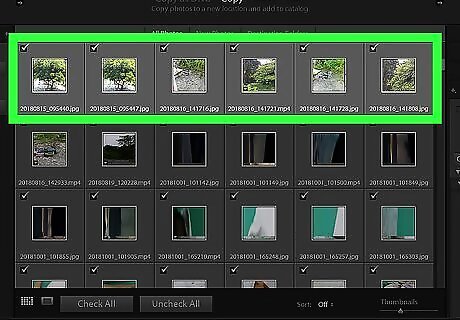
Select a photo or photos to add. Click on individual photos to select or de-select them. To select or de-select all photos, use the two buttons in the bottom near the left. You can also add your photos from File Explorer or Finder. Open up the folder location in a separate window, select your photos, and drag them into the import screen in Lightroom.
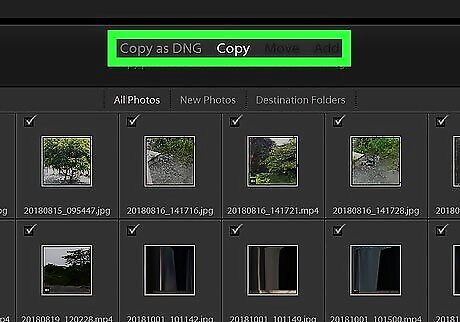
Add the photos. Choose from the 4 options at the top to import: Copy as DNG: converts the photo to a DNG format and copies the image from the original location to the new destination. Copy: copies the image from the original location to the new destination. Move: moves the photos from the source folder to the new destination. This only works for photos that are stored on a drive. You cannot move files from the camera or memory card. To use this option, you would first need to copy your photos from the camera to a drive. Add: keeps the photos where they are.
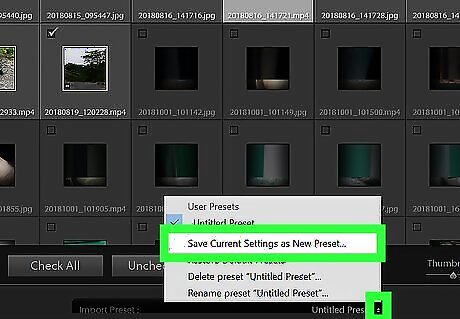
Adjust the options on the right. This allows you to add information about the photo and configure its settings. Use import presets for settings you use frequently. Select a preset from the Import Preset menu to use it. To add a preset, specify your import options, select Import Preset, then select Save Current Settings As New Preset.

Click Import. This will import the selected photos to your Lightroom library.


Comments
0 comment