views
- You can use fog to hide or reveal parts of a map to the players.
- There are a number of fog modules you can download, including SimpleFog.
- Fog modules let you hide or reveal tiles by painting or erasing fog on the map, or by clicking individual tiles.
Getting Set Up
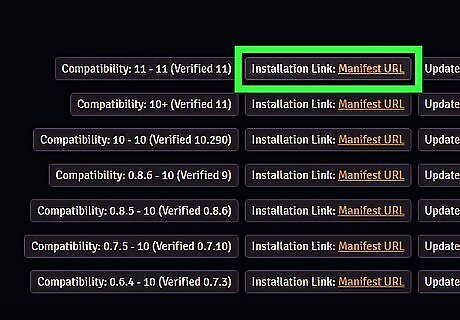
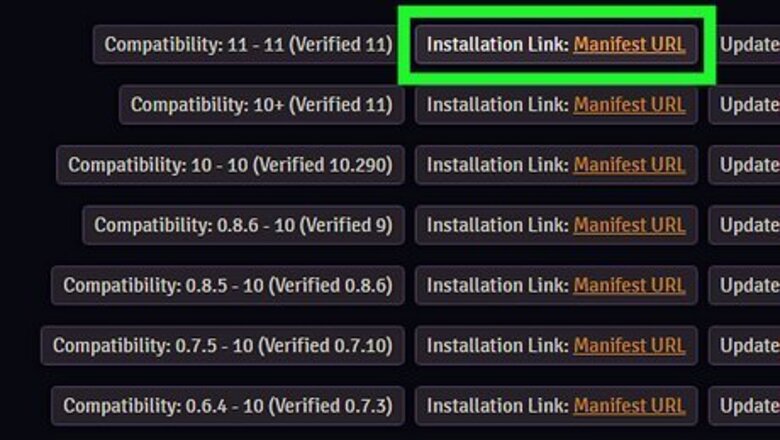
Install the SimpleFog module. The simple fog module can be used to hide unexplored areas of the map using fog. There are many other fog modules you can use, as well as the Foundry's built-in fog system. SimpleFog is easy to use. Use the following steps to install the SimpleFog module: https://foundryvtt.com/packages/simplefog Scroll down and click Manifest URL next to the latest version. Copy the URL in the address bar at the top. Open Foundry Click Add-on Modules at the top. Click Install Modules at the bottom. Paste the URL next to where it says "Manifest URL" at the bottom of the screen. Click Install.
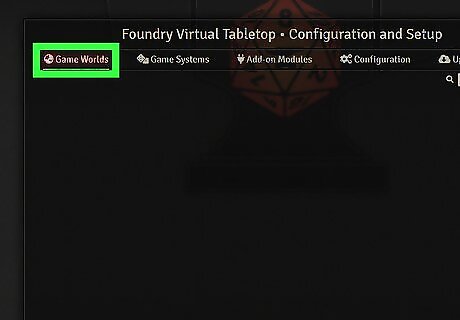
Load a game world. To do so, click the Game Worlds tab at the top of the page. Then click Launch world to the right of the game world title.
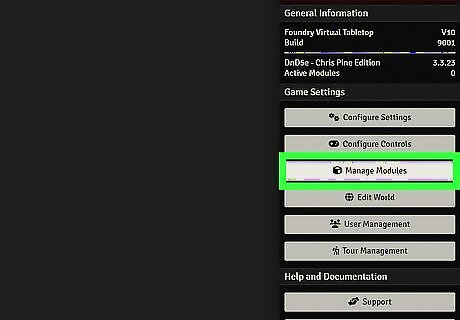
Activate the SimpleFog module. To do so, click the icon that resembles two gears in the menu bar to the right. Then click Manage Modules. Click the checkbox next to the SimpleFog module.
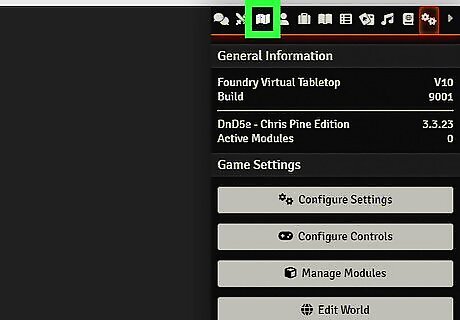
Create or load a scene. To do so, click the Scenes icon in the menu bar to the right. It resembles a blank sheet of paper. Ether click an existing scene to load it or click Create Scene to create a new scene.
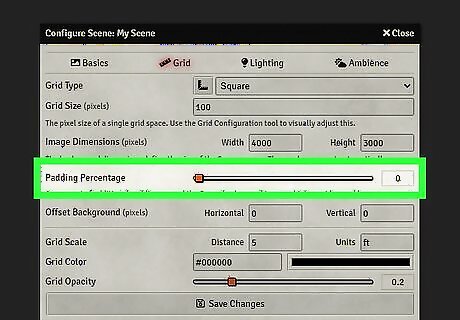
Set the Padding Percentage to 0%. Drag the slider bar next to "Padding Percentage" all the way to the right to lower the padding percentage all the way to 0. If you haven't already uploaded a background map image, click the icon that resembles a sheet of paper next to "Background Images." Then select a background image to upload. You can find maps for various D&D campaigns at https://www.dndbeyond.com/. For example, Tomb of Annihilation features a large hex crawl portion of the game. You can download an explored version of the map to use as your background image and an unexplored version of the map to use as your image fog.
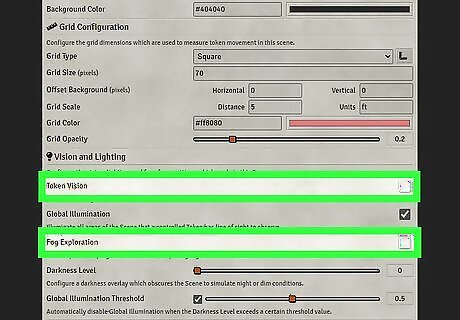
Uncheck Token Vision and Fog Exploration. Uncheck the checkboxes next to both "Token Vision" and "Fog Exploration" about halfway down the menu.
Creating Fog
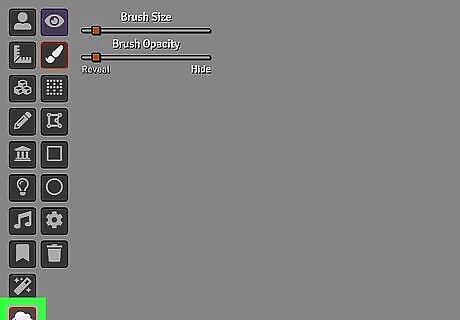
Click the SimpleFog icon. It's the icon that resembles a cloud in the toolbar to the left. This activates the SimpleFog tools.
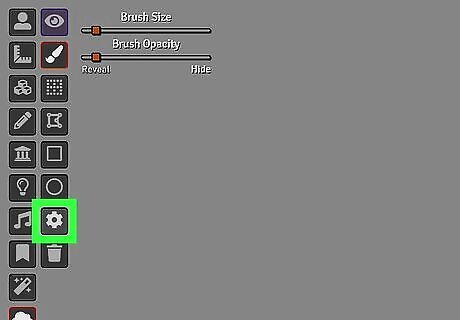
Click the Settings icon. It's the icon that resembles a gear in the toolbar to the left.
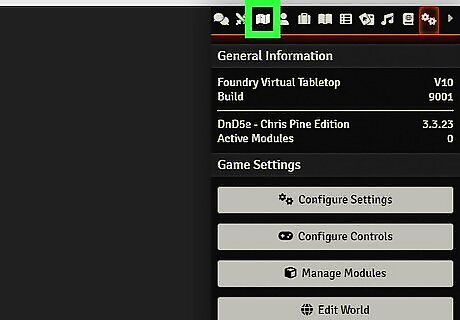
Upload an image of your fog (optional). By default, SimpleFog covers the map with black fog. If you have an image you want to use for your fog, you can upload it. To do so, click the icon that resembles a sheet of paper next to "Fog Overlay Image." Then select the image you want to use for your fog.
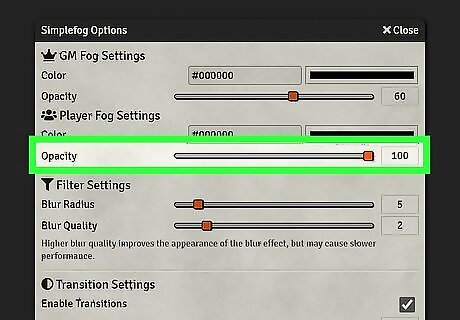
Raise the player fog settings to 100%. Drag the slider bar below "Player Fog Settings" all the way to the right to raise the player fog visibility to completely opaque. This prevents the player from being able to see under the fog. If you want you can also change the color of the fog by clicking the black bar and selecting a color, or entering hexadecimal color code in the text box.
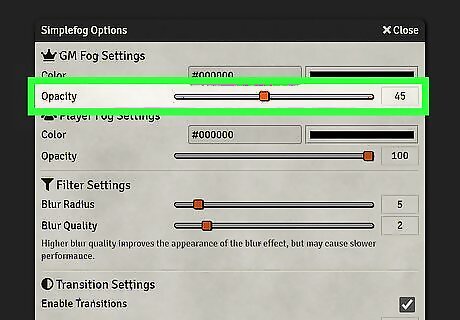
Set the GM fog settings to your liking. Use the slider bar below "GM Fog Settings" for your preferred visibility. You can lower it all the way so that you can see the map, or raise it to 25% - 50% so that you can see the fog and the map. You can set different fog color settings for the GM and the player.
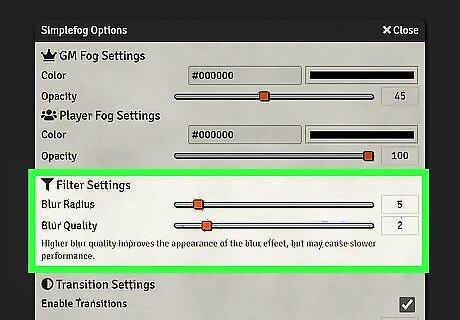
Adjust the filter settings. The two slider bars below "Filter Settings" adjust the blur around the edges of the fog. The slider bar next to "Blur Radius" adjust the width of the blur around the edges of the fog. The slider bar next to "Blur Quality" adjusts the quality of the blur.
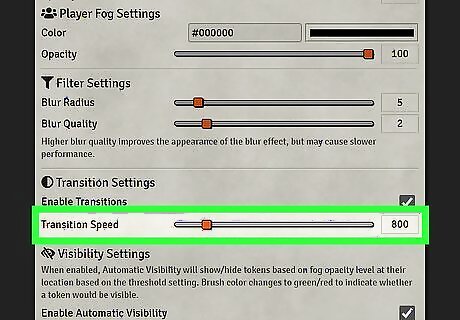
Adjust the transition speed. Use the slider bar next to "Transition Speed" to adjust how quickly the fog disappears when a part of the map is revealed to the player.
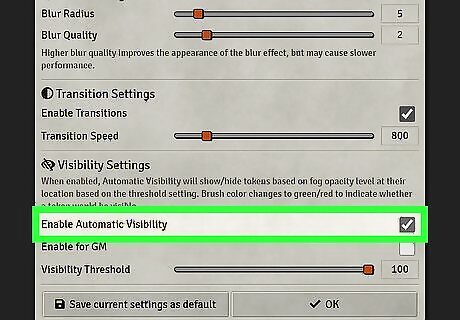
Click the checkbox next to "Enable automatic visibility." This prevents players from seeing tokens that are under the fog. You can use the slider bar next to "Visibility threshold" to adjust how opaque the fog needs to be before it hides a token.
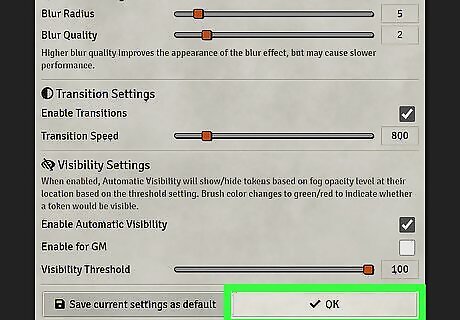
Click Ok. This saves your fog settings.
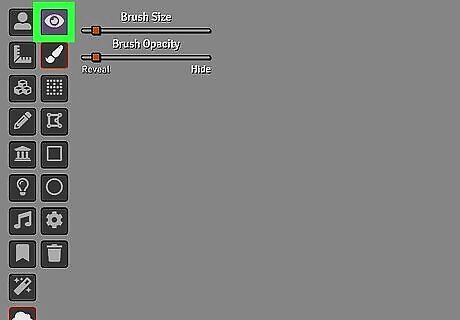
Click the eyeball icon. It's in the toolbar to the left. This activates the fog. The entire map will be hidden under the fog. If you don't see the eyeball icon, make sure the SimpleFog icon is activated.
Hiding and Revealing the Map
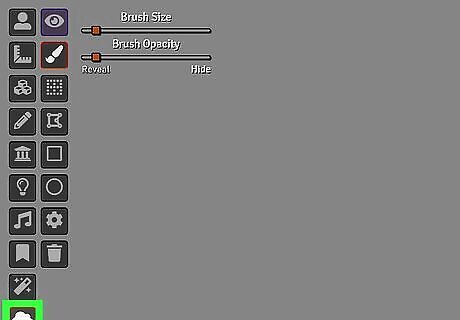
Click the SimpleFog icon. If it's not already activated, click the icon that resembles a cloud to display the SimpleFog tools.
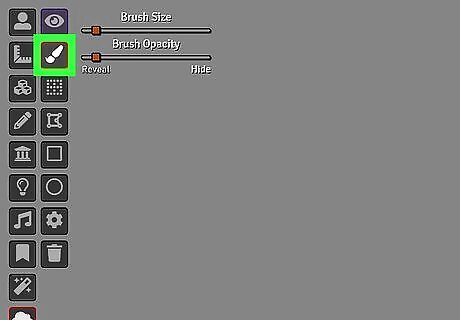
Use the brush tool to reveal or hide the map by hand. It's the icon that resembles a paintbrush in the toolbar to the left. You can use this tool to draw or erase the fog by hand.
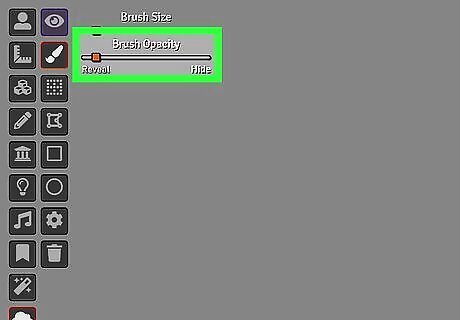
Use reveal/hide slider bar to adjust the opacity of the brush. It's in the upper-left corner. If you want to reveal the map, drag the slider bar all the way to "Reveal." To hide the map under fog, drag the slider bar all the way to "Hide." You can also partially reveal the map by dragging the slider bar somewhere in between.
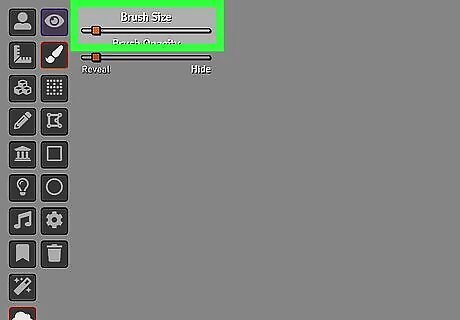
Use the size slider bar to adjust the size of the brush. It is also in the upper-right corner. Use this slider bar to make the brush bigger or smaller.
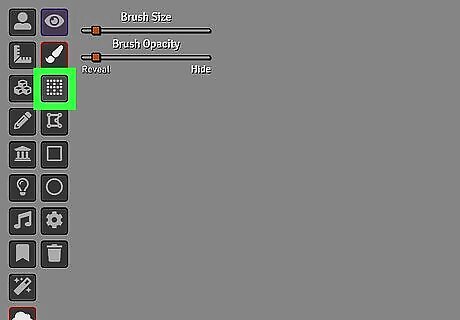
Use the grid tool to hide or reveal tiles. To hide or reveal individual tiles, click the icon that resembles a four-square grid in the toolbar to the left. Then click the tiles you want to hide or reveal. This will either hide or reveal the tile depending on if there is fog in the tile. You cannot adjust the opacity of the grid tool.






Comments
0 comment