views
X
Research source
Still, growing tobacco indoors is a fun way to push your plant-growing skills to the next level. They also require a lot of pruning, which is fun if you find cutting plants back to be therapeutic!
Germinating Your Seeds
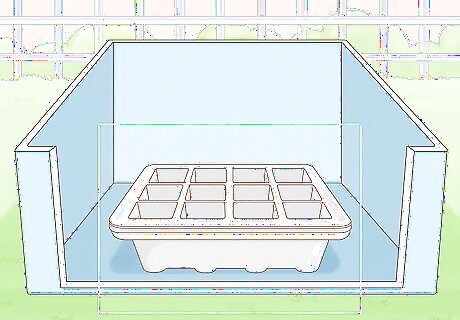
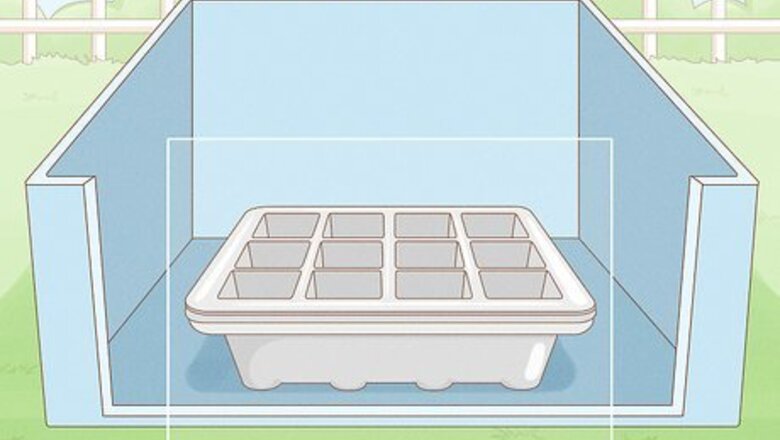
Place small, shallow seed trays inside of a larger container. Grab some small growing containers and set them down in rows inside of a big shallow pan or container. The size of each container doesn’t necessarily matter since you’re going to repot the seedlings once they grow. Those plastic multi-plant seed trays are perfect for this, but you can use seed pots or ice cream pints with holes punched into the bottom as well. Tobacco seeds require a lot of water and the large container will keep the moisture from dissipating.
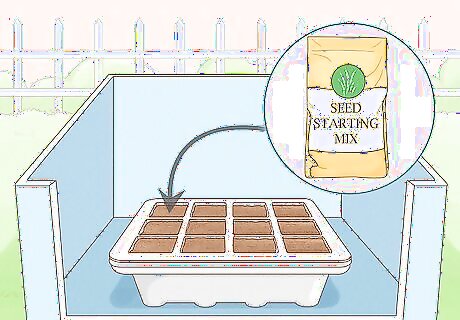
Fill your containers with a seed-growing mix or starter soil. Purchase any kind of seed-growing mix or starter soil. Fill each of your small containers with your soil. Don’t compact the soil after you’ve filled your containers. You can also use a combination of fine soil and sand if you don’t want to purchase a seed-growing mix. Tobacco tends to be fairly resilient and it will grow in a variety of different soil compositions. The temperature and lighting are much more important when it comes to making sure your plants flourish.
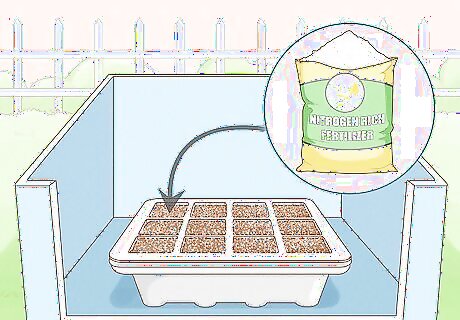
Spread a thin layer of nitrogen-rich fertilizer over the soil. Get a liquid fertilizer that’s high in nitrogen and rich in potash. Sprinkle a thin layer of fertilizer over the soil and wait a week or so to give the soil time to absorb the nutrients from the fertilizer. If you’re using a starter soil that’s rich in nitrogen, phosphorus, and potassium, you can probably skip the fertilizer. Most tobacco that’s grown outdoors doesn’t need it, so if your soil is healthy and filled with nutrients, you’ll probably be fine.
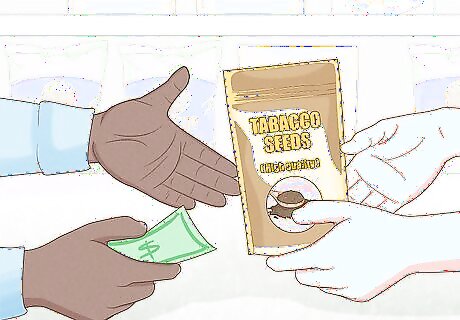
Purchase your seeds from a high-quality source. Tobacco seeds are extremely small, so you don’t need a large packet to grow a few plants indoors. There are many varieties of tobacco, but the most popular varieties are Virginia, burley, and Oriental tobacco. They have different growing times, but you use the same process to grow each species. Purchase your seeds from a reputable source. You may need to purchase your tobacco seeds from an online source depending on where you live. Some countries, states, and regions don’t allow the sale of tobacco seeds, but you can purchase them online if it’s legal to grow tobacco where you live.
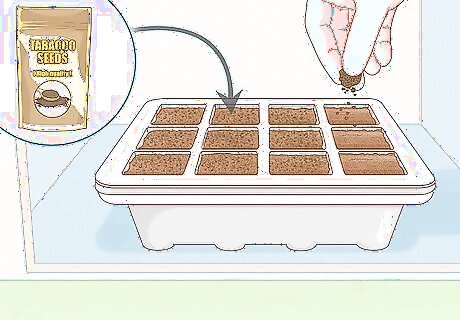
Sprinkle the tobacco seeds over the soil and leave them uncovered. Pour a pinch of seeds onto a sheet of paper. Carefully and slowly slide a small amount of seed over the soil to spread the seeds out on your containers. Tobacco seeds are incredibly small and a tiny pinch can yield up to 100 plants, so don’t overdo it with the seed spreading. Tobacco seeds are delicate and their microscopic size makes them hard to plant individually. Sprinkling the seeds over the soil is the only realistic way to do this.
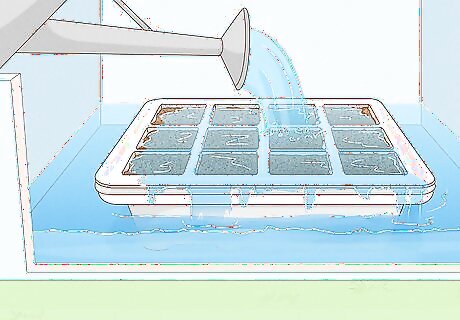
Water the soil until the larger container fills up with a little water. Fill a watering can and slowly water the soil. Refill and continue watering the soil until the large container fills up with roughly 1–2 inches (2.5–5.1 cm) of water. Don’t compact the soil and don’t worry about covering the seeds with topsoil. Tobacco seeds are extremely thirsty and they need a lot of water to germinate.
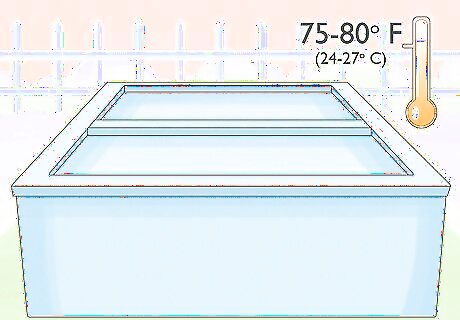
Cover the container and keep the area around the seeds 75–80 °F (24–27 °C). Grab a stack of newspapers or a transparent plastic cover. Either spread the newspapers on top of the large container or lay the plastic cover over it to cover your seeds. This will keep some of the moisture inside of the growing containers. Set the bin or growing container in an area of your home that will stay 75–80 °F (24–27 °C) at all times. The area around the soil really cannot drop below 70 °F (21 °C). If you’d like, you can set out a space heater or growing lamp over the soil to keep the area warm. The seeds don’t need any light, but it won’t hurt anything either.
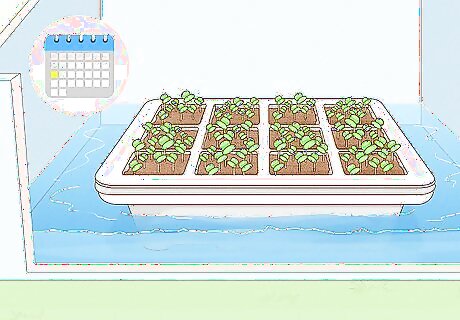
Keep the soil damp and wait 3-14 days for the seedlings to sprout. So long as the water at the bottom of the larger container doesn’t evaporate, you probably won’t need to water the soil while you wait for the seeds to sprout. Still, check the soil every day to make sure it’s still damp. If it dries out at all, water the soil a little to keep it damp. Your seedlings will sprout in 3-14 days or so. If your seeds don’t sprout after 2 weeks or so, you likely didn’t keep the plants warm enough. Empty the containers and try again!
Caring for Your Tobacco
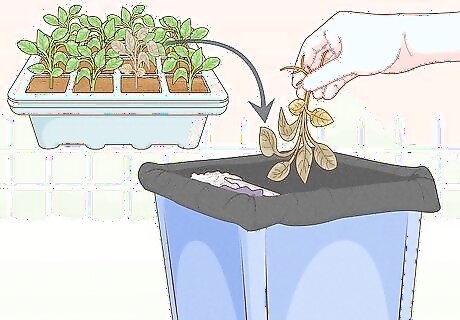
Discard any seedlings that don’t look healthy and straight. A pinch of seeds can produce hundreds of tobacco plants, so only keep the seedlings that look healthy and vertical. Tobacco grows very tall, so if you keep those lopsided plants they’re just going to fall over and die. You’ll likely see dozens of stalks coming out of your seed tray, so pick 2-10 plants you’d like to keep. Unfortunately, these cute little seedlings will eventually grow into massive plants. Unless you have a commercial greenhouse set up, there’s just no way to realistically care for all of those seedlings.
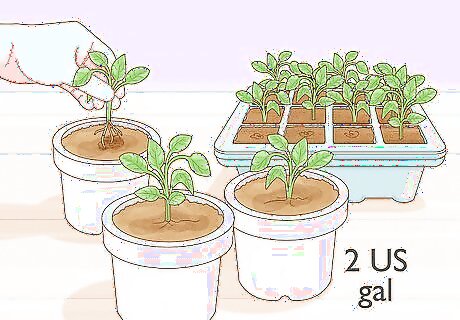
Repot each seedling in its own 2 US gal (7.6 L) pot. Get separate containers for each individual plant you’re going to grow. Fill your new containers with well-draining potting soil and make an indentation in the middle of the container with your finger. Gently scoop your seedling out without damaging the roots and place the plants you’re keeping in their new containers. If any of the tobacco seedlings start tilting or listing at an angle after you transplant them, you can prop them up with a wood skewer or popsicle stick.
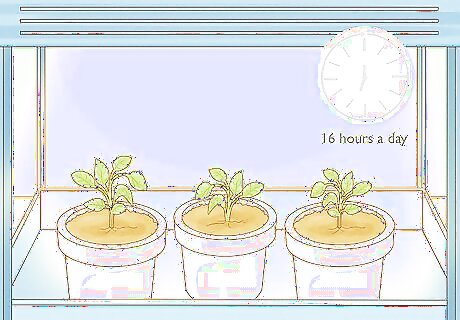
Set your plants under a grow light and leave it on for 16 hours a day. Purchase or pull out an LED or CFL grow light. Set it up so that the light hangs roughly 2 feet (0.61 m) above the seedlings and turn it on. Leave this light on for 16 hours a day while your seedlings are maturing. CFL lights are a lot cheaper than LED grow lights, but LED lights will last a lot longer. It’s entirely a matter of personal preference, though. Tobacco plants just want light, they don’t necessarily care where it comes from! If you have an east-facing bay window or an extremely sunny ledge, you may be able to grow the tobacco there. The seedlings need a lot of light to reach maturity though, so you’re better off using a grow light if you want to ensure that your plants to thrive.
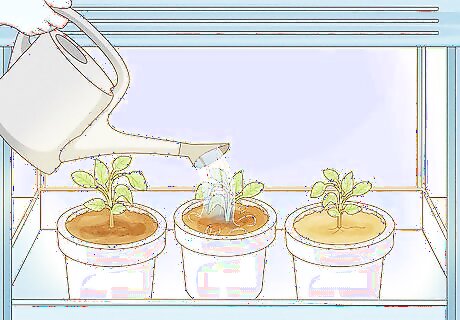
Water your plants whenever the soil starts to dry out. Keep the soil of your tobacco plants moist at all times. Tobacco is drought-resistant, but it does grow healthier with a steady supply of moisture. At the same time, over-watering tobacco can stunt its growth. Check-in on the soil daily to see if it’s drying out. If the soil doesn’t feel moist, give it a small amount of water. Never water tobacco plants directly—only water the soil. Tobacco seedlings are sensitive and you may damage your plants if you pour water over the leaves and stalks.
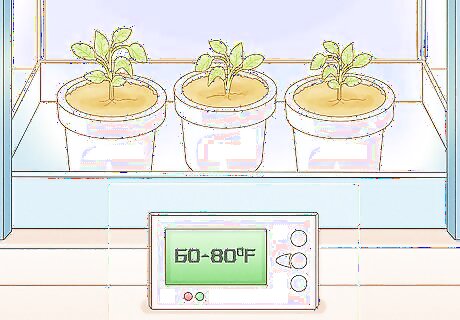
Keep the plants between 68–80 °F (20–27 °C) at all times. Get a thermostat and set it next to your plants to monitor the temperature. If the grow light is enough to keep your plants warm or the plants are in an especially warm part of your home, don’t worry about the temperature. If it gets cold at night or you’re storing the plants in a drafty area, turn the heat up or set a space heater out to keep the plants from getting too cold. Tobacco is very sensitive when it comes to temperature. If it gets too cold, your plants will die. If it gets too hot, they’ll sprout flowers and start pollinating. Try to keep the temperature stable at all times. It’s okay if it’s a little on the cooler side at night, but you don’t want the temperature to drop below 68 °F (20 °C)
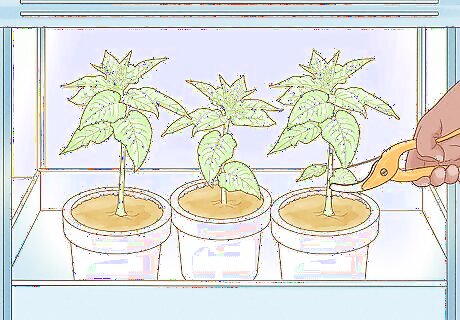
Prune smaller leaves and offshoots to keep the plant healthy. As your plants grow, look out for tiny leaves growing under the bigger leaves. Use pruning shears to clip these smaller leaves off of the stalk to keep the plant healthy. If any secondary stalks develop off of the main stalk, cut them back with your shears. Offshoots will cause the plant to bend or lean, which can cause the main stalk to snap. Your tobacco should fully mature in 90 days or so depending on the variety you’re growing.
Keeping Grown Plants Healthy
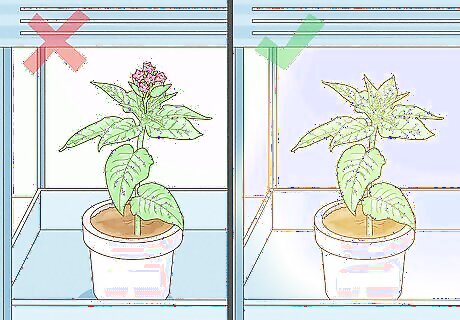
Keep the lights on for 16 hours a day to prevent flowering. Your tobacco plants will think the season is changing if the light drops to 12 hours a day or less, so keep the light on for 16 hours a day if you want the plants to keep growing. If your leaves start wrinkling up or bending at odd angles, the tobacco is “flaring up,” which is a sign that it needs to be harvested or cut back. Always wear gloves when handling tobacco leaves since the leaves can transfer large amounts of nicotine to your skin. Most species of tobacco are perennials, which means you could theoretically grow them indoors year-round. This may be a little unrealistic, though. Tobacco plants become absolutely massive, and you may be overwhelmed with all of the pruning and cutting if you try to keep them alive for more than 6 months.
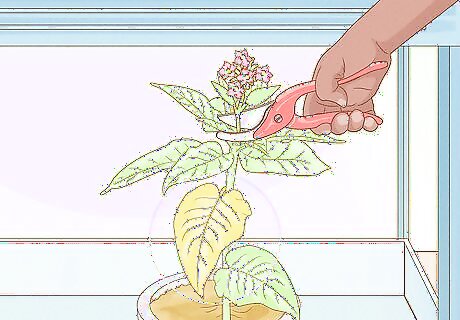
Cut back any yellow leaves or flower buds with pruning shears. Once a leaf turns yellow, it needs to be removed. Trim these leaves back by cutting them off from the stalk before composting or harvesting them. If you see any flower buds appear, either pull them off by hand or cut them with your pruning shears. If the top of your plant starts flowering, clip the top of the stalk off beneath the highest layer of leaves to delay the flowering process any further. Remember, there’s no way for you to test the nicotine content or chemicals in the leaves. Do not use your tobacco plants to manufacture cigars, cigarettes, or chewing tobacco. A single flower bud can produce hundreds of seeds. You could keep these buds to grow seeds outdoors if you’d like. You won’t need nearly this many seeds for a small set of indoor plants, though.
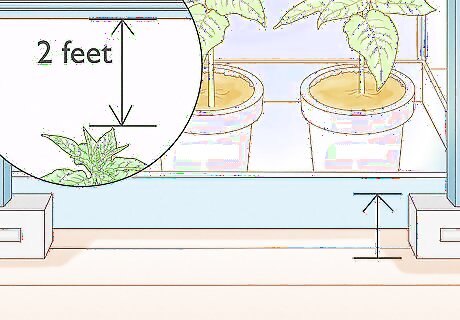
Move the growing light to keep it 2 ft (0.61 m) above the plants at all times. Tobacco can grow up to 5 feet (1.5 m) tall. To give the plants room to grow, continue moving your grow light so that it’s always 2 feet (0.61 m) away from the top of your plants. Tobacco plants reach towards the light source, so your plants may collapse or break if you set the light on one side. Eventually, you’ll either need to use a larger light fixture, hang your light from the ceiling, or transfer the tobacco plants outdoors. You can keep cutting them back, but the tobacco plants may eventually die out at some point if you don’t let them grow tall.
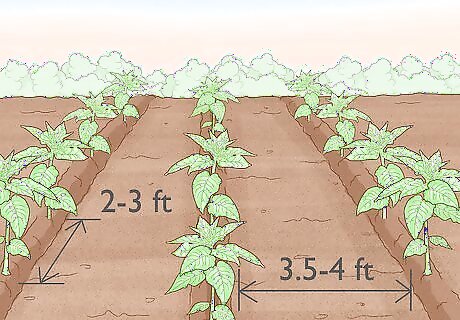
Transfer the plants or continue cutting them back over time. Once a plant grows too big for your home, either transfer it outside or cut all of the leaves back. If you cut all of the leaves back, they should grow back in 1-2 weeks so long as the light stays on you keep the soil moist. If you transplant a tobacco plant outside, dig a hole that matches the size of the pot and lift the plant out gently by the roots. Place the plant in the hole and fill in any gaps with potting soil. When transplanting outside, place your plants in rows with 2–3 ft (0.61–0.91 m) between each plant and 3.5–4 feet (1.1–1.2 m) between each row. If you transplant the tobacco outside, remove any weeds in the surrounding area and water the plants every day until they become well-established. If all of the leaves start to yellow, you cut them back, and they yellow again almost immediately, the entire plant needs to be harvested. Keeping tobacco plants indoors for an extended period of time is a time-consuming process, mainly because you’re going to be doing a lot of cutting. It really is ideal if you transfer the plants outdoors into well-draining soil.


Comments
0 comment