
X
Research source
And, if you start your hollyhocks indoors or live in an area with a long growing season, you might get flowers the first year. In any case, site selection, soil preparation, water management, and plant and seed care all help determine the health of your hollyhocks.
Starting Hollyhocks Indoors

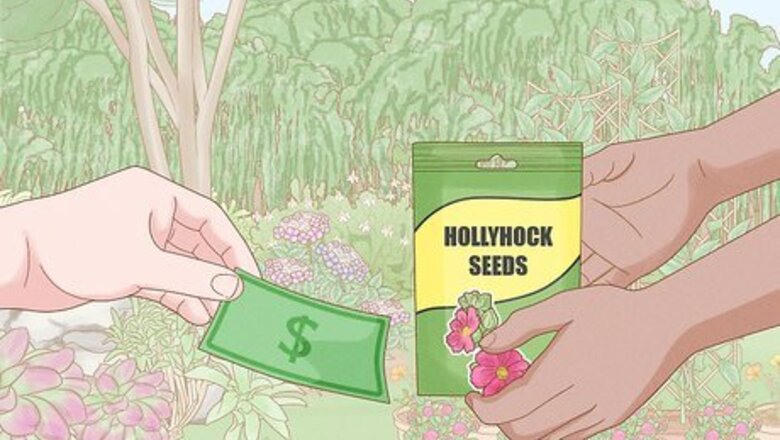
Purchase seeds in your choice of variety and color. Hollyhocks come in a seemingly endless assortment of shades of white, yellow, pink, maroon and red flowers, which grow on 6 to 9 foot (1.8 to 2.7 m) stalks. Hollyhocks will reseed themselves for subsequent growing years. You can also harvest seeds from plants in the fall. Some hollyhock varieties will generally grow a bit shorter or taller, so consider your space needs and height preferences as well.
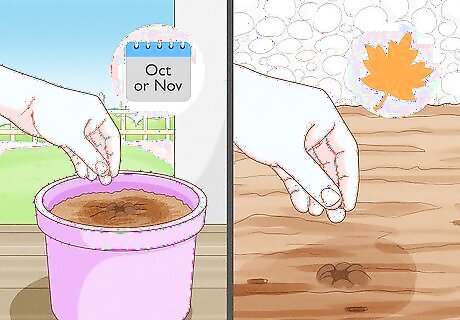
Plan ahead to increase your chances of first-year blooms. If you live in an area with cold winters, consider starting hollyhock seeds indoors in the fall. Germinate the seeds in October or November and allow them to grow for a while and experience a winter. This may trick the flowers into blooming the following spring. If you live in a warmer climate, you may be able to plant the seeds outdoors in the fall and achieve the same results. In the U.S., hollyhocks can manage in USDA hardiness zones 3-8 (see http://planthardiness.ars.usda.gov/PHZMWeb/). In cooler zones (e.g., 3), you’ll definitely want to start indoors — either the previous fall or early in the spring. In warmer zones (e.g., 8), you can sow seeds outdoors in the fall or spring.

Sow the seeds in individual “peat pots” indoors. Hollyhock seeds are large, have a high germination rate, and come few to a package, so it is best to plant each seed individually. Put each seed 0.25 to 0.5 in (0.64 to 1.27 cm) below the soil. Any small plant container will do, but plastic “peat pots” filled with perlite, vermiculite, and peat moss are ideal for this. Place the trays near a window where they'll receive ample sunlight. Water the soil as needed to keep it moist. Hollyhock seeds usually germinate in 1 to 2 weeks.
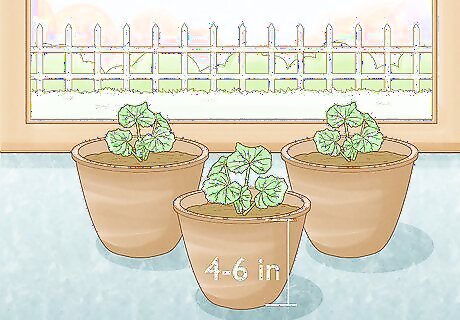
Transplant the seedlings into individual 4 to 6 in (10 to 15 cm) pots. You only need to do this if you are growing the plants indoors over the winter. If you’re just starting early in the spring, you can go straight from the peat pots to outdoors. Keep the pots in a sunny spot indoors, and water them regularly.
Transplanting or Sowing Outdoors

Plant the hollyhocks outdoors in the spring. Wait until after all signs of frost have passed, and average soil temperatures are at least 50 °F (10 °C). Alternatively, you can sow the hollyhock seeds directly in the ground at this time (0.25 to 0.5 in (0.64 to 1.27 cm) deep) if you did not start the plants indoors. Test the ground temperature with a soil thermometer by sticking it roughly 5 to 6 inches (13 to 15 cm) into the ground (according to its instructions), or simply estimate the soil temperature according to a growing guide for your local area.
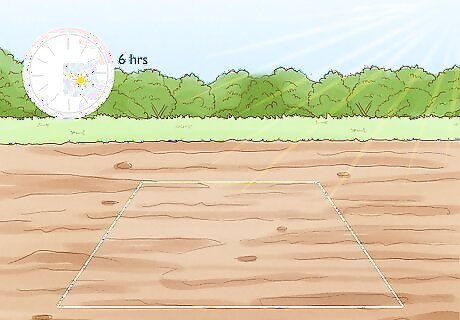
Choose a sunny garden location. Hollyhocks can be grown in a number of climates and environments. That said, your plants are more likely to thrive if your garden provides them with at least 6 hours of daily sunlight. Hollyhocks can tolerate partial shade as long as they get at least 6 hours of sun daily, but the flowers may be smaller and the colors not as vibrant.
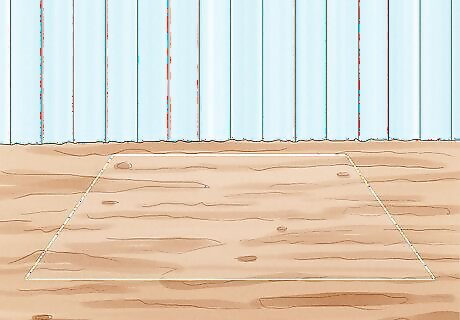
Pick a spot that's sheltered from the wind. Because hollyhocks grow so tall, they tower above many garden flowers, making them more vulnerable to winds and precipitation. Plant them near a wall, tucked into a corner of fencing, or in a garden with other flowers of similar height.
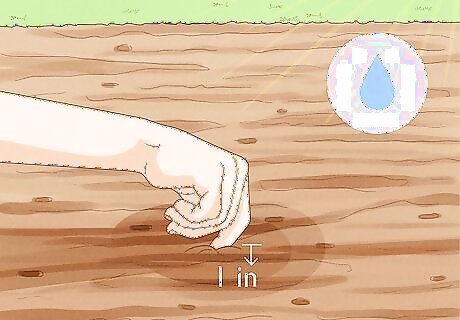
Look for an area where the soil stays moist but drains well. Keep an eye on your potential growing spot after a decent rain shower. If the soil remains moist more than 1 inch (2.5 cm) deep (check with your finger) the next day, but isn't muddy or puddled with water, it will be okay for hollyhocks.

Enrich the soil with organic compost if needed. Hollyhocks do best when grown in nutrient-rich soil. Consider mixing in organic compost and/or aged manure to enhance the nutrient level in your planting area. Hollyhocks are fairly tolerant in regards to soil pH, and can thrive in conditions ranging from 6.0 to 8.0. But you still may want to test your soil and amend its pH if necessary.

Space plants 12 to 24 in (30 to 61 cm) apart when transplanting them. If they are a particularly tall variety, you may even want to go with 18 to 36 in (46 to 91 cm) spacing. Transplant seedlings with the soil surrounding their roots, at a depth that puts this transplanted soil either level with or just slightly above the existing garden soil. If you’re direct sowing seeds into the soil, plant the seeds 3 to 6 in (7.6 to 15.2 cm) apart and 0.25 to 0.5 in (0.64 to 1.27 cm) deep, and thin the seedlings to the larger spacing of your choice.

Give each transplant or seed a good initial watering. You don't need to drown them, however. Just make sure the ground is moistened to a depth greater than 1 inch (2.5 cm). Use your finger to test it.

Surround each plant with 2 to 3 inches (5.1 to 7.6 cm) of organic mulch. The mulch helps to keep the soil moist, provides a weed barrier, and creates an environment for seeds to burrow into in the fall for spring germination. You can make organic mulch out of shredded leaves and yard trimmings, or buy it at any garden center. Spread the mulch evenly around the base of the plant — don’t pile it up against the stalk.
Watering and Caring for Hollyhocks
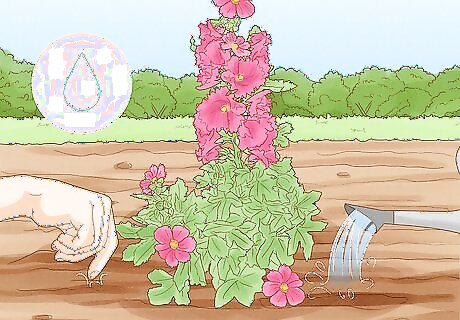
Water hollyhocks regularly to keep the soil moist. Instead of following a regular schedule, the best gauge for knowing when to water is to stick your finger into the soil. If it’s dry more than 1 inch (2.5 cm) deep, add water around the base of the plant. If you insist on watering on a regular schedule, water them daily for the first few weeks, then roughly twice per week for the rest of the growing season. This is all dependent on rainfall, soil conditions, and temperature, though.

Apply an organic flower fertilizer to improve flower yields. Follow the application instructions provided for the product. Often, you'll apply flower fertilizers every 1-2 weeks. Remember that hollyhocks often don't flower at all during the first year, and flower fertilizers will not change this. Just be patient for next year!

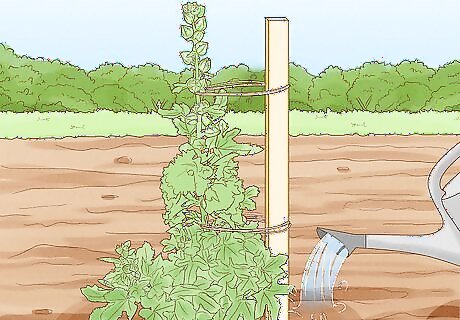
Stake or tie up top-heavy plants. Some hollyhocks will start to lean over and have trouble standing, especially in windy locations and/or loose soil. Tie the hollyhocks loosely to allow for good air circulation and continued growth. Hollyhocks look great tied to trellises or fences!
Keep watering the plants after they are done blooming. This is especially important if you want to keep the plant growing next season, or plan to use the seeds. Seed pods on the stalks are still nourishing and growing seeds for next year's flowers. As when the plants are first growing, water them at the base instead of top-down, and try to limit splashing up on the leaves. Splashed water can spread fungal leaf diseases, to which hollyhocks are particularly susceptible.

Treat fungus-infected leaves right away. Hollyhock is prone to leaf fungal diseases, such as powdery mildew and rust. If you see leaves that are discolored or have a powdery residue on them, assume it’s a fungus. Pluck off or pick up and discard these leaves, and disinfect your gardening tools frequently. Spray the plants with sulfur- or copper-based fungicide sprays, following the manufacturer's recommendations for use, if you see signs of discoloration or malformation of leaves or buds. Fungal diseases can quickly spread over an entire hollyhock plant or from plant to plant, so take action as soon as you spot trouble.

Get rid of insects with insecticidal soap. Shake the soap well so it mixes with the water. Spray the soap onto the leaves in the early morning or late evening with a spray bottle. Cover the tops and the bottoms of leaves. As an alternative, mix 2 teaspoons (9.9 ml) of dish soap and 2 tsp (5.2 g) of cayenne pepper with 1 US pint (470 mL) of water and spray it on the leaves.
Preparing for Next Year’s Hollyhocks

Harvest the seed pods if you want to collect the seeds. Wait until the pods turn brown and are completely dry. Then, pick the pods and separate the seeds from the thin, dry husk. Or, leave the pods on the plants and allow them to dry and open, dropping seeds for natural propagation. If your plant has shown any signs of a fungal disease, don’t let the seeds fall and propagate. The fungus can spread to the soil and any new hollyhocks.

Plant or store the hollyhock seeds. Once you’ve picked the seed pods and separated the seeds out, you have three options: Plant the seeds in the same area of the garden if your hollyhocks did well in that spot, or just let them fall off the plant to the ground. Fall-planted seeds will winter over and germinate in the spring. Sow the seeds immediately in seed trays for indoor growing, if you want to start another cycle of indoor hollyhocks in hopes of getting blooms during their first year outdoors. You could also store the seeds in the refrigerator for outdoor planting (with or without starting them indoors) next spring.
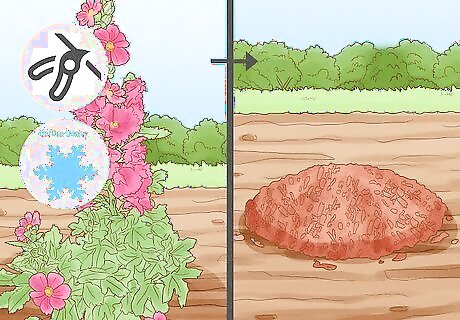
Help the plants through winter by cutting and covering them. Just before the first heavy frost, cut the plants down to ground level and cover them with a layer of mulch for winter protection. The root system will remain dormant until next spring. Cutting down the plants for winter is helpful even in warmer climates, and covering them may help keep bugs away. Some growers prefer to leave several inches of the plant intact and cover the stump with coal ash. The ash keeps moisture away from the stem and discourages snails and slugs.


Comments
0 comment