views
Creating a Free Starter Account
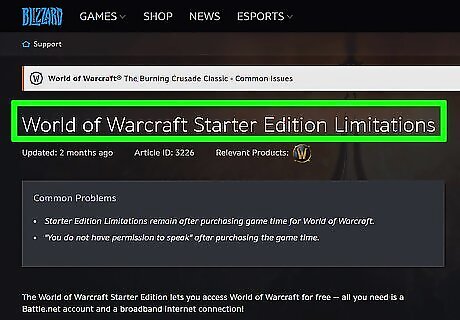
Understand what a free account can do. Free accounts can be leveled up to Level 20 (out of a possible 120 levels), and can continue to play after hitting the cap (without accruing additional XP). Free accounts are also limited to 10 Gold. Free accounts also have limits on in-game communication, and cannot join Guilds. If you have a subscription that's lapsed, your account will turn into a Starter account with all the same restrictions except that your character will have the ability to join the same Guild as any of your other characters. You won't have access to any of your characters above Level 20, but you can create new characters. Starter accounts are a great way to play for as long as you want to decide if World of Warcraft is for you.
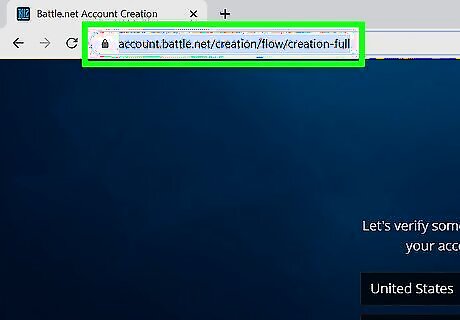
Visit the Battle.net Account Creation page for World of Warcraft. You can access it at https://us.battle.net/account/creation/wow/signup/ if you live in the US. Otherwise, visit battle.net and find the account creation page for your country. If you already have a Battle.net account, you can log in and download World of Warcraft immediately.
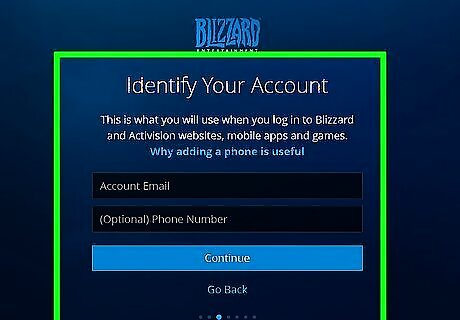
Fill out the account creation form. Make sure to use a valid email address so that you can confirm your account. You don't need a credit card to sign up for the free version. Click the "Play it Free" button after filling out the form.
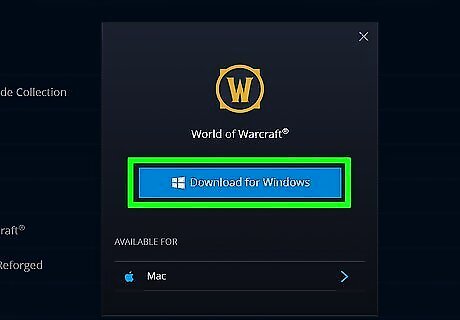
Click "Download the game" to begin downloading World of Warcraft. If you accidentally closed your browser or need to download the file again, you can get it from us.battle.net/account/download/index.xml.
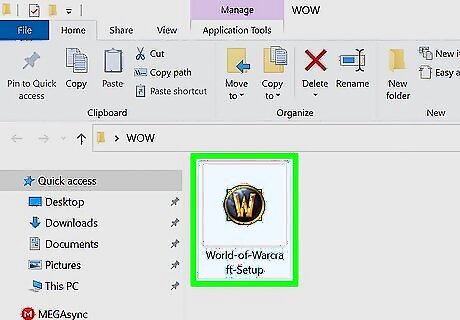
Run the installer. The World of Warcraft installer file is very small, and should finish downloading in just a few moments. Once it's finished downloading, open it to install Battle.net. Battle.net is the launcher program for World of Warcraft and other Blizzard games.
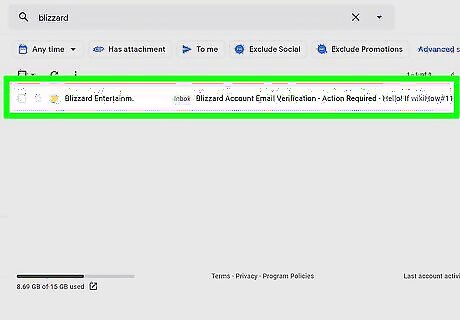
Verify your Battle.net account while the launcher is installing. You should have received a verification email at the address that you entered when creating the account. Follow the link in the email to verify your Battle.net account.
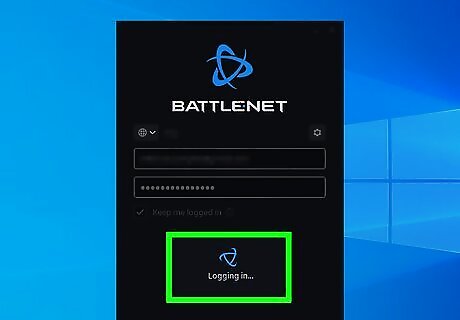
Log into Battle.net with the account you just created. World of Warcraft will prompt you to begin installation. Click "Start Install" to begin downloading it.
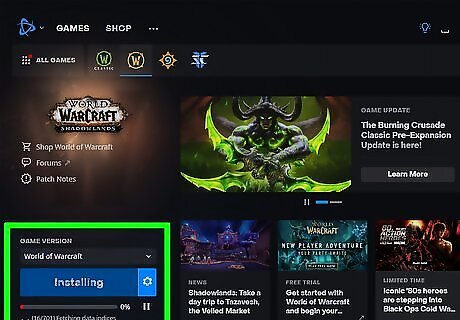
Wait for World of Warcraft to download and install. World of Warcraft is a big game (70 GB), so downloading will take a while on even the fastest connections. You'll also want to ensure that you have enough disk space to install the game. Click here for tips on freeing up space.
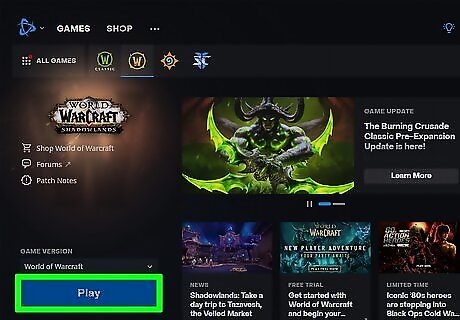
Start playing. Once World of Warcraft has finished downloading, you can launch it from Battle.net and start playing. You'll need to choose a server and create a character before you can start your adventure. New players should avoid RP (Role-Playing) and PVP (Player Vs. Player) servers until they get a handle of the game's mechanics and flow. Click here for some tips on starting your journey and getting the most out of the game.
Extending Paid Subscriptions with In-Game Gold
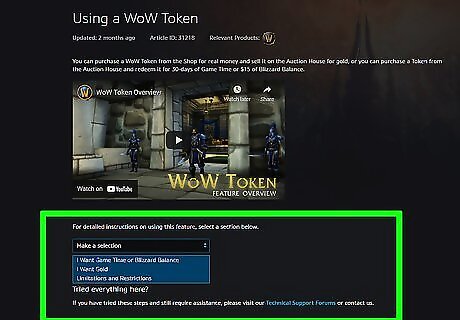
Understand the process. On April 6th, 2015 an update to World of Warcraft introduced WoW Tokens. These are items that players can redeem for 30 days of a World of Warcraft subscription. Tokens can be purchased for real money and then sold in the in-game Auction House for Gold. This allows you to effectively purchase your subscription from Gold you earn playing the game. Because Starter Accounts can't access the Auction House, and because WoW tokens are very expensive, this isn't a viable method for free Starter accounts. You'll need to be a paying subscriber in order to access the Auction House and earn enough gold to extend your subscription.
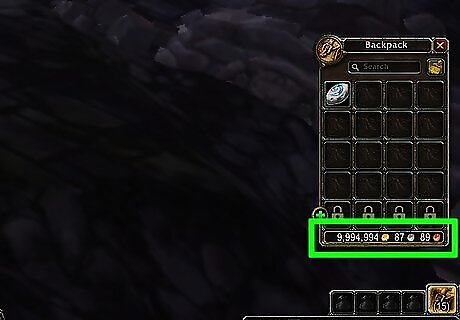
Gather enough gold. When the Wow Tokens launched, they were put on the Auction House for around 200k-300k gold (depending on the server). The price is now set by the players, and fluctuates based on supply and demand. Regardless, WoW Tokens are still quite expensive, so you'll want to have an ample regular income of Gold to afford it monthly. If you farm for Gold efficiently, you can earn around 1,000-2,000 Gold per hour. This means you could reasonably expect to be able to afford a WoW token after a few weeks of farming.
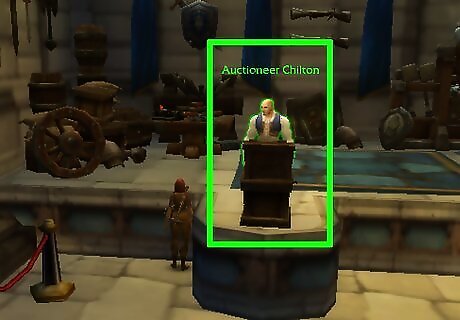
Open the Auction House. You can use your gold to purchase WoW Tokens from the Auction House. You can access the Auction House from most major cities throughout World of Warcraft, and many cities have more than one Auction House location. Auction House listings are linked for the whole faction, so you'll find the same listings from any Auction House you have access to.
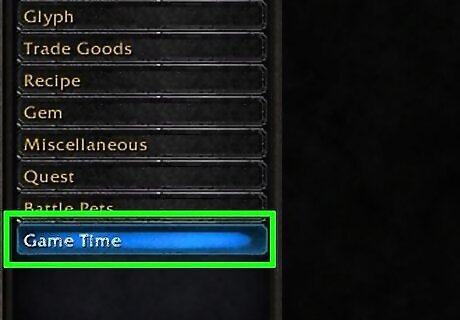
Select the "Game Time" category. This will display all of the active listings for WoW Tokens.
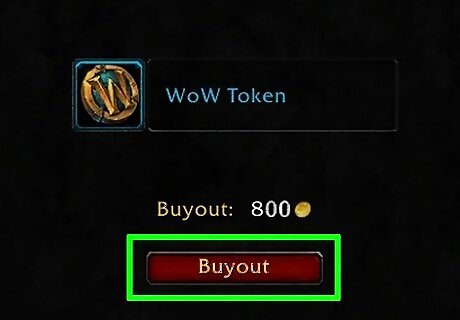
Place a bid or buyout the Token to acquire it. The Token will be delivered to your Inbox. Click the Token in the Inbox message to add it to your inventory.
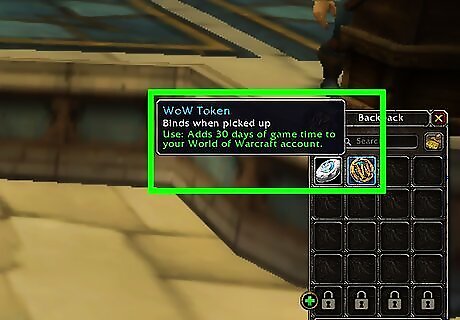
Right-click the Token in your inventory. Click the "30 Days of Game Time" button to confirm that you want to add the time to your account. 30 days of playtime will be added to the end of your current subscription. Your new renewal date will be displayed in the window. Finally, click "Accept" to confirm again. You will receive a confirmation email at your Battle.net account email address letting you know that the transaction went through.




Comments
0 comment