


Get a square piece of paper, turn it over so that the colored side is at the bottom. You can find a range of origami paper on Amazon.
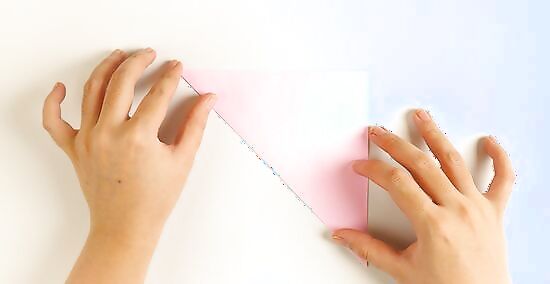
Fold the piece of paper in half diagonally, so that it looks like a triangle.

Unfold your triangle so that it looks like a square again.

Take the two edges across from the center crease and fold them to that crease. It should make a kite shape.

Turn your paper over.

Take the sides of your kite shape and fold those into the middle crease again. The kite should be thinner with triangular designs on one side.

Without turning the paper over, take the bottom point of the kite (the thinnest part) and fold it up to the top point of your kite shape, with the thin point along the middle crease.

Take the tip of the thin point and fold down a small portion of the point down, the portion should look like a triangle that is only about 1 or 2 centimeters (0.4 or 0.8 in) tall. The triangle formed by the previous step that was a triangle, should now look like a very tall trapezoid.

Remember that middle crease at the very first step? Fold the crease in half again. Except with the design side on the top.

Tightly holding the base of the triangle, pull up the thin point of the triangle to a desired height. It could be straight up, or at a sharp angle.

Pull the little part out to resemble a beak.

Decorate as desired.
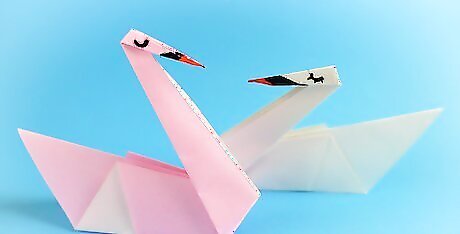
Finished.


Comments
0 comment