views
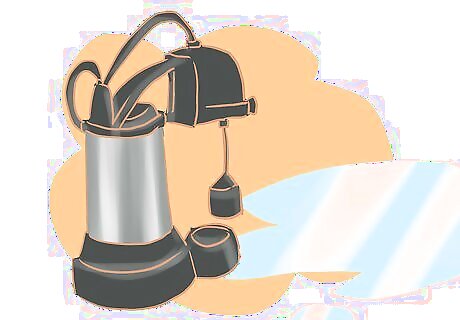
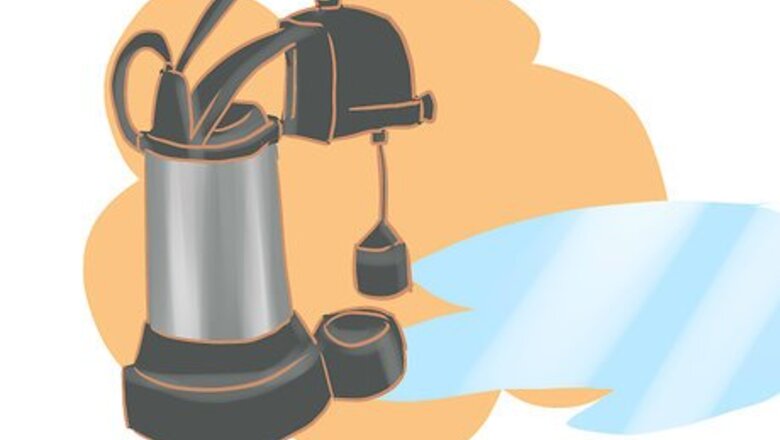
Obviously, after your power is restored, you need to get all water out of the basement. This is usually done with a submersible pump.

When inspecting the damage remember to turn all gas shut-offs to the off position. This will prevent a leak in the event a control valve is damaged by water.

Gather tools. Every water heater is a bit different. you may be able to get by with a small adjustable wrench, channel locks, air compressor, blowgun, and rags.
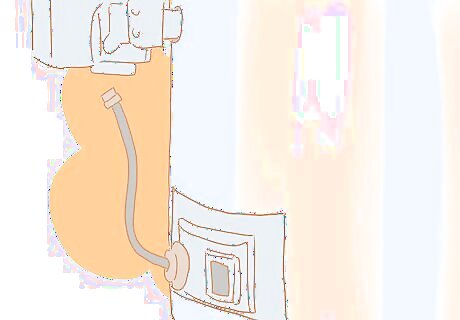
Disconnect gas supply line, pilot line, main burner line, and thermocouple from control. Thermocouples come in both right and left thread. Be careful to turn yours in the right direction as excessive tightening can damage the control.

Remove burner chamber cover bolts(if required). The burner assembly should now pull out of the chamber.

Inspect the burner assembly for damage and corrosion. Replace the entire burner assembly if damaged. Otherwise, clean the burner assembly with rags and blow out all orifices with air hose.
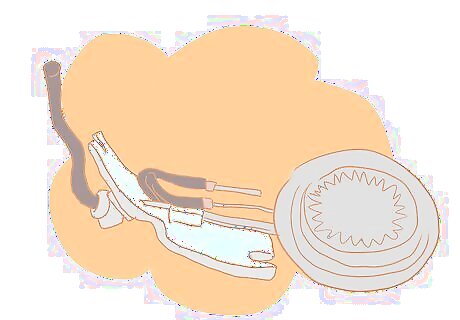
Clean the burner chamber thoroughly and ensure that vent screen is free of debris.
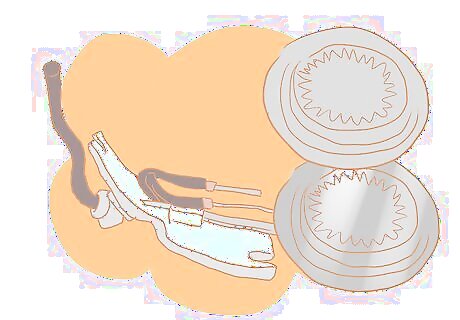
Replace the burner assembly in the burner chamber ensuring that locating features are aligned and clips are replaced (if applicable). This hold the burner in the center of the chamber.

Blow out all ports on the control unit until it is free of water.

Reconnect the pilot line, burner line,and thermocouple. (Do Not over-tighten --- brass fittings strip easily)

Reconnect gas supply line.
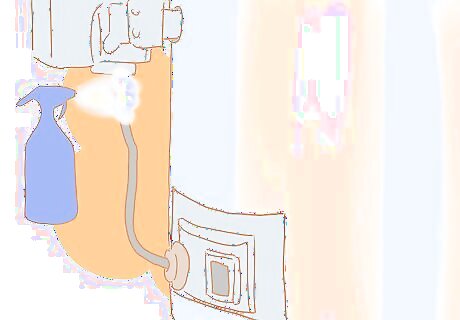
Check for gas leaks. Turn gas supply on at valve and spray leak detector on all fittings. If you do not have leak detector use water and dish soap mixed at about 75% 25% respectively. Leaks will present by creating bubbles around fittings.

Fix any leaks found in step 12. Usually a good teflon tape sealant does the trick.

Light the pilot according to manufacturer instructions. The gas water heater should be ready to go.


Comments
0 comment