views
Fixing a Stuck Zipper
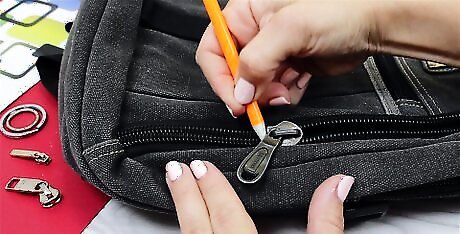
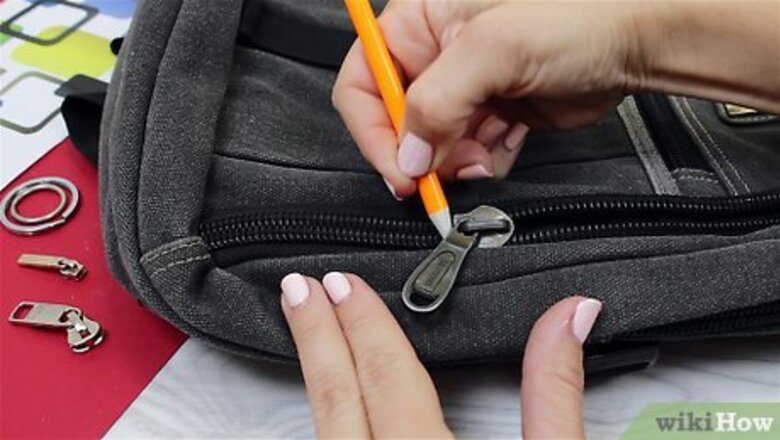
Lubricate the zipper with graphite. When your zipper just won’t budge, applying a lubricant can get it moving. Try rubbing graphite on your zipper’s teeth to lubricate them. Purchase a graphite stick used specifically for lubrication. If you don’t have one, use a Number 2 pencil. Run the pencil up and down the zipper’s teeth. If you want, you can just apply it to the area of the teeth where the zipper is stuck. Wiggle the slider up and down until it moves smoothly along the teeth.
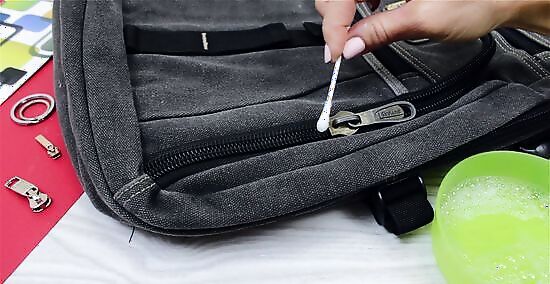
Apply laundry soap. When graphite doesn’t work, apply a dab of laundry soap to your stuck zipper. The soap may add an extra level of lubrication that will help you get the zipper unstuck. To use laundry soap as lubrication: Pour a small amount of detergent into a small dish. Pour a small amount of water into the same dish. Dip a cotton ball or swab into the mixture. Use the saturated cotton ball to coat the teeth in the solution. Place the cotton ball down and gently attempt to unzip the zipper. It may only move a little. If this is the case, return the slider to its original position. Repeat until the zipper is unstuck.
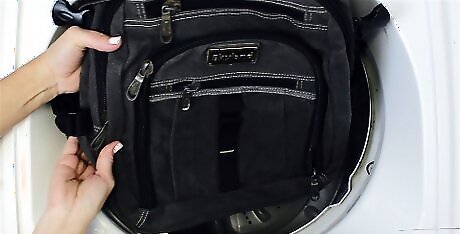
Wash the item and lubricate it. If graphite or laundry detergent don’t work, you may want to launder the item and try again. Ultimately, washing the item may help remove dirt, grime, and other objects that hinder your ability to close the zipper. After you wash it, apply more lubricant. Consider washing the item by itself. This way, loose threads, fuzz, or debris from other items won't get stuck in the zipper.
Addressing a Separated Zipper
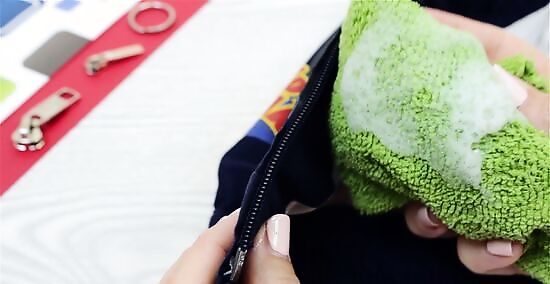
Remove buildup from a zipper’s teeth. When substances build up around the teeth of your zipper, it can prevent the zipper from staying closed. As a result, you’ll need to clean the teeth and remove stuff that could be preventing the zipper from closing. Combine water and soap in a small dish, and stir until suds form. Dip a clean rag in the soapy water and wipe down the zipper’s teeth. Grab a fresh rag and run it under the tap. Wipe the soapy mixture off the teeth with the damp rag. Attempt to zip and unzip as normal.
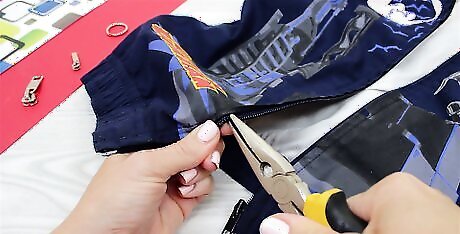
Straighten bent teeth. If all else fails, you may need to fix bent teeth to get your zipper to close. To do this, use your tool of choice (perhaps pliers) to pull the tooth straight. Repeat as needed. Be careful not to pull the tooth out of the tape. Test the repair by opening and closing the zipper as normal.
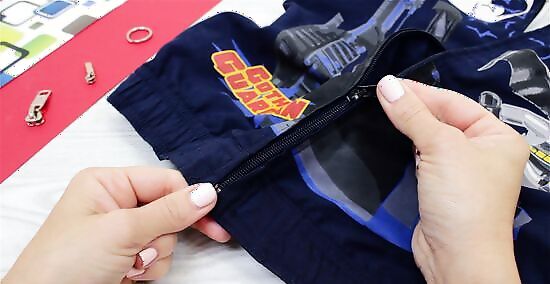
Resecure the zipper and the teeth. Move the slider towards the bottom of the zipper without pulling it off. Straighten and align the zipper’s teeth with your fingers. Slowly feed the zipper into the slider. You may need to apply a little force. Make sure the side of the zipper moves down all the way into the bottom stopper. You may need to repeat this several times.
Fixing Problematic Sliders
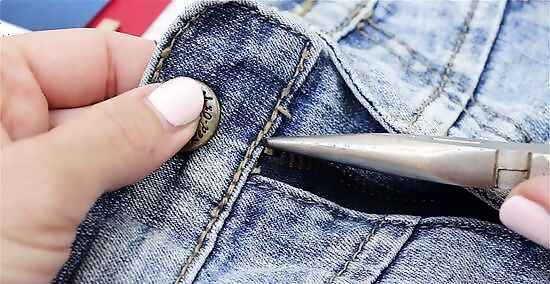
Remove the top zipper stops. You'll probably have to use a lot of force to remove the zipper stops. If you use pliers to gain more leverage, be careful that you don’t clamp down too hard and further damage the zipper. This is important, as you won’t be able to fully access the teeth of the zipper or examine the slider without removing the stops.
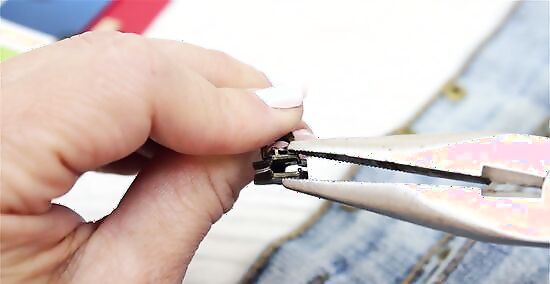
Slide the slider off the teeth from the top and examine it. Examine the slider from the side. Look to see if the space between the bottom and top of the slider are uneven. An uneven gap may prevent the slider from properly engaging the teeth. If the slider is bent or there is a gap, take a pair of pliers and try to straighten it out. If you can’t fix the slider, you will have to replace it. The size should be listed on the back. If the size is not listed, measure the slider. Zipper parts are measured in millimeters. A 5-mm slider is a size 5. Purchase a replacement slider at your local fabric store or online.
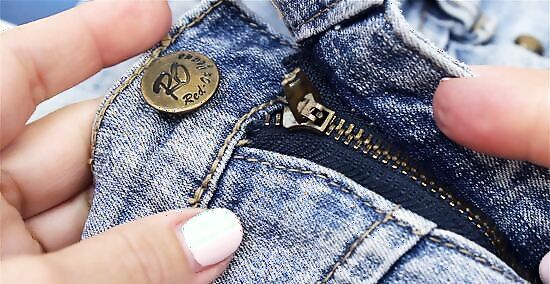
Replace the slider. After you’ve fixed or replaced the slider, you need to put it back on the teeth of the zipper. When replacing the slider, make sure to: Locate the side of the zipper that has the square tab on the bottom. Wedge the top teeth of the zipper into the slider. If necessary, use a flathead screwdriver to wedge the teeth into the gap. Wiggle and pull the slider until it moves down to the bottom of the zipper.
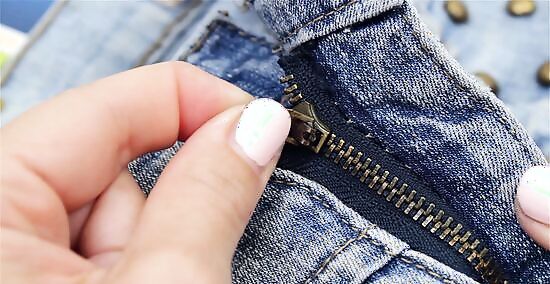
Check to see if the slider works. Try zipping the item as normal to see if it has a complete range up and down the teeth track. There are a number issues that could continue to cause problems for you: If the zipper continues to split and you replaced the slider, you may have purchased the incorrect size. Try a different size slider. If you bent the original slider, the gap may still be uneven. Remove the slider and bend it again. Repeat until the item zips properly.
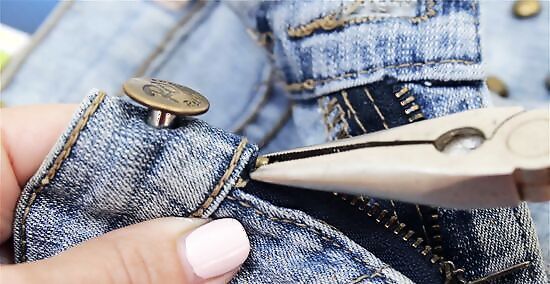
Replace the top zipper stops. Once you’ve replaced the slider, you’ll have to replace the top zipper stops above the top set of teeth. Without securing the stops, your slider will fall off or won’t function correctly. Use a pair of pliers to clench the stop into place. Press down on the stop 4 to 5 times to secure it. Repeat on the other side of the zipper. If you are only replacing 1 top zipper stop, make sure you place it on the side of the zipper with the tab at the bottom.
Repairing Missing Bottom Teeth
Take off the bottom stop. The bottom stop is the piece that the slider will rest against when it travels all the way down the teeth to the bottom of the zipper. To deal with missing bottom teeth, you’ll have to remove the old bottom stop. Hold the garment firmly and pull the stops off. In some cases, you may need pliers to help you gain more leverage pulling the stop off. Revive a sticky zipper with Vaseline. "The zipper on my favorite Dooney & Bourke purse was completely jammed, and I couldn't get it open. I was worried I'd have to replace the whole thing. But I tried rubbing Vaseline on the teeth like the article suggested, and the zipper slid open smoothly again! That little trick saved me from an expensive replacement. The simple home remedies are so helpful." - Dot A. Avoid an unnecessary buy with DIY zipper bending. "My winter coat zipper broke right when I didn't have the money for a new one. I almost ordered a replacement coat online in desperation. But after finding this article, I was able to fix my original coat's zipper by bending the slider back into shape. The easy DIY instructions saved me $50 on a new coat I didn't need." - Kristi B. Do your own alterations with custom repairs. "When the zipper detached on my work pants, I assumed I'd have to pay for expensive tailoring. But the article walked me through replacing just the broken zipper teeth I needed. With the step-by-step instructions, I customized the repair on my own pants. Now, I have the confidence to do my own alterations." - Tammy W. Temporarily salvage a beloved bag. "The zipper split open on a hand-me-down purse I adore. Thanks to the tip about securing it closed with buttons, I temporarily salvaged the bag while I shopped for a replacement slider. I'm so glad I don't have to throw out this cherished item yet!" - Jeff R. We want to hear from you! Advice from our readers makes our articles better. If you have a story you’d like to share, tell us here.
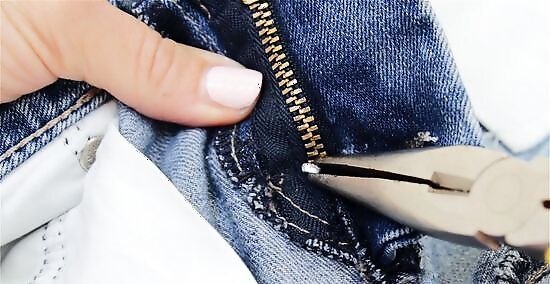
Remove the tack at the base of the zipper. The tack is a piece that keeps the parts of the zipper secure to the garment. By removing the tack, you’ll be able to fully access the teeth. This is important, as you’ll need to fix all your zipper’s teeth before your zipper will work correctly. Flip the garment inside out and locate the tack at the bottom of the placket layers of the item (this will be on the inside flap covering the zipper). Remove the tack with a seam ripper.
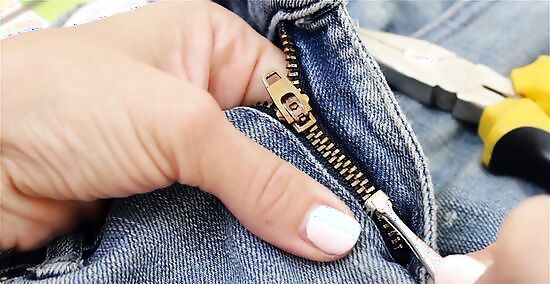
Attach a larger bottom stop. By inserting a new and larger bottom stop, you’ll be able to cover missing teeth. Thus, your zipper will function normally and won’t get stuck or snagged in the future. Bottom zipper stops are measured in millimeters. Determine the size you will need by measuring the width of the closed zipper. Turn the garment right side out. Push the prongs of the bottom zipper stop into the fabric directly above the old zipper stop—the new zipper stop will cover the missing bottom teeth. Turn the garment inside out and check if the stop is perpendicular to the zipper. Close the prongs with a pair of pliers to secure it in place.
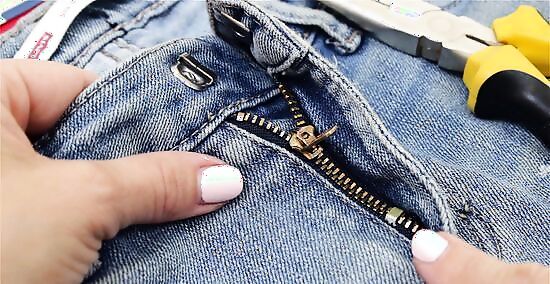
Re-tack the placket layers. Once you’ve attached a new stop, you’ll need to re-tack the bottom portion of the zipper so it holds together with the garment. This is somewhat easy to do. Turn your garment right side out. Use a sewing machine or a needle and thread to replace the tack you removed.
Creating Quick Fixes for Sudden Problems
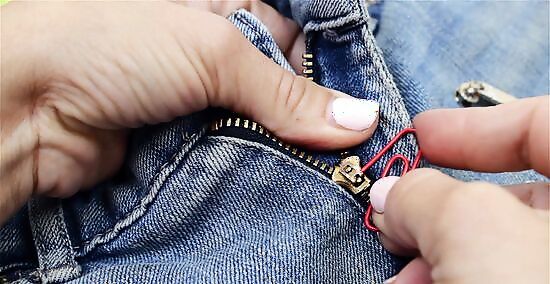
Replace a broken pull with a new pull or a paperclip. Open the small metal ring attached to your new pull with the round tip pliers and hook the open metal ring onto the end of the slider. Use round tip pliers to close the metal ring and secure the new pull in place. If you’re on the road and don’t have a new pull or pliers, use a paperclip as a temporary pull. Simply slip the paperclip into the old pull or the slider itself.
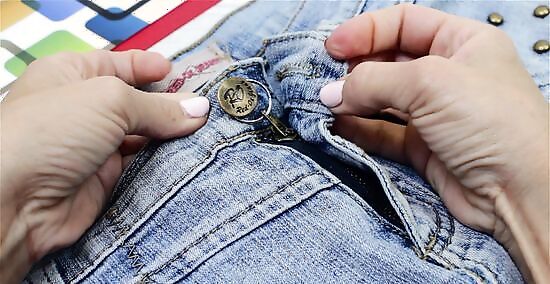
Use a key ring to secure a slipping pants zipper. Slipping pants zippers are one of the most frustrating types of zipper problems. To create a temporary fix, attach a keyring onto the end of your zipper pull. Zip up the garment and hook the key ring around the button of your pants.
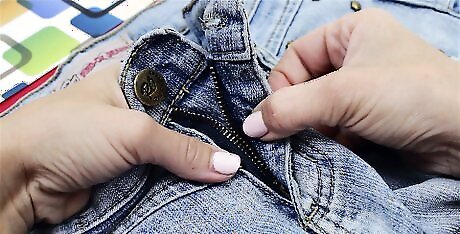
Manually close the zipper. If the zipper doesn't function correctly, you may be able to close it temporary by forcing both sides of the teeth together. To create a temporary fix, start at the bottom and move your way up until the zipper is closed. If you have buttons to secure your garment, fasten them to help keep the zipper closed.




Comments
0 comment