views
You can learn to draw Stitch following the steps outlined below!
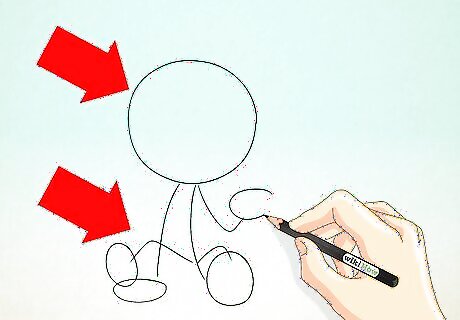
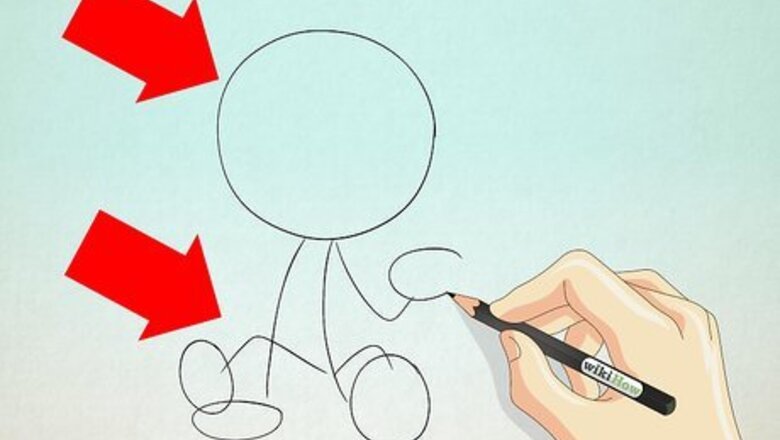
Draw the basic outlines of Stitch. The image for this tutorial shows Stitch in a seated position. If you wish, though, you can change it so he's in whatever position you like! Stitch's proportions are almost the same as those of a child's such as Lilo. Following the image guidance, draw basic circle and line shapes to create the outline of Stitch.
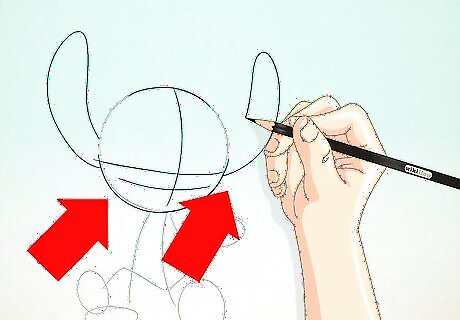
Sketch the head features. Broaden the head from a basic circle into an oval shape. At the sides of the face oval, draw in oval-shaped ears. Sketch in guidelines for the face. Position the lines where the eyes and mouth will go, plus a central line down the face.
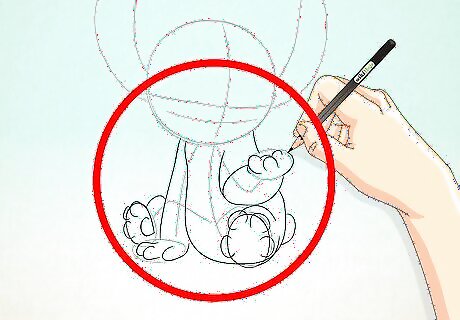
Start sketching the body. Draw ovals for these as shown. Notice that Stitch has long arms and stumpy feet with footpads. Sketch in his claws as well.

Add in details for Stitch's face. There is quite a bit of detail to add in here: Draw half or full ovals for the eyes. Draw a large circle for the nose. Add some scars for Stitch, who has some "chipped" or scarred portions on his ear. Draw in the mouth line, along with teeth. Add in the little tuft of fur sticking up at the top of Stitch's head. Sketch in color separations as well.
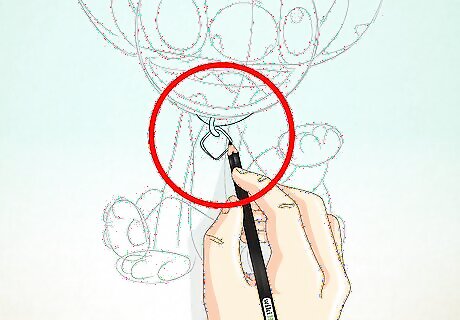
Sketch in the collar Lilo gave to Stitch. This includes a little identity tag.

Outline the guidelines that you want to keep using a more permanent marker. Erase any unwanted guidelines.

Color Stitch using the suggested colors. Once colored, Stitch is done! You might like to draw it in a standing or walking position next.


Comments
0 comment