

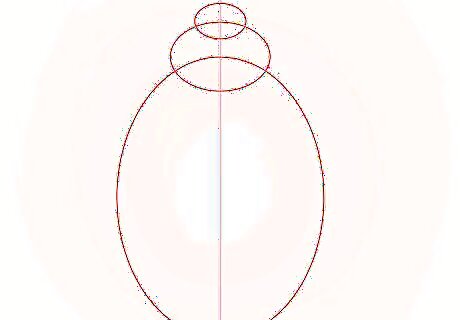
Draw a large oval with two progressively smaller ovals overlapping the tops of each and a line intersecting the three ovals. This will be the ladybug's outer wings and head.
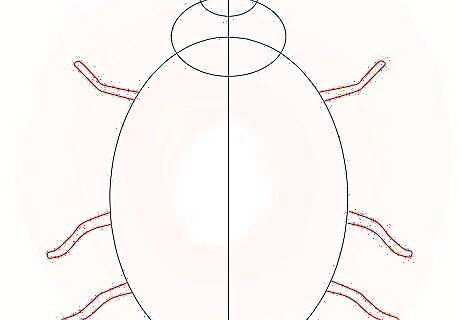
Draw six legs, three on each side. This is optional because sometimes ladybugs don't have their legs showing. The back legs shouldn't be too far back. Typically, the back legs and sometimes the middle legs face backwards while the front legs face forward.
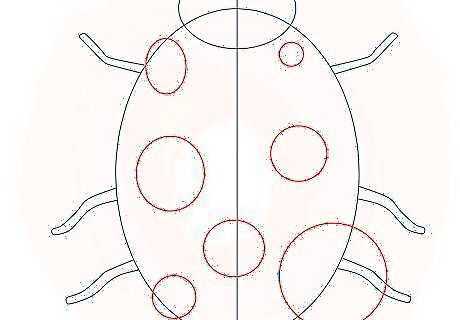
Draw circles for the spots. The shape, number, and placement of the spots can vary, so feel free to get creative with this. This is also optional because some ladybugs don't have any spots!

Draw the ladybug's two antennae. They should look like two small canes on the smallest oval you drew.
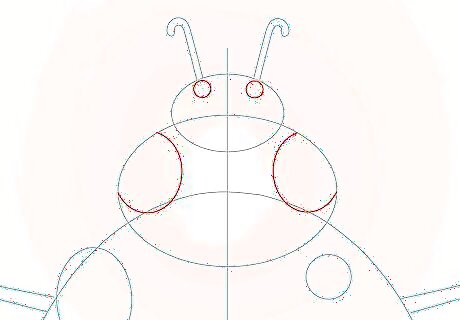
Draw four white spots on the ladybug's head. The two biggest spots should be on either side of the medium oval and the two smallest ones should each be right under the antennae.
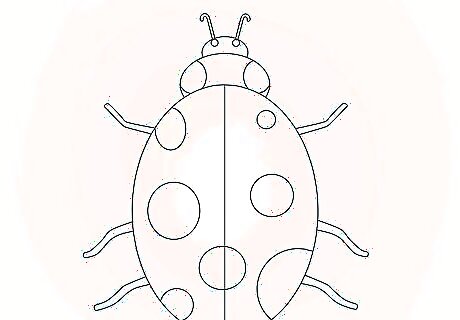
Erase all the guidelines and overlaps from your drawing, but keep a thin line over the outer wings to separate the wings.
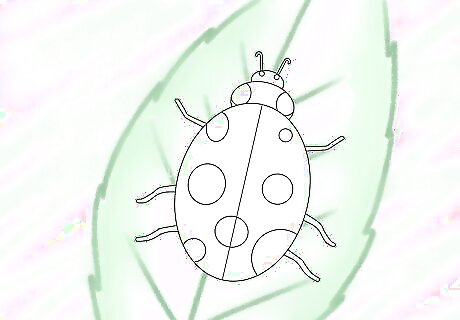
Draw a background with leaves, flowers, or anything similar. A creative way to do a background is to do leaf rubbings around the ladybug, or cut out your finished ladybug and glue it on top of leaf rubbings.
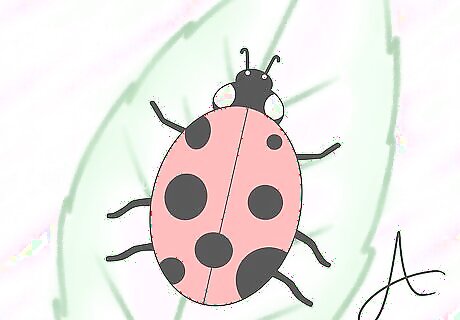
Color or shade in your ladybug anyway you want! Check your work one last time for anything you want to change and then get ready to color in your ladybug. The legs and head should be black, and the outer wings can be any color. Make sure you sign your finished work of art!


Comments
0 comment