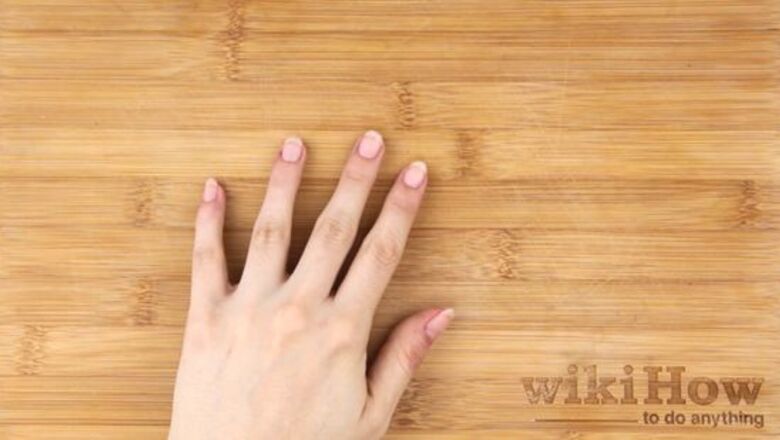
views
Keeping Nails Healthy
Remove old nail polish before applying new paint or nails. Dip a Q-tip or cotton ball in non-acetone nail polish remover so that it’s damp but not dripping. Wipe the old nail polish off using the Q-tip or cotton ball, rubbing the nail until all of the polish is gone.

Wash your hands and nails. Use some mild soap and warm water to wash your hands. Then, use a nail brush to scrub your nails around the edges and tips. Rinse the soap away and pat your hands and nails dry with a clean towel. You can purchase a nail brush in the beauty supply section of a drug store or grocery store.
Apply hand cream to keep your hands and nails hydrated. Squeeze out a penny-sized dab of hand cream, spreading it onto each of your fingers so that your hands and nails are thoroughly covered. Rub it into your skin so there isn’t any residue left to keep your hands from drying out. Purchase a hand cream from a drugstore, big box store, or beauty store. Apply moisturizer before you work on your nails and then spray them with a dehydrator before you paint them.
File any rough edges on your nails using a nail file. Rub the nail file along the edge of your nails going in one direction. Round each nail out so that the shape mirrors the shape of your cuticles. Opt for a file with a grit of about 180 to ensure it's soft enough to give your nails a neat, smooth edge. Make sure your nails are completely dry before filing them.
Use cuticle oil on your cuticles to prevent them from drying out. Apply the cuticle oil along each cuticle, making sure not to use too much. Rub the oil into your cuticles gently using your fingers so that it’s evenly spread out. Find cuticle oil at a big box store, beauty store, or online. Apply the cuticle oil every day to keep the skin around your nails soft and supple. This can also help prevent hangnails.
Painting Your Nails
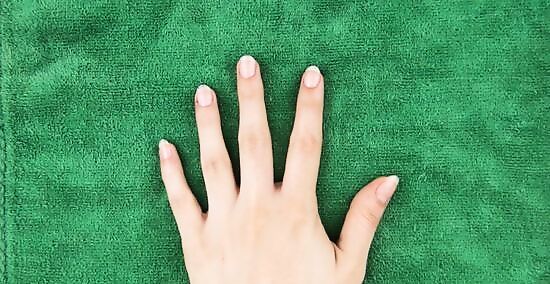
Place your hands on a flat, protected surface. Stretch out a paper towel or regular towel to protect the surface you’re working on, such as a table, desk, or vanity. Make sure your hand is able to lay flat with your fingers spread out, and find a spot with good lighting to make painting your nails easier.
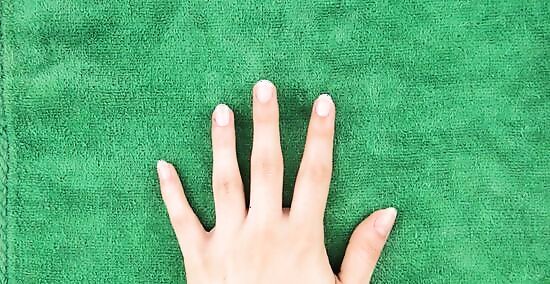
File and trim your nails so they're ready to be painted. Use a pair of nail clippers to give your nails a trim if desired. Once your nails are the right length, use a nail file to file down any sharp edges left from the nail clippers. File the nail into a shape that works for you. Some options include: Round Square Rounded square (Square shaped with slightly rounded corners) Oval Squoval (halfway between square and oval) Ballerina (shaped like a ballet slipper) Almond Stiletto (pointed at the end) Lipstick (flat, slanted tips that resemble the end of lipstick)
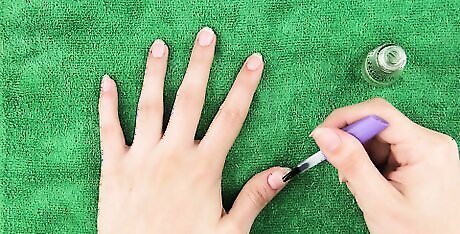
Paint your dominant hand first to make the process easier. This helps prevent smudging and errors, as it’ll be easier to paint your non-dominant hand rather than your dominant hand. Stretch your fingers out wide to prepare you for painting, and pay extra attention to your dominant hand when painting it using your non-dominant hand. Painting your pinkie first and then moving around your fingers to your thumb will help prevent smudging.
Apply a base coat to protect your nails. Spread the base coat over each nail in an even layer—since it’s clear and won’t be seen, it’s okay if this coat isn’t perfect. The base coat protects your nails from any damage the nail polish could cause while also helping the polish stick to your nails more easily. Invest in a good base and top coat. This will help your manicure last longer. In addition, having a base coat will keep your polish from staining your nails. Let the base coat dry before applying polish.
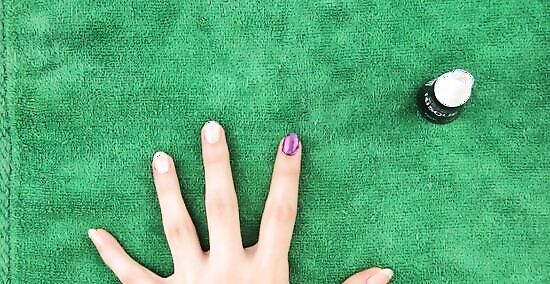
Brush the nail polish onto each nail using three strokes. Dip the nail polish brush into the polish, wiping off any excess on the edge of the bottle. Start applying the nail polish right below your cuticle, swiping down the left, right, and middle of the nail. Apply the nail polish so it covers your entire nail, being careful not to get it on your skin or covering your cuticles.
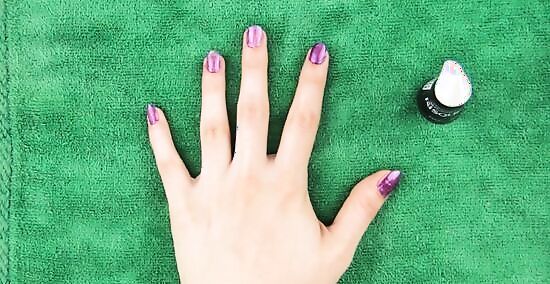
Spread the nail polish in thin, even coats. Aim for thin layers as opposed to super thick ones, as thick ones will take much longer to dry. To ensure your coats are thin, wipe off the excess nail polish on the edge of the bottle each time you dip the brush into the nail polish.
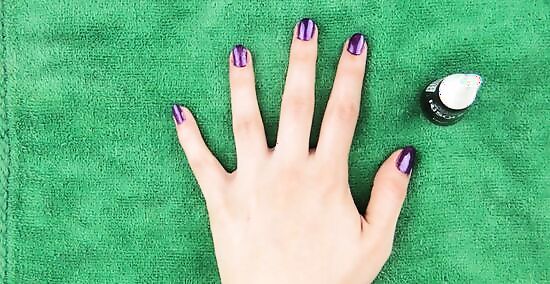
Apply a second layer of polish after letting the first coat dry. Wait a few minutes for the first layer to dry completely. Apply the second coat just as you did the first, spreading the nail polish on in a thin, even layer. Do a quick touch test to see if the first layer of nail polish is dry or not. If you can still see your nail color through the first layer or the nail polish coat isn’t all the same shade, apply a second (and third, if necessary) coat.
Clean up any smudges using a Q-tip dipped in acetone. Dip the Q-tip in the nail polish remover so that it’s damp but not dripping. Use the Q-tip to go along the edge of your fingernail, gently removing any smudges or mistakes so that the nail polish is only on your nails. Acetone and nail polish remover are the same thing. You can also dip a fine-tipped, flat-headed brush in nail polish remover, then use that to wipe away any polish from around the edges of your nails.

Use a top coat to seal the polish and keep it from chipping. Apply the clear top coat in a thin, even layer to each nail once they’re completely finished and dry. It’s a good idea to brush the top coat onto the tip of your nail, which will prevent chipping even more. Note that if you apply the top coat to the nails before the layer of color beneath it finishes drying, it could create bubbles or ripples in the color.
Applying Acrylic Nails
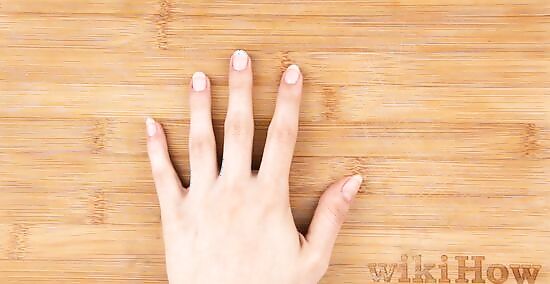
Push back the cuticle on each fingernail. Do this with a damp cloth, your own fingers, or a cuticle pusher made of wood. Gently push back the skin around each nail so that your cuticles are no longer covering up the top of your nails. Wash your hands to make sure your nails are clean. Never cut or remove your cuticles, as this can lead to infection.
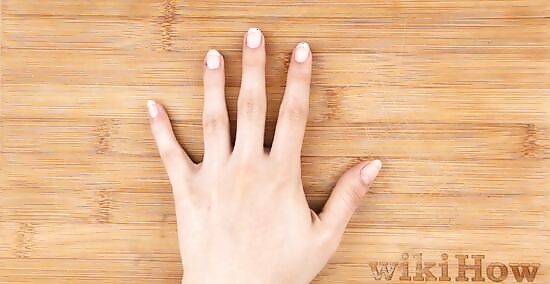
Sand the top of each nail to remove the shine. Use a nail buffer to gently buff the top of your nail, creating a rough surface so the acrylic nails can attach more easily. Repeat this process on each nail until each nail no longer has a shine. Be careful not to file the surface too deeply, or you could damage your nails. Use a soft brush to remove the dust. Spritz some dehydrator spray onto your nails after you remove the dust.
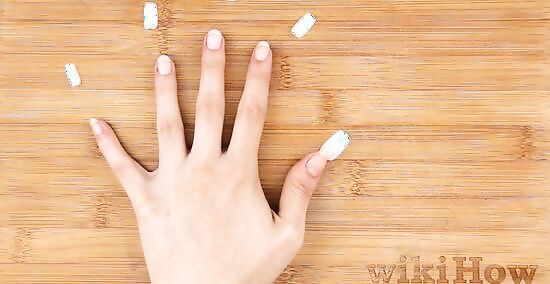
Match a nail tip to each of your nails so that the sides align well. Look through a package of acrylic nail sizes and start deciding which size will go on which nail. When choosing the right size, place the nail tip along the white part of your nail. Choose a nail tip that doesn’t go over the side edges of your own nail and isn’t too small. An ideal nail tip will line up perfectly with the edges of your nail. Use an acrylic nail cutter to shorten the nail, if desired. Purchase acrylic nails from a beauty supply store or online, buying a nail kit that comes with all the materials you'll need, or choosing to just purchase the fake nail tips that come in different sizes. While this method uses fake nail tips, you can opt for whole fake nails that cover your entire nail and are often clear or white.

Use nail glue to attach each tip to your nails. Squeeze out the nail glue right along the edge of your nail in an even line. Place the nail tip on the glue, positioning it low on your nail but also high enough so that it’s secure and won’t break off. Hold the nail tip in place for at least 10 seconds, making sure it’s laying flat on your nail and not angled downwards due to any pressure from your fingers. Find nail glue at a drugstore, big box store, beauty store, or online.
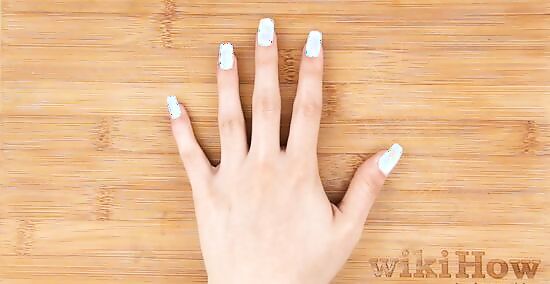
Sand the nail tip to create a smooth surface. Once the acrylic nail tip is securely attached, use a nail filer to sand the glued-on edge. This will make it level with your real nail, creating a flat surface for the acrylic to adhere to. File the surface of the entire acrylic nail as well so that it’s rough and shine-free like your real nail. Use the nail file to shape the edge of your acrylic nail, if desired. Brush away any dust left from filing before applying the primer and acrylic.
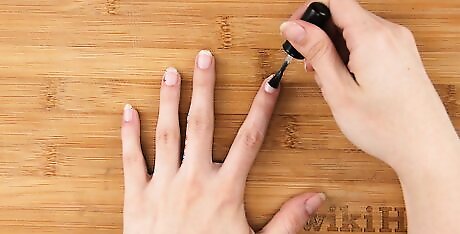
Apply primer to your nails to get rid of any oils. Find a nail primer from a big box store, beauty store, or online that prepares your nails by cleaning them and helping the acrylic powder stick evenly. Apply the primer just as you would normal nail polish, covering each nail in a thin, even coat. Avoid skipping this step, as the acrylic powder won’t adhere well to your nails without the primer.
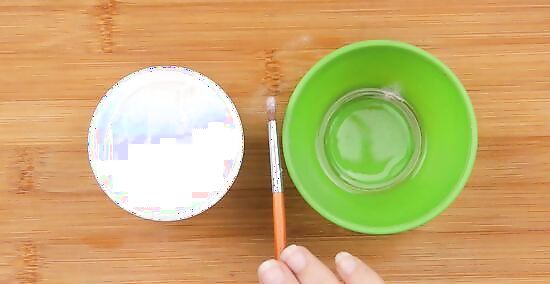
Dip a brush in monomer and scoop up a bead of acrylic powder. Use a small makeup brush, dipping it into the monomer and wiping off any excess monomer on the side of the bottle. Dip the brush into the powder, creating a dime-sized bead of acrylic on the tip. The monomer is a chemical that reacts with the powder to form the acrylic bead of paint. Get rid of any bubbles in the monomer on your brush to avoid having bubbles on your nails as well.
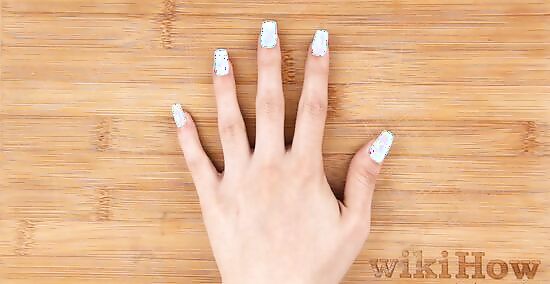
Place the powder bead towards the top of your nail, brushing it downwards. Once the bead has turned glossy, start spreading it on the top of your nail. Gently dab it into place right beneath your cuticle, using the brush to drag the bead of powder down along your nail. As you drag and dab the bead, it will flatten out. Use the brush to manipulate the bead of powder until your entire nail is covered in an even layer. Avoid getting the bead of powder on your skin or cuticles.
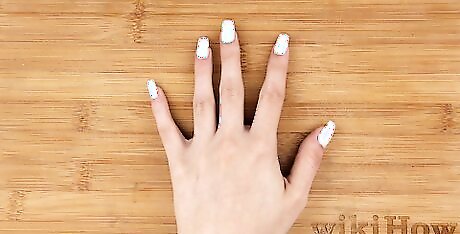
Let your nails dry completely before doing any extra filing or shaping. Let your nails dry for 15-30 minutes. Check to see if they’re completely dry by tapping them—if you hear a clicking sound, they’re dry! Use a nail file to shape the nail exactly how you like it.
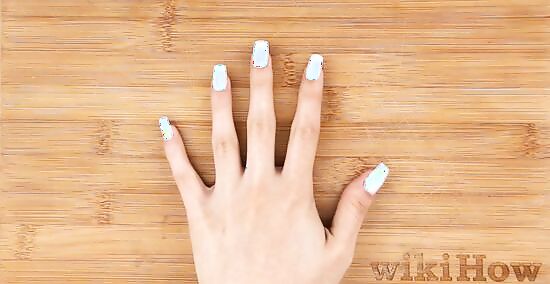
Apply a top coat to protect your acrylic nails. Once you’re satisfied with how your nails look, brush on a protective clear coat in an even, thin layer. Cover the entire nail and brush the clear coat along the tip of your nail to help prevent chipping.




Comments
0 comment