views
- You can delete a movie from iTunes on your mobile device.
- On mobile, swipe left on the movie in your library and click "Delete".
- If you want to remove a movie from your library, you'll need to select the movie on your computer and click "Hide".
Removing a Movie from an iPhone or iPad

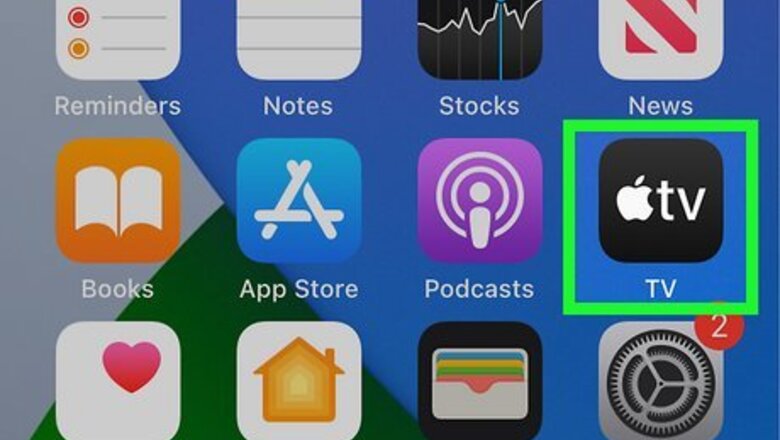
Open the Apple TV app on your iPhone or iPad. It's the gray icon containing a white apple and the word "TV." Use this method to remove a movie you downloaded from the iTunes Store or Apple TV (or synced from your PC or Mac) from your phone or tablet. Removing the downloaded movie only removes it from this iPhone or iPad. If you've purchased a movie, you can always redownload it at any time.
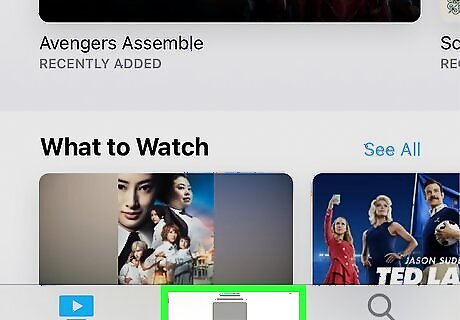
Tap Library. This displays the movies and TV shows saved to your library, including movies that are in the cloud and not saved to your iPhone or iPad. If you see a cloud and arrow next to a movie, it's not on your phone or tablet—it's in the cloud and can't be removed. If you don't want the movie to appear in your library at all, you can hide it using a computer.
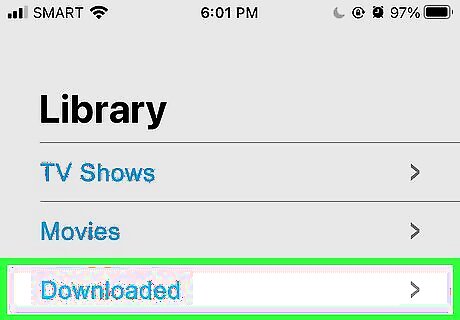
Tap Downloaded. Now you'll just see the movies and shows you've downloaded.

Swipe left on the movie you want to delete. This expands a red "Delete" option on the right.
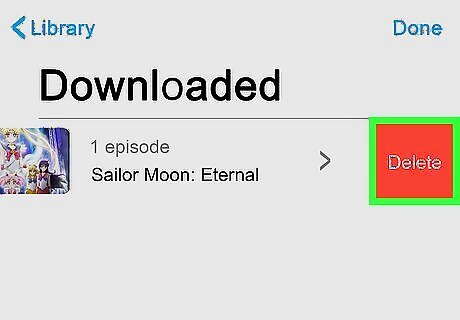
Tap Delete on the movie. A confirmation message will appear, asking if you really want to delete the downloaded movie. Although you'll be deleting the movie from your iPhone or iPad, you can always redownload anything you've purchased later.

Tap Delete Download to confirm. This removes the movie from your library. If you used your computer to sync the movie to your iPhone or iPad with a USB cable, you'll want to disable syncing to avoid re-adding the movie next time.
Removing a Movie from a Windows PC
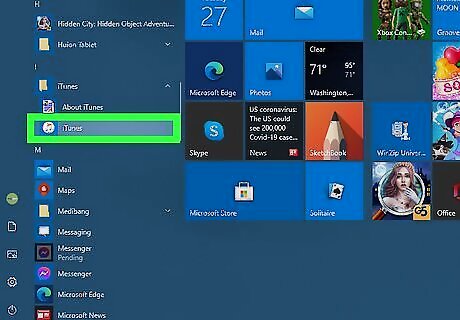
Open iTunes on your Windows PC. You'll find its music note icon in your Start menu. Use this method to remove a movie you downloaded through from the iTunes Store on your PC. When deleting a movie, you'll be removing its video from the iTunes library on this PC. You'll have the option of keeping the file on your computer or moving it to the Recycle Bin during deletion. Once you purchase a movie from the iTunes Store, it stays associated with your Apple ID—this allows you to redownload it, even after deleting it from your PC. If you don't want the movie to appear in your library at all, you can hide it.

Select Movies from the drop-down menu. It's at the upper-left corner of iTunes.

Click the Library tab. It's at the top of the window.
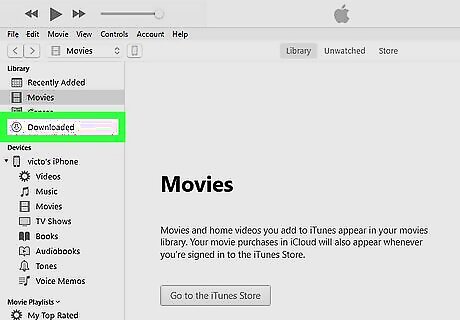
Click the Downloaded tab. It's in the upper-left corner of iTunes. Now you'll see only the movies that are saved to your PC, which are those you can delete.

Click the movie you want to delete once. This selects the movie.

Press the Delete key on the keyboard. A pop-up message will appear.

Choose how you want to delete the movie. Once you make your selection, the movie will be removed from iTunes. If you don't want to delete the movie from your computer but do want to remove it from your local iTunes Library, select Keep File. To also remove the file from your computer, select Move to Recycle Bin. You can redownload the movie at any time by clicking Store at the top of iTunes, selecting Movies, and clicking the cloud icon with an arrow next to the movie's title. If you move the file to the Recycle Bin, it will continue taking up space on your computer until you empty it. Right-click the Recycle Bin icon on your desktop and select Empty Recycle Bin to do so.
Removing a Movie from a Mac

Open the Apple TV app on your iPhone or iPad. It's the gray icon containing a white apple and the word "TV." Use this method to remove a movie you downloaded through the Apple TV app or iTunes from your Mac. Removing a downloaded movie from your Mac only removes it from your Mac. If you've purchased a movie, it stays in your library—you can always redownload it at any time. If you don't want the movie to appear in your library at all, you can hide it.
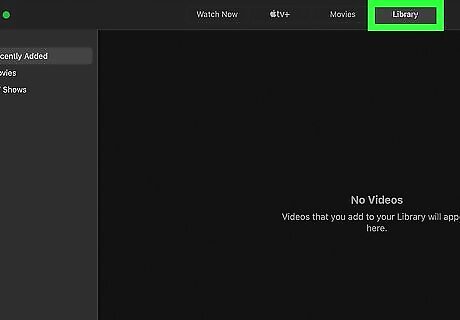
Click Library. You'll see it at the top of the app. This displays the movies and shows synced to your Mac, as well as those which are still in the cloud. If you see an icon with a cloud and an arrow next to the movie name, the movie is not saved to your Mac—it's stored in the cloud and isn't using any of your storage. You can't delete this item, but you can hide it.
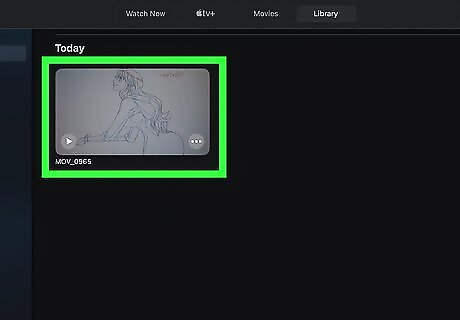
Hover the mouse cursor over the movie you want to delete. An icon with three horizontal dots will appear.

Click the three horizontal dots on the movie name ••• . Now you'll see an option to remove the downloaded movie.

Click Remove download. This removes the downloaded version of the movie from your Mac.
Hiding a Movie from Your Library

Open the Apple TV app (on a Mac) or iTunes (on a PC). If there's a movie you've purchased that you don't want to see or sync to other devices, you can do so by signing in to your Apple ID on a computer. This won't completely delete your purchase, and you can restore it at a later date—it'll just prevent it from showing up in your library.
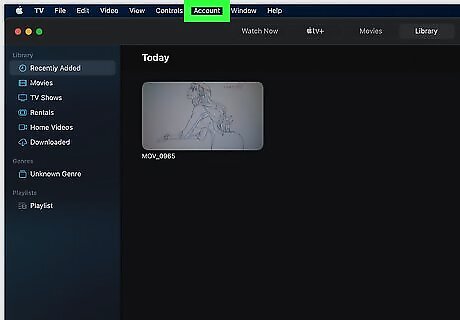
Click the Account menu. If you're using a Mac, it'll be in the menu bar at the top of the screen. If you're using iTunes on Windows, it'll be in the bar running along the top of iTunes.
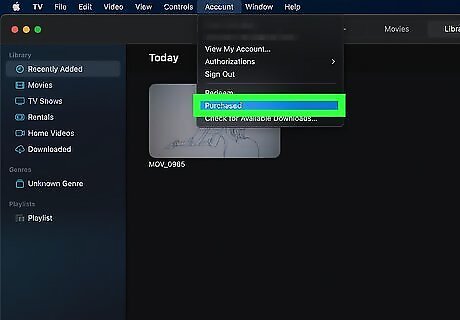
Click Purchased on the menu. If you're using a family sharing account, this option may be called Family Purchases instead. A list of everything you've purchased will expand. If you're using iTunes, click the Movies tab to see only the movies you've purchased. If you're not already signed in to your Apple ID, you'll be prompted to do so before your purchases appear.
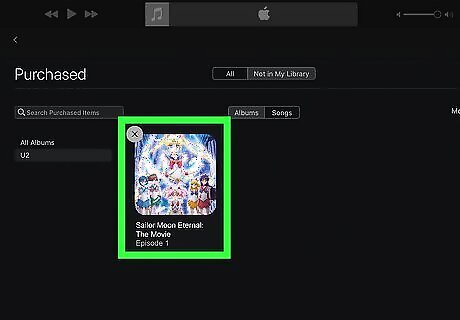
Hover the mouse cursor over the movie you want to hide. An X will appear at its top-left corner.
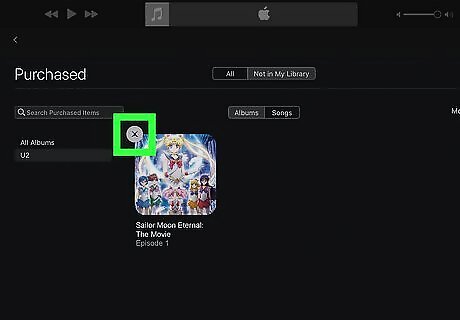
Click the X on the movie. A confirmation message will appear, asking if you want to hide the purchase.
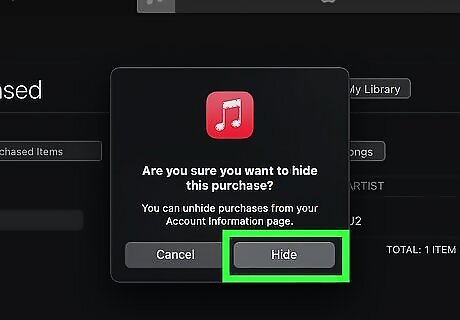
Click Hide to confirm. This hides the purchase from your library. Because this setting is tied to your Apple ID and not just your computer, the movie will also be hidden from your library when you sign in to your iPhone or iPad. To unhide a purchase, click the Account menu, select View My Account, and click Manage next to "Hidden Purchases." Then, click Unhide beneath any movie you want to reappear in your library.


Comments
0 comment