
Note: You'll need access to an air compressor and spray nozzle to complete this project.
Preparation
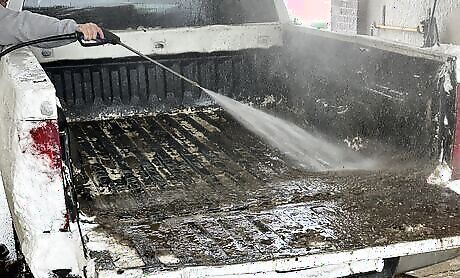
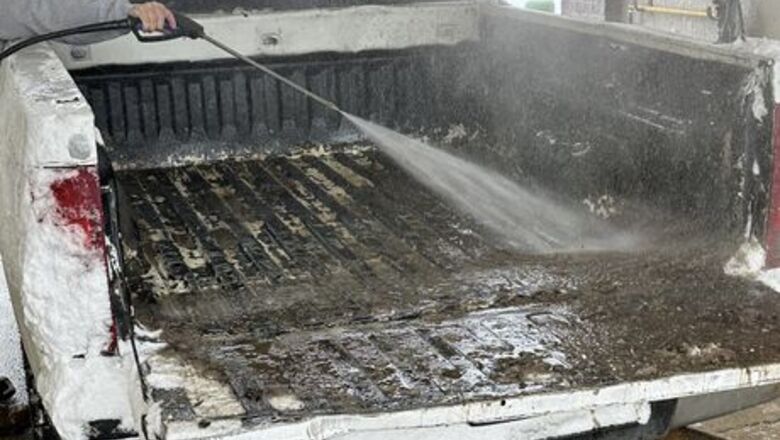
Clean out the truck bed and tailgate. Start at the cab and rinse the sides and bottom of the bed toward the tailgate to wash out any dirt and debris.
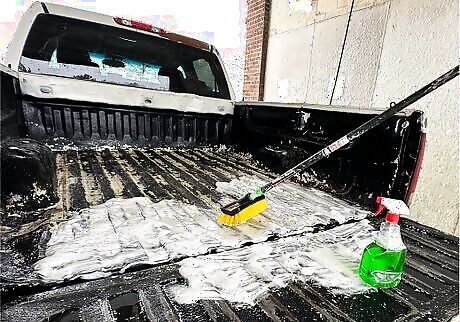
Degrease the truck bed and tailgate so the products adhere well. Spray the automotive degreaser on the sides and bottom of the bed and the tailgate. Scrub well with a stiff bristle scrub brush. Rinse thoroughly.
Repair
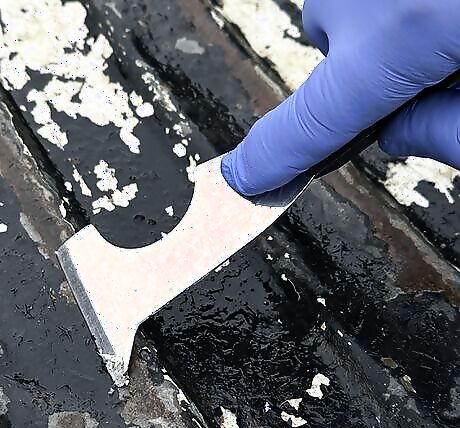
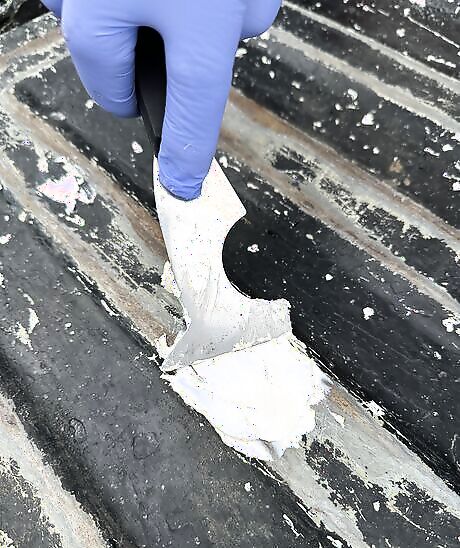
Remove loose rust and imperfections. Scrape the bed and tailgate with a flat tool to eliminate obstructions.
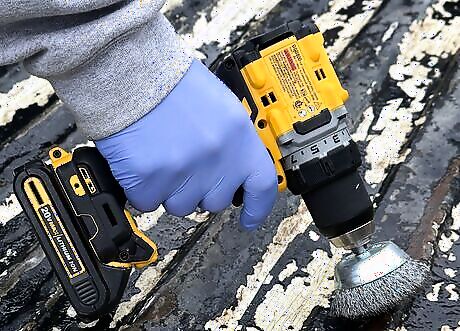
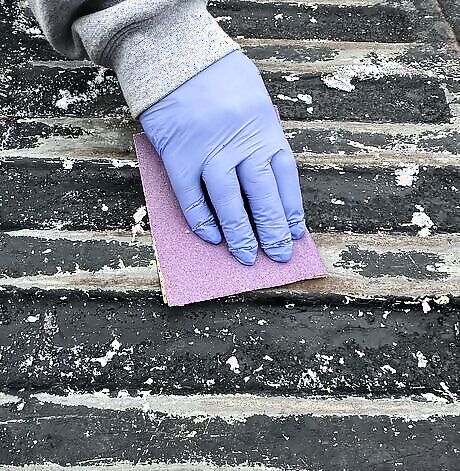
Sand off old paint and rust. Buff the bed and tailgate with a wire brush or sandpaper to expose bare metal so the primer will adhere to it.
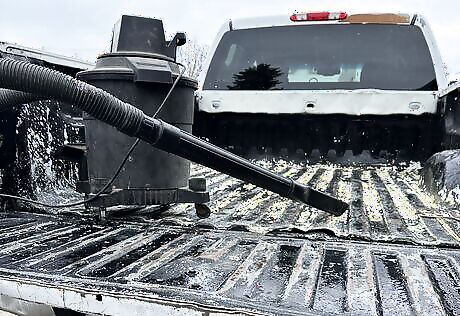
Remove scraping and sanding debris. Sweep with a broom or use a shop vacuum to remove the sanding dust, paint flakes, and rust particles.
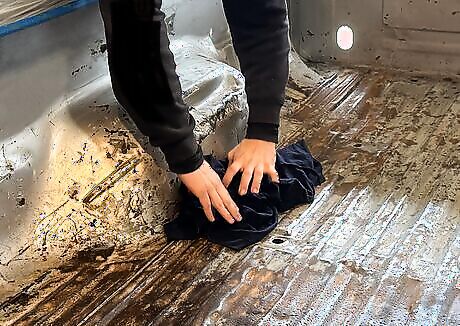
Eliminate oils and residue. Wipe down the bed and tailgate with an alcohol based cleaner because it evaporates quickly.
Repair truck bed and tailgate damage. This will ensure your bed-liner adheres to a uniform and clean surface with no holes. Ensure you wear appropriate PPE and follow the manufacturer's instructions closely. Use a fiberglass repair kit for holes and an automotive body filler to fix dents and scrapes. Prepare just enough product to work on a small area at a time and move quickly because both mixtures harden in 15-20 minutes. Use a clean, disposable container or a disposable piece of cardboard for preparing the mixtures and use a putty knife or scraper to apply them to the damaged areas. Allow to dry thoroughly.
Sand the repaired areas. Smooth out the repaired surfaces using sandpaper. This will ensure a uniform and clean surface for the bed liner to adhere to.
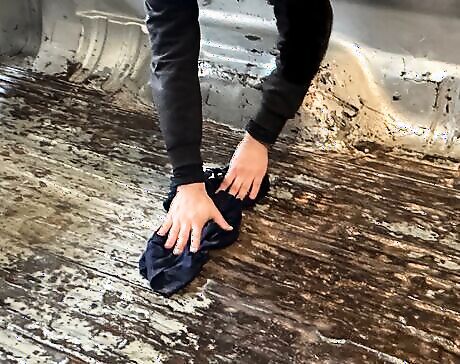
Remove repair dust. Wipe down the bed and tailgate with the alcohol based cleaner again to remove the repair dust from sanding.
Application
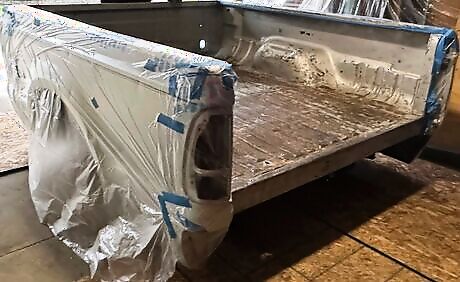
Protect surfaces from overspray. Shield areas from unwanted primer and spray-on bed liner by covering them with plastic and using tape to hold it in place.
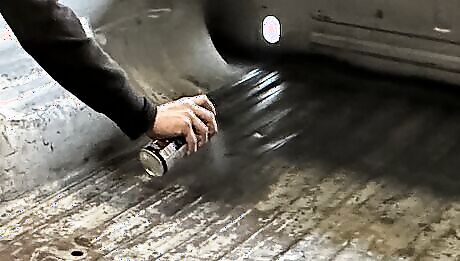
Apply the primer. Ensure you cover all areas of the bed evenly following the steps below. You may need to apply several coats for the best result. Shake the primer can well for several minutes. Hold the can about 6-8 inches from the surface. Spray the primer lightly and evenly, using short bursts while moving the can back and forth, side to side. Allow the primer to dry completely.
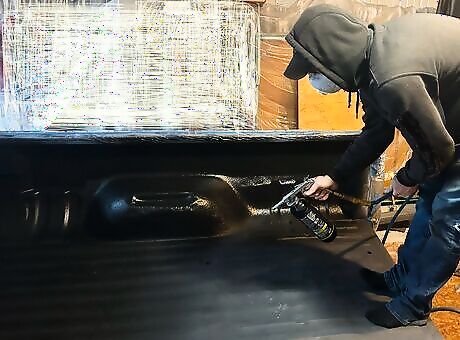
Apply the spray-on truck bed liner product. You may need to apply several coats to ensure adequate coverage and thickness. Follow manufacturer instructions closely. Mix the product and hardener according to the manufacturer’s instructions and follow their personal protection equipment requirements. Shake the can well for 2-3 minutes. Attach the sprayer nozzle and air compressor hose to the can. Hold the nozzle 10-12 inches from the surface. Spray the bed liner product evenly with a medium coat while moving the nozzle back and forth, side to side, until the can is empty. Allow to dry for only 5-10 minutes. Repeat this step again. Please note that you may want to repeat this step a third or fourth time to achieve the thickness you desire for durability. Allow to cure for 24 hours after the last coat.
Clean Up and Completed Project
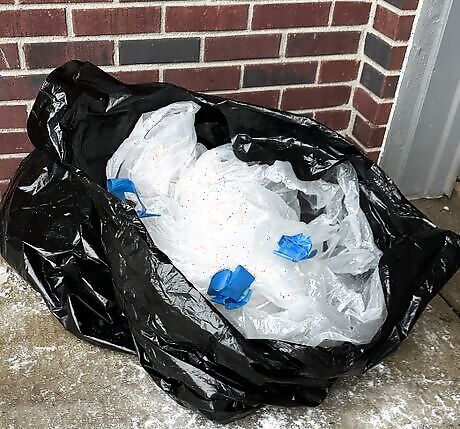
Clean up. Wrap up cords and put tools away. Remove plastic covering and tape from protected surfaces and discard. Dispose of trash and spray cans properly.
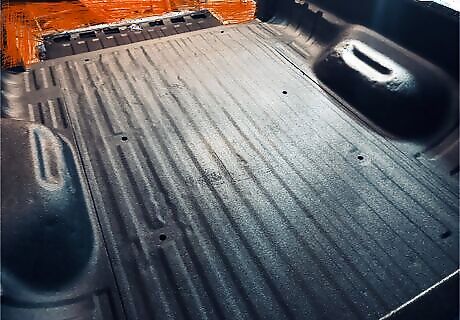
Enjoy your new truck bed! Your truck's bed is now refurbished and will last for many more years.


Comments
0 comment