views
Designing an Aesthetic
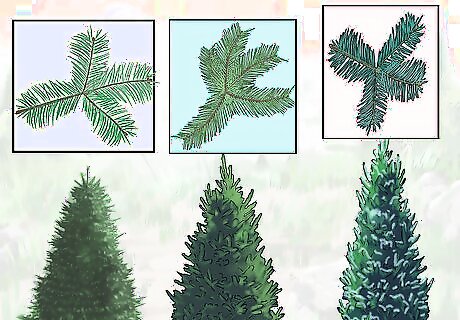
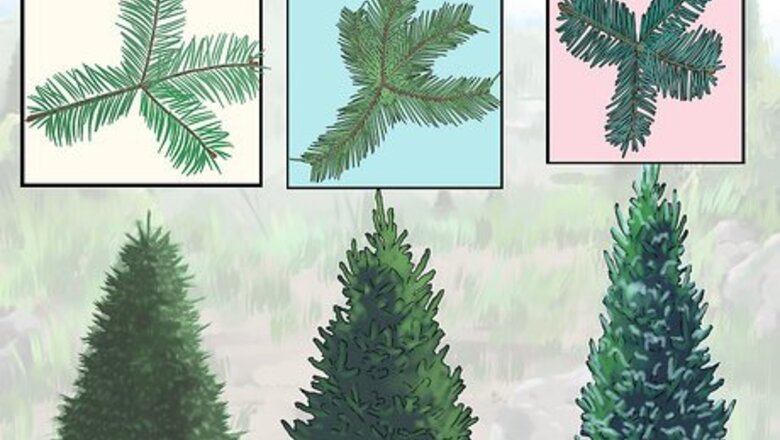
Recognize the different species of Christmas Trees. Many people may not realize that not all Christmas tree species are created equal. Each species has its own characteristic that plays a role in how you decorate it, how long it lasts in your home and also rather or not it has a strong Christmas tree fragrance. There are three main families offered in the fresh cut Christmas tree trade. Each region or state of the United States has its own local favorites. Firs, spruces and pines are the three families or categories most often sold. Take a look at the inexpensive pine tree. All pine species have the longer needles than other Christmas trees, which some species like the Scotch Pine are sharp and require gloves. Others like the White Pine are soft but the branches are weak and can't hold many heavy ornaments. Consider the popular and expensive Fir family. This Rolls Royce or Cadillac tree family gets it's name for it's soft non-prickly needles. These species also have a very rich fragrance unlike the similar spruces. Also fir needles grow upward along the top of branch like a hairbrush rather than in spirals. Balsams Douglas and Fraser firs are the most readily sold ones in the fresh cut tree trade but others Noble and Grand firs are harder to find. If someone has Christmas tree allergies, it might be best to skip the real tree and opt for an artificial one. Watch for more unique varieties not listed in this article. Depending on your region there are other species of evergreens you might encounter offered for Christmas trees. Ask the dealer or go to a fresh cut Christmas tree website to learn about additional selections.
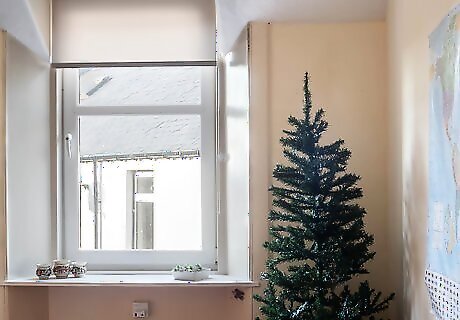
Choose a tree. Your tree is your canvas, so it's important to select a good one — gorgeous ornaments can do only so much for a scraggly tree. Some people prefer the look and smell of a real pine or fir tree, while others like the reliability of a fake one. Your housing rules (in condos, etc.) may also dictate your choice due to fire safety regulations. Whatever you choose, here are some points to think about: Get a well-shaped tree. If you're getting a real tree, make sure you see it out of its netting. Look for full, evenly-spaced branches and a symmetric shape that tapers toward the top. The more branch tips the better. If you're setting up a fake tree and shaping the branches yourself, try to bend them so that you can't see the inches of space between each layer of branches. Set up a tree stand and skirt. For real trees, you'll need a tree stand with a deep water reservoir, which you should fill only after the tree is in place. Use a Christmas tree watering system to keep the needles fresh and green, by expanding the water capacity of your stand and making it easy to add water. Set up a tree skirt around the floor to catch any falling needles and make clean-up easier later. Consider a pre-lit tree. If you've already decided on an artificial tree, you might want to buy one that already has tiny Christmas lights on the branches. Putting up the lights is the worst part of the process for most people — if you can skip that step, you'll be able to spend more time and energy on other aspects of decorating your tree.

Pick a color scheme. Sticking to one color scheme will make your tree look cohesive and complete. Keep in mind that you might want to choose something that doesn't clash with the room the tree is in, and that you might have to concede some space for childhood or heirloom ornaments that clash with the rest of the tree. That said, here are some popular color schemes you could try: Classic Christmas colors, red and green. Accent the green tree with red ornaments, garlands and ribbons. If you want to add some pizazz with one metallic color, try gold or silver. Red, green or clear lights would work best with this style. Wintry colors, like blue, silver and purple. Use your tree to imitate the icy, glittering colors of a snowy Christmas. If you choose this scheme, try to avoid mixing in anything red, yellow, or golden. Pick clear or blue lights to go with it. For a truly minimalist winter look, use only white and silver decorations. Metallic colors, such as gold, silver and bronze. The good news is that metallic colors are easy to mix, and you can play with one, two or three. They're best accented with clear lights. Cool or warm colors. If you want a tree that's a little more diverse, try sticking to colors that are either cool (with blue undertones) or warm (with red undertones). For instance, a warm tree might feature red, orange and gold decorations; a cool one could have green, purple, blue and silver.

Pick a theme (optional). Some people select a specific theme for their Christmas trees, such as angels, nutcrackers or snowflakes. You can also collect ornaments from a specific region, city or country as a theme. A theme can help your tree look cohesive, as well as making it stand out against other trees. If you tend to collect ornaments that are centered around a particular theme anyway, this could be a fun way to decorate your tree and expand your collection. If you're not much of a theme collector, don't worry about it too much — "Christmas" is enough theme for most trees!
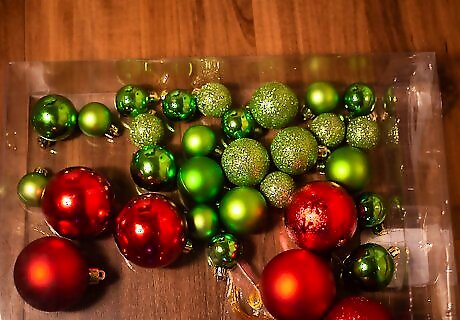
Purchase ornamental bulbs (optional). Maybe you've already collected ornaments for several years, and you're planning on using those. If not, though, now's the time to get a set that will make your tree look elegant and classic for years to come.

Look at ornament multi packs. Most stores sell ornaments in boxes of six to 12, at a fairly reasonable price. Though you can add a few more interesting and expensive ornaments to the mix, these multi pack bulbs make up the base of most people's Christmas tree ornaments. You can also create your own "set" by buying ornaments made of the same materials like you may like collecting crystal ornaments, wooden toy ornaments, crochet snowflakes or even an artist or brand set. You may choose ornaments that are matte, or some that are more shiny. You can even mix the two, as long as colors and designs don't clash too much. Christmas balls or baubles and other basic ornaments used in their place come in many designer packs with different colors, textures, designs on one set. Pick one main color or two for the basic finishes. Red and green can be in all shiny or matte, or one color can be matte and another one shiny. Silver and gold and other metallics are great neutrals. Don't be afraid of adding new colors and/or new ornaments with the two colors of your selection dominating it or in the same color scheme. You can also have different colors in a specific scheme like all deep rich jewel tones, all earth tones, or all pastels. Don't be afraid to experiment with mixing colors, finishes, and textures on one tree. If your doing single-color (monochromatic) tree consider having variety in the selected color. Try different shades, values, tints, of the color. You can also have all shiny balls of the color and change up the display with with the ribbons having a totally different texture. Without variety monochromatic trees can get boring.
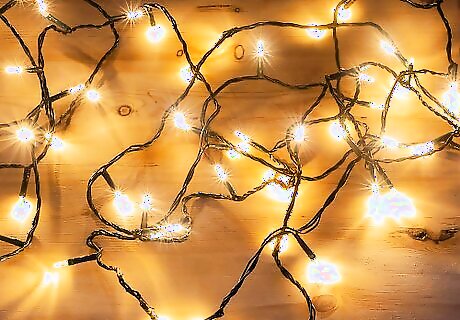
Consider your lights. The light selection has gotten really intensive over the years with many forms, shapes and colors. Before buying fancy bulb sets make sure you are ready for the hassle of finding their replacement bulbs. Small basic lights are often the best choice for many people but others may like the old fashioned look of big lights or figure lights. If using the larger lights place the individual bulbs like ornaments in the tree spacing evenly as you go. There are also more mini lights with different shapes that are not really intrusive and can be mixed with normal lights. Keep the wire color as close to the tree's color as possible. Or the wires will distract from the beauty of the tree and other decorations on it. Take advantage of the kinds of wire patterns and construction of lights. Got curtain lights? You can wrap the main wire around the circumference of the tree and wrap the individual strands of lights around the nearest branch and you might want to leave some stands hanging. Light sets wired like a garland or ribbon can just be laid on a tree like a ribbon pattern and tucked inside the tree. Try to choose lights that don't play music or flash, and stick to a color that works with your chosen scheme. If you want to have chasing or functional lights get a lot of steady burners to keep the flashing patterns from getting too busy and hectic.Give your eyes a rest. Every bulb on the tree doesn't have to flash or blink. Also instead of music lights play your favorite Christmas songs via CD Cassette or MP3. Many stores now have many cool tech devices that let the user program the lights to music from a radio boombox or MP3 device which might be great for holiday parties. If you want to make a fail-safe choice, pick white or off-white lights. How many lights? This varies depending on personal taste, the tree itself, the size and brightness of the bulbs on the set rather than the number of lights. One basic rule is at least 25 to 50 bulbs per foot but this really depends on many individual factors. Use one's own judgement and be ready to adjust this to best suit ones needs.
Starting with the Least Movable Decorations First
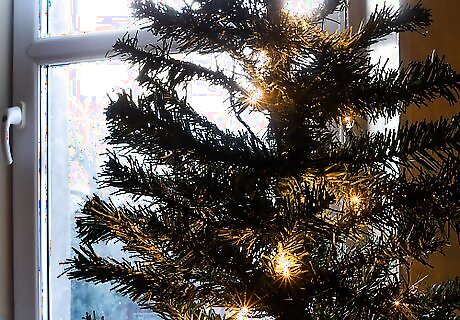
Hang the lights first. The lights go first so that you don't see wires all over the other decorations on the tree which is not a pretty sight. Putting up strands of lights can be the most labor-intensive part of decorating a tree. Do it right, though, and it'll make your tree look more magical than anything else you could do to it. Follow these tips for maximum light-stringing success: String the lights from top to bottom, pushing them partway into the branches to hide the cord. Space them evenly. If you're not sure how even the lights look, step 10 feet (3.0 m) away from the tree and squint your eyes. Take note of any particularly bright or dark spots.
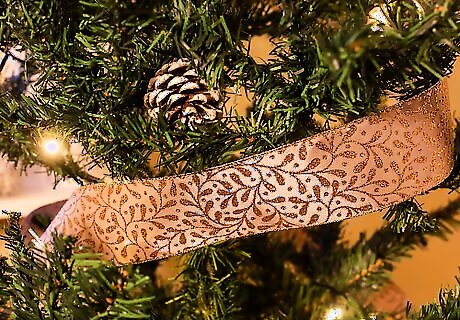
Put up garlands or ribbons. If you were to put the ornaments before the garlands and ribbons there's a chance that the garland can get caught in an ornament hook and make that ornament fall. Once your lights are up, you can wrap your tree with anything else that should go on beneath the ornaments. What you choose to use will depend on your personal taste, but consider these points: Avoid fluffy tinsel. Fluffy strands of tinsel were a mainstay of mid-century Christmas trees, but they've fallen out of style lately. If you're a tinsel die-hard or you like the shimmery look, try smaller wire-based garlands that feature smaller pieces of foil, usually cut into shapes like trees or stars. Plastic icicles are difficult to do right. Like tinsel, strands of plastic icicles with small lights inside them used to be more common. If you've used them successfully in the past, you probably know how to pull it off without making the plastic really noticeable; if not, though, choose something else. Icicles are now available in glass and tin and both add shine to your tree. If you like popcorn garlands, keep them white. That means: no pre-buttered popcorn. For a look that's as elegant as possible, pop the corn yourself so that it'll be a nice wintry white, instead of yellow-tinged. It's hard to go wrong with metallic or plastic beaded garlands. As long as you choose a color that fits your scheme and a size that's dainty, strings of metallic beads or stars will probably look great on your tree. Distribute them evenly along the outer branches of the tree, similar to the way you put up the lights.You can also use old bead necklaces, decorative cording, and fabric pompom garlands in appropriate colors Use wired or mesh ribbon. If you want to put up a ribbon garland, make sure you choose a kind that will hold its shape instead of flopping over. Choose medium width, so that the ribbon is still wide enough to see from afar, but not so large that weaving it around the tree is difficult. Add small bows, evenly distributed along the length of ribbon, to make it look even better.
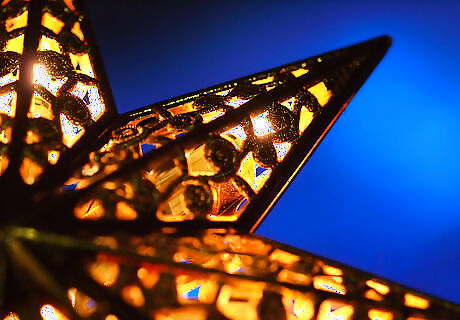
Add a topper. Putting on the topper before the ornaments might seem crazy, but think of it this way: you don't want to be calling "Timber!" on a tree loaded with precious glass ornaments if something goes wrong. What kind of topper you choose depends on the theme and look of your tree, but here are some popular options: A star An artificial bird An artificial flower (choose your favorite one) An angel A pretty bow Imitation holly leaves and berries A large snowflake A Christian cross A Crown or Tiara
Placing the Ornaments
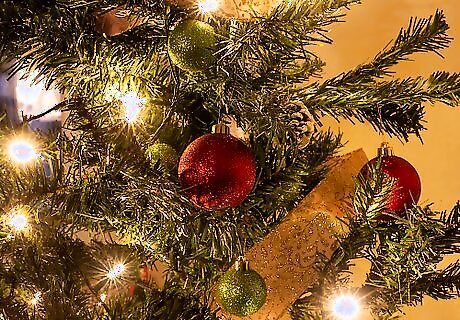
Before you place any ornaments on your tree, categorize them in piles. Keep definite ornament sets together in separate piles or in a box in the category it belongs. You can categorize by color, materials, all snow themes, all religious themes together in each pile. If you have a "complete decorator set" like a 60 piece "Winter Splendor" set with all ornaments in glass,a good approach is to create "mini categories" that are very specific. All the balls with the exact same pattern or all figurative ornaments can go in their separate categories. Use this approach also when you have a lot of ornaments of the same thing like all snowflakes or the same gold ball with the same texture or finish with a different scene. Place one ornament from the pile category on the tree on each "side" this can be 2, 3, 4 sides so that an ornament category can be seen throughout the tree. Simply when you place an ornament in your tree place one in the opposite side. Work from top to bottom, and try to distribute them evenly. Remember to place some a few inches back into the tree, to give it a little depth. As you go with decorating the tree you can create patterns and effects. This gives your tree a cohesive look and gives the illusion of a professional. If you're using a mix of bulb ornaments and specialty ornaments, add the bulbs first. Think of them as your base. Then you can choose where to distribute stand-out ornaments, so they'll both easily seen and integrated with the rest of the tree. Consider the bottom of the tree. If you have pets or small children, you might want to avoid placing anything too precious where it can be easily pulled down. Instead, consider filling in the area with extra lights or garlands making sure that these are extra secure so they can't be yanked off the tree. You can even use things that aren’t strictly for the tree. Candy and other treats are a traditional addition and popular with kids. Also try natural objects like pine cones and fake or non-edible fruit.
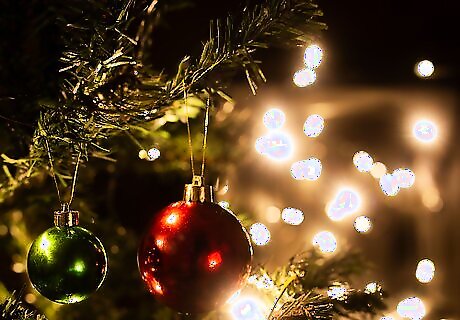
Show off the ornaments to their advantage. Shiny and glittery stuff looks good reflecting lights from in the tree. Clear translucent or transparent ornaments can look really pretty in front of a bulb. You can place house ornaments over the bulbs to give the illusion of a lighted house. Hide your animals and birds deep within the tree to give guests a surprise or shock as they look in your tree! A blue ball can look nice next to a blue light. Place larger ornaments deep inside the tree closer to the trunk to give dimension. Smaller ones can go on the outer parts of the branches. Placing large ornaments on the outside can be effective if done sparingly.Also place solid heavy solid looking ornaments near the bottom and deep inside a tree and your lacy and lighter ornaments further out the branches to give balance. You can also create mini caches for special ornaments by surrounding that ornament with ornaments of a similar color theme or like a house ornament can be placed next to a snowman ornament, a bird can be placed next to a fruit to make it look like he's eating at the fruit. Place plain ornaments deep in the tree and your special ones further out. Also try to place ornaments on a mis-matched tree where they make sense like angels and stars near the top and houses and deer on the bottom.







Comments
0 comment