views
Getting Your Hair and Iron Ready

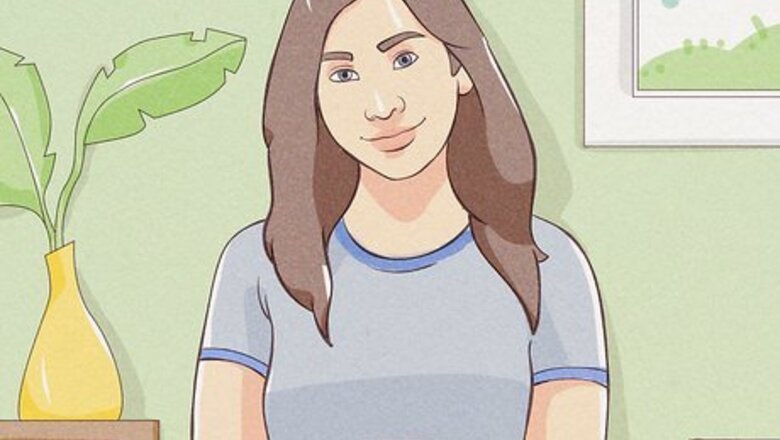
Start with clean, dry hair. Your hair doesn’t have to be freshly washed, but it must be clean, moisturized, and completely dry before you begin. If your hair is dirty, oily, or has styling products in it, give it a wash with a clarifying shampoo. Condition with your favorite conditioner, rinse, and let your hair air dry completely. For healthier hair that's easier to curl, use anti-frizz shampoo and conditioner that contains moisturizing ingredients, like jojoba oil and honey. Using too much shampoo can strip your hair of natural oils. Always use the recommended amount, and dilute it with water to help work it through your hair. EXPERT TIP Laura Martin Laura Martin Licensed Cosmetologist Laura Martin is a Licensed Cosmetologist in Georgia. She has been a hair stylist since 2007 and a cosmetology teacher since 2013. Laura Martin Laura Martin Licensed Cosmetologist Laura Martin, a licensed cosmetologist, advises: "Divide thick hair into 1-inch sections, wrap the curling iron all the way to the scalp, and leave it there for 8-10 seconds before unwrapping it for the best results."
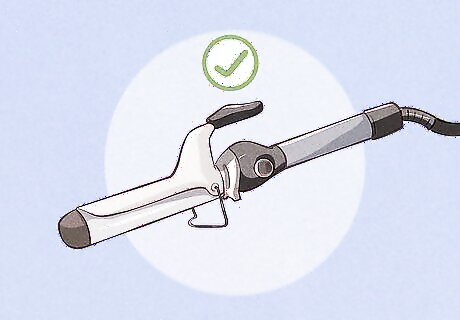
Choose the right curling iron. The type of curling iron you use is important on two counts: the material and the barrel size. Irons made from certain materials will be better than others for thick hair, while the barrel size will help you achieve different curl styles. Ceramic and titanium curling irons are preferred by most professionals because they can penetrate thick hair better than other curling irons. For loose curls and waves, choose a curling iron with a thicker barrel, somewhere between one and two inches (2.5 and 5 cm). For tighter and smaller curls and ringlets, opt for a smaller barrel, like one around three-quarter inches (1.9 cm).

Preheat your iron. To prevent heat damage, you should always use a high-quality curling iron with an adjustable temperature gauge. For thick hair, start around 200 to 300 F (93 to 149 C) and see how your hair responds to the curls. If your hair is healthy and needs a bit more heat, increase the temperature, but never exceed 400 F (204 C).

Divide your hair into sections. Comb your hair with a wide-toothed comb or plastic-tipped brush. Use the tops of your ears as a reference to divide your hair into an upper and lower section. If your hair is extremely thick, divide it into three or four sections. Clip up the sections of hair separately, leaving the bottom section loose and down. Once you curl all the hair in the bottom section, you can let down the other sections of hair one at a time and begin working on them.
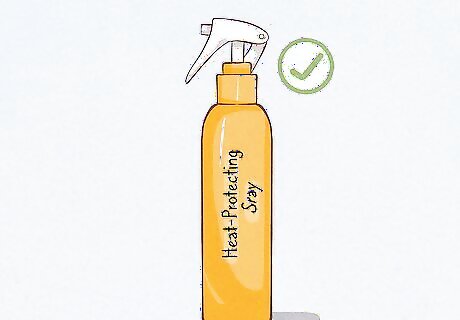
Apply a heat-protecting spray to each section as you curl. Even thick hair is prone to heat damage, so it’s important to protect it. Regardless of what type of curl you want to achieve, divide your hair into small sections. Working with small and thin sections will reduce the amount of time you need to apply heat, help curl thick hair more easily, and allow your hair to curl more evenly. Before you curl each section, apply a heat-protecting and setting spray or mist that will both protect your hair from heat damage and help it hold the curls. Hold the bottle at least six inches away from your hair to prevent it from soaking your hair. Comb the spray through before curling. Make sure that each section you curl is no wider than the diameter of the curling iron.
Curling Your Hair
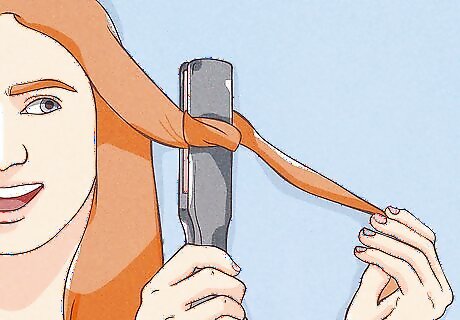
Go for a flat curl. Now that your hair has been prepared, you can use a number of different techniques to achieve different types of curls. One such curl is the flat curl, which will result in a full and voluminous curl. Starting at the top near the root, begin wrapping the hair around the barrel, always keeping a hold on the tip of the section. Close the blade, and while still holding the tip of the section, pull the iron away from your head as you rotate the barrel so that the hair feeds through again. Do this for five to ten seconds, then release the blade and let your hair out. Instead of letting the curl fall immediately, cup it with your hand and let it cool for a few seconds so it doesn't lose its shape.
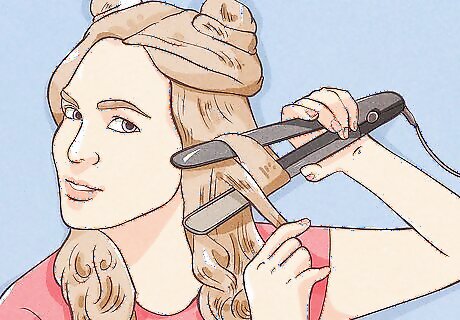
Give yourself beach waves. Beach waves are a loose and wavy curl style that’s modelled after hair that’s been exposed to fresh, salty air all day. To achieve this look, wrap your first section of hair flat around the vertical barrel the same way you did for the flat curl. Close the blade and let it sit for 5-10 seconds. For the next section of hair, repeat these steps, but instead orient the curling iron horizontally. Continue alternating between a vertical and horizontal barrel for each new section.

Try a spiral curl. Take your section of hair and gently twist it until you’ve twisted the full length of the section. Wrap the twisted section around the vertical curling iron barrel. Release the blade and hold it there for a few seconds, and then put two fingers on top of the hair. When the hair starts to feel hot, gently let your hair out without destroying the curl. Cup the curl in place until it cools. Use your hair thickness and your temperature setting to determine how long you should hold the section for. Hold the section for 5-10 seconds if your hair isn’t very thick and/or your iron is set to a high temperature setting. Hold the section for 15-30 seconds if your hair is exceptionally thick and/or your iron is on a lower heat setting.

Finger comb all curl styles and set them with hairspray. Regardless of the curl style you've chosen, you should finger comb and spray your curls once they've cooled. Finger combing will loosen the curls and give them more volume and body, and the hairspray will set them for a long-lasting style. Simply run your fingers through the curl once or twice, then apply a light layer of hairspray to help set the curl for the day. If you’re going for the beach waves style, relax your curls by combing through them with a wide tooth comb. If you don’t have hairspray, clip or pin the tip of each curl to your head instead of letting it fall as you go. When you're done, release the curls and comb through them with your fingers.




Comments
0 comment