
views
Crocheting the Foundation Row
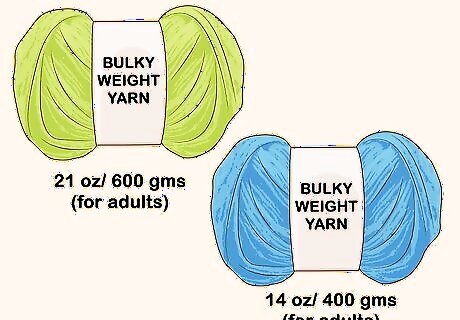
Choose your yarn. You will need about 600 grams (21 oz) or 6 balls of bulky weight yarn to complete this project. However, this pattern is for an adult sized blanket. If you are making a blanket for a small child, then you may only need 4 balls or 400 grams (14 oz) of yarn. Either way, make sure that you have plenty of yarn in the color or colors that you want to use.
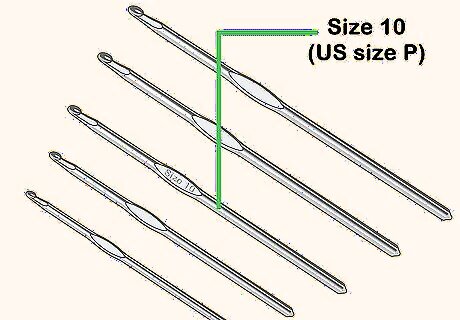
Get a crochet hook. Use a size 10 (US size P) crochet hook to create your mermaid blanket. This size hook is compatible with bulky weight yarn. Do not try to use a hook that is smaller or larger because the results will not be the same.
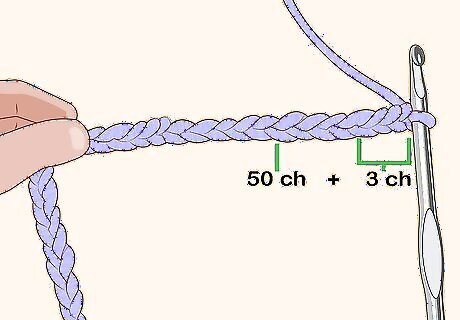
Chain 50 plus 3. Start by making a chain of 50 stitches plus 3 additional stitches to provide slack for the first stitch. To chain, loop the yarn around your fingers twice and pull the first loop through the second loop to make a slipknot. Slide the slipknot onto the hook, and pull the tail to tighten it. Then, yarn over your hook and pull the yarn through the slipknot. Yarn over the hook and pull it through the new loop. Keep yarning over and pulling through the loop on the hook to continue your chain. Each time you do this, count it as 1 chain. Continue to yarn over and pull through until you have made all 53 chains. If you are making a mermaid blanket for a small child, then chain 32 plus 3 stitches instead.
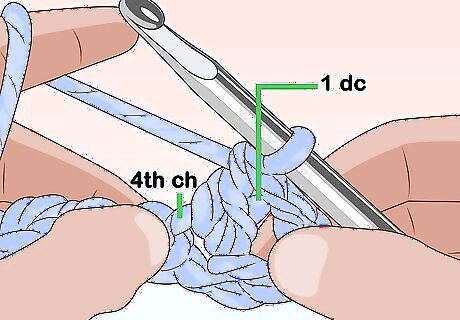
Double crochet into the fourth chain from the hook. Begin your row by double crocheting 1 time into the fourth chain from your hook. To double crochet, loop the yarn over the hook, and then insert the hook into the chain. Yarn over again and pull through 1 loop. Then, yarn over again and pull the yarn through 2 loops. Then, yarn over again and pull the yarn through the last 2 loops.
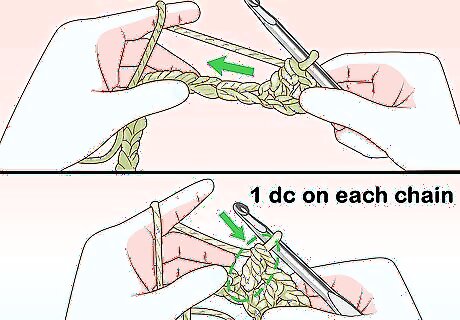
Continue to double crochet to the last chain. Double crochet 1 time into each of the chains. Go all the way to the last chain.

Work 4 double crochet stitches into the last chain. When you reach the last chain, double crochet 4 times into it. These 4 double crochet stitches will create a fan that will allow you to work around the other side of the chain and then continue working in the round. Working your stitches in the round will form a pocket in the end of your blanket where you can tuck in your feet.
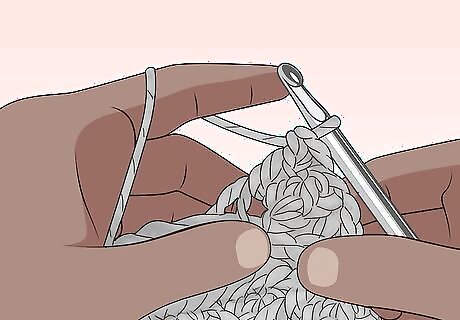
Double crochet across the other side of the chain. After you work 4 stitches into the end chain, double crochet into the stitches on the other side of the chain. Double crochet 1 time into each chain.
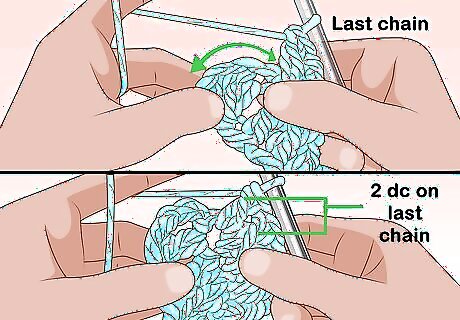
Work 2 double crochet stitches into the last chain. When you reach the last chain, work 2 double crochet stitches into it. This will help to form a curve at the end of the round.
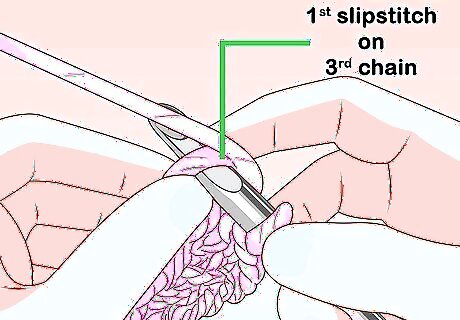
Slipstitch into the top of the chain to connect the stitches. Connect the ends of your round with a slipstitch that goes through the top of the first chain in your round. Insert the hook into the stitch, loop the yarn over, and pull through both stitches on your hook.
Working the Second Round
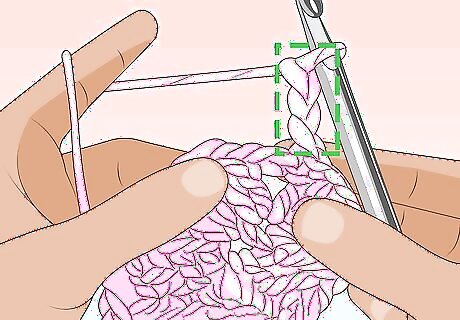
Chain 3. To begin the next round, start by making a chain of 3. You will start every round this way to ensure that you have enough slack to work the first double crochet stitch. This is called a turning chain, but do not turn your work over when you are working in the round.
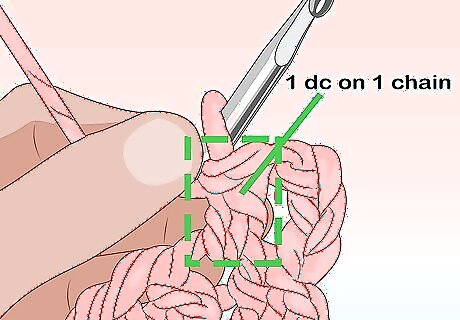
Double crochet into the first available stitch. After you make the turning chain, double crochet 1 time into the first stitch in the round.
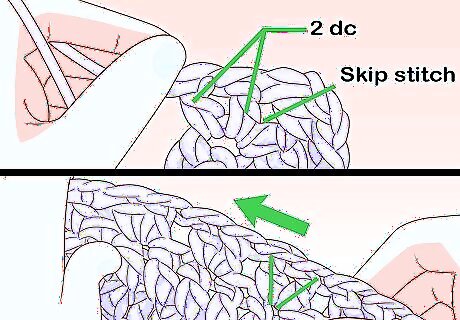
Skip the next stitch and double crochet 2 times. For the rest of the row, you will be working in the V-stitch. To do a V-stitch, skip a stitch and then double crochet 2 times into the next stitch. This will complete 1 V-stitch. Repeat the V-stitch to the end of the round.
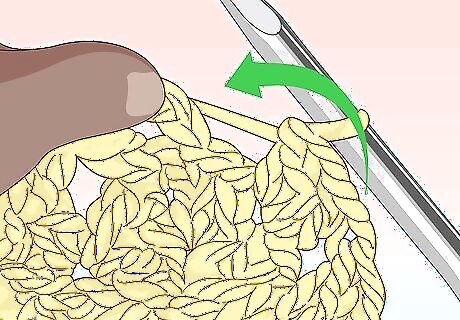
Slipstitch to connect the round. When you complete your last V-stitch, insert your hook into the top of the chain of 3 that you made at the beginning of the round. Then, yarn over, and pull through both stiches on your hook.
Continuing the Mermaid Tail Pocket
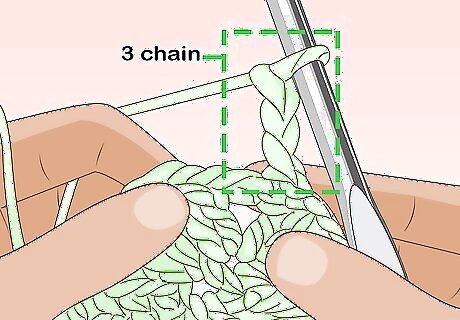
Chain 3. Start the next round with a chain of 3. This will serve as the turning chain for this round.
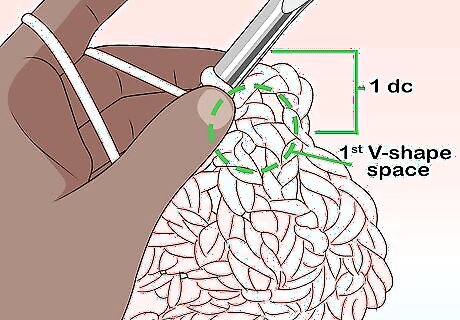
Double crochet into the first V-stitch space. For your first stitch in this round, work 1 double crochet stitch into the first V-stitch space. This is the area between the 2 double crochet stitches that make up a V-stitch.
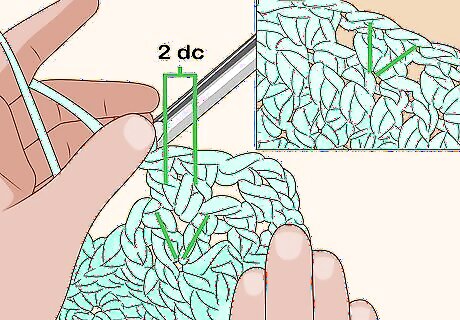
Work a V-stitch into next V-stitch space. Skip over to the next V-stitch space and work a V-stitch into it. Continue to work V-stitches into the V-stitch spaces all the way to the end of this round.
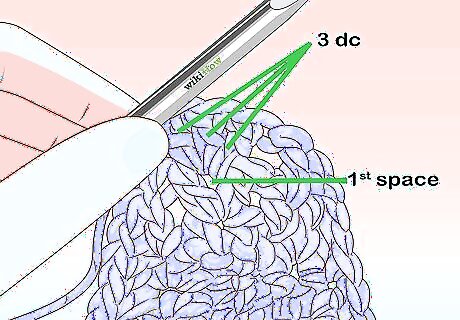
Work 3 double crochet stitches into the first stitch space. Chain 3 at the beginning of your new round and then work 3 double crochet stitches into it. This will increase the total number of V-stitch spaces in your round.
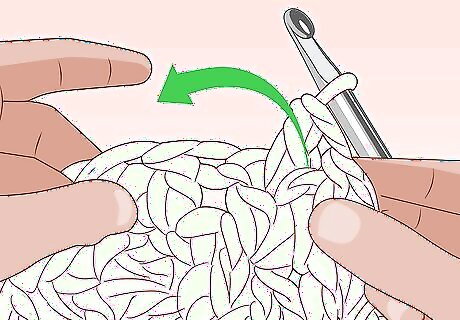
Double crochet twice into each V-stitch space to the middle of the round. Continue working the round in the V-stitch until you reach the midpoint of your round. This is the side opposite of where you worked 3 double crochet stitches into 1 V-stitch space.
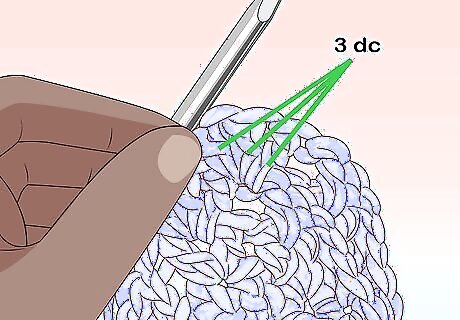
Work another increase at the other side of the round. When you get to the middle of the round, work 3 stitches into the V-stitch space. This will create another increase in your work.
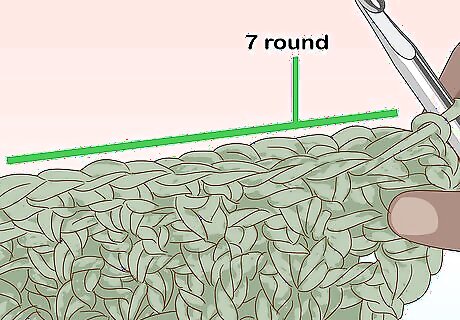
Alternate between increasing and not increasing for 7 rounds. Continue to work the rounds in the V-stitch and work increases at the beginning and midpoint of every other round. Alternate for a total of 7 more rounds to get the required number of increases in your work.
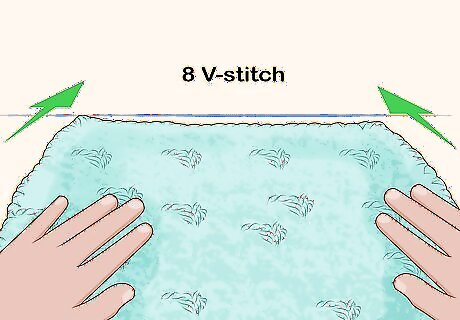
Work 8 more V-stitch rounds. After the last increase round, work 8 more rounds without increases. Work V-stitches into all of the stitches in the rounds. Make sure to begin each new round with a chain of 3 and a double crochet stitch, and end each round with a slipstitch.3
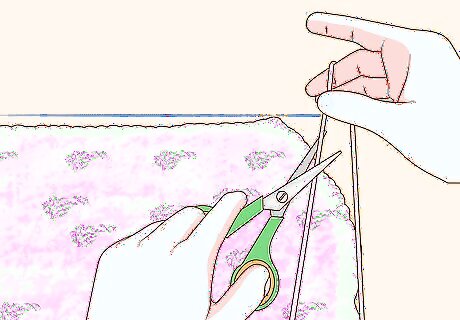
Cut and tie off the yarn. After you finish the eighth round, cut the yarn a few inches from the last stitch and pull the end of the yarn through the loop. Tie the yarn in a knot through the stitch it is extending from to secure it.
Finishing the Blanket
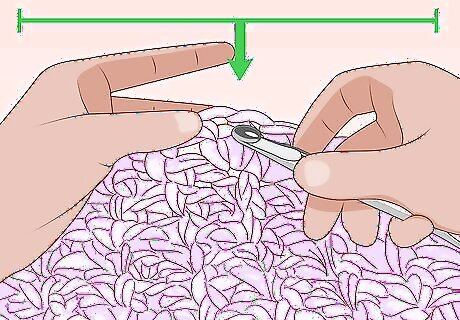
Reattach the yarn to the center of your work. Get a new strand of working yarn and reattach it to the center point on one side of your pocket piece. Make a slipknot and place your working yarn on your hook. Then, you can simply insert the yarn through the stitch that you want to attach it to, and then tie a knot. Your yarn was anchored at the ends of the pocket before you cut it. Now, anchor the yarn to the midpoint on one side of the pocket. This will ensure that the blanket’s opening will be in the back of the tail and not on the side.
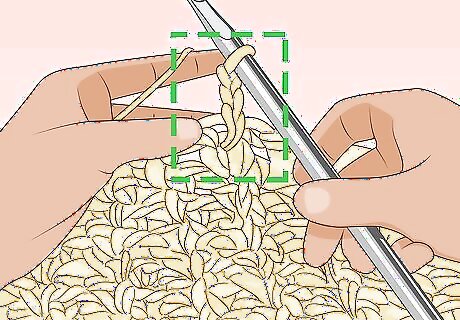
Chain 3 and double crochet into the first stitch. Start this new round with a chain of 3 and a double crochet into the first stitch. Chain 3 and double crochet into the first stitch at the beginning of every new round you create.
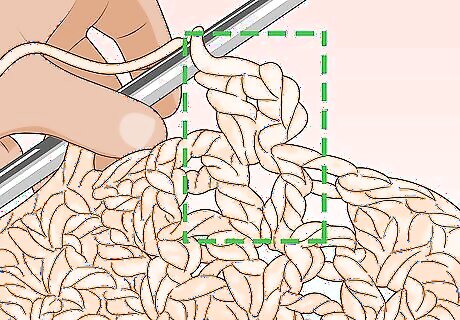
Work the V-stitch around the pocket. Next, work the V-stitch into every V-stitch space in the round.
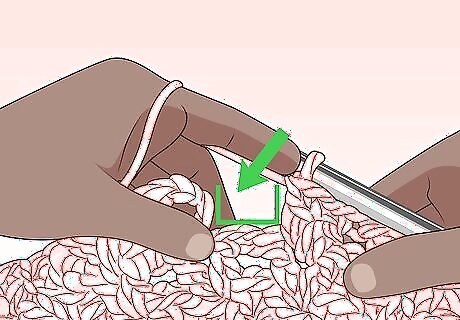
Leave the round open. When you get to the end of the round, do not connect the sides with a slipstitch. Instead, leave the round open, chain 3, turn your work, and continue working the V-stitch in the opposite direction.
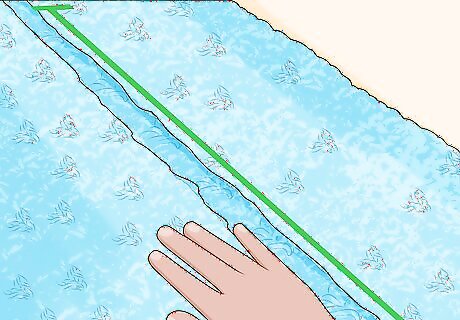
Continue working V-stitch rounds until the blanket is the desired length. Keep going back and forth in the round to complete the blanket portion of your mermaid blanket. You can make the blanket as long as you want it to be. When you finish your last round, cut the yarn, pull through the loop, and tie it off.
Crocheting the Tail
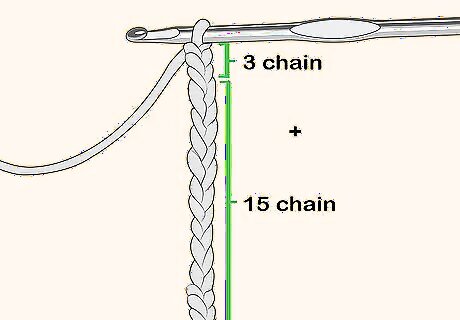
Chain 15 plus 3. The last component of your mermaid blanket is the tail. You will be creating the tail in two halves, joining them together, and then sewing the tail onto the end of the pocket part of your blanket. Start by making a chain of 15 plus 3 additional chains to provide slack for the first stitch. For a child’s size tail, chain a total of 10 plus 3 and then work the pattern.
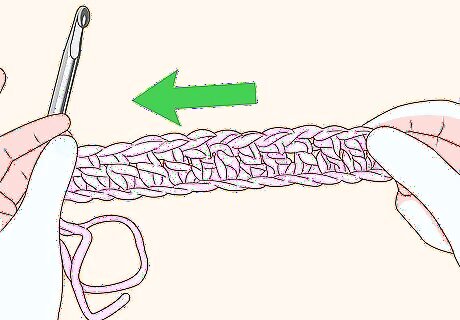
Double crochet across the chain. Begin working the mermaid tail with a double crochet stitch into the fourth chain from the hook. Then, double crochet to the end of the chain.
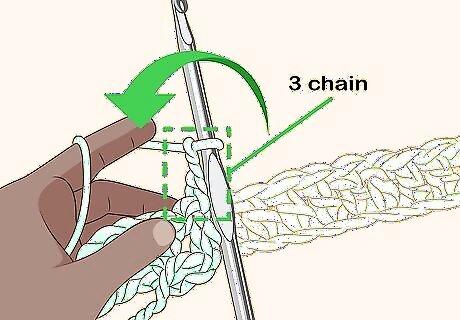
Chain 3 and turn. When you get to the end of the chain, chain 3 and then turn your work around. This will allow you to work the opposite side of the piece. You will do this at the end of every row.
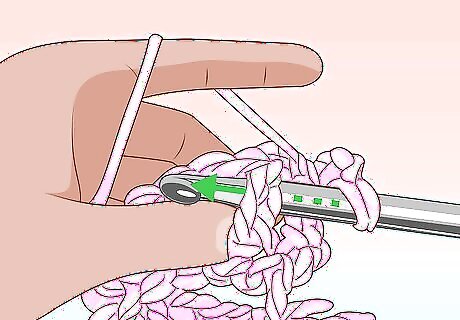
Work 2 back post double crochet stitches in the first stitch. You will be working the tail in the back post double crochet stitch. This is a textured stitch that will help to create the effect of fins. To work a back post double crochet stitch, yarn over and insert the hook through the back of the first double crochet stitch. Then, yarn over again and pull through the back of the double crochet stitch. Yarn over again and pull through the first 2 stitches on the hook. Yarn over one more time, and pull through the last 2 stitches. This will complete 1 back post double crochet stitch. Repeat this sequence to complete the second back post double crochet stitch. Working two back post double crochet stitches in the first stitch will serve as an increase. You will increase at the beginning of all of your even rounds and at the end of all of your odd rounds for the rest of the tail.
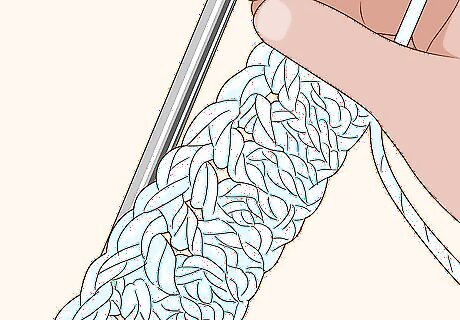
Do 1 back post double crochet for each stitch in the rest of the row. After you finish the increase, work the back post double crochet stitch behind every double crochet stitch in the row.
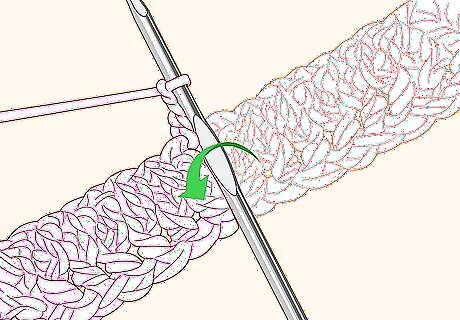
Chain 3 and back post double crochet into every stitch in the row. When you get to the end of the row, chain 3 and then back post double crochet to the end of the row.
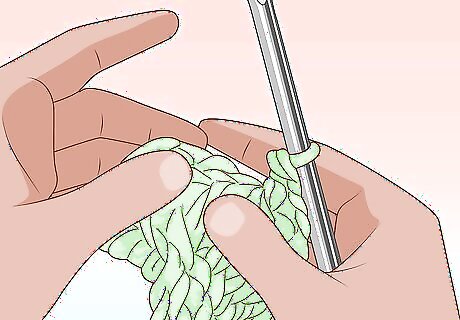
Work 2 back post double crochet stitches into the last stitch. Since this is an odd row, you will need to work the increase at the end of the row. Work 2 back post double crochet stitches into the end of the row. Then, start the sequence over again by chaining 3, working an increase, and then back post double crocheting to the end of the row.
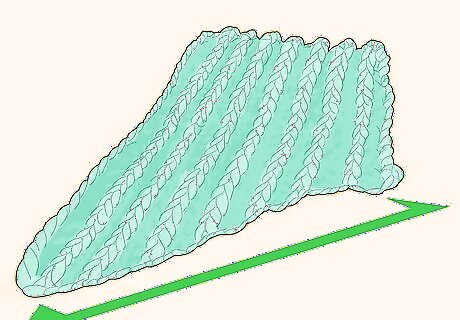
Complete 13 more rows. Continue to back post double crochet and increase on the same end each time. Do this for 13 more rows, then cut your yarn a few inches from the last stitch and tie it off.
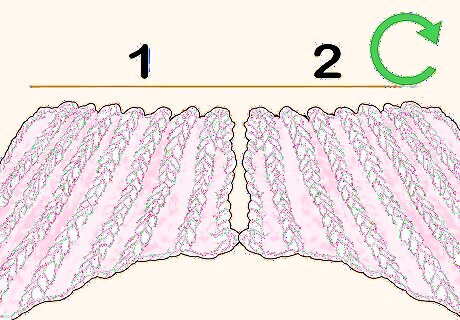
Repeat to make the 2nd half of your tail. After you complete one half of the tail, repeat the process to create the second half of your tail. Make the second half in the same way to ensure that they are identical.
Attaching the Tail
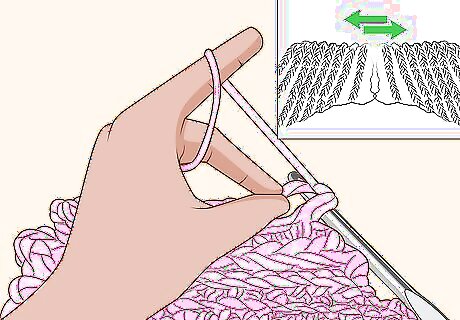
Join the pieces in the middle. Use your crochet hook to single crochet through the stitches on the short ends of your tail. This is the end that started your tail with a chain of 15 plus 3 (or 10 plus 3 if this is a child’s size blanket). Anchor the yarn to one of the ends of one of the tails, and then single crochet through all of the stitches on both of the tails’ short ends. Then, cut the yarn, pull it through, and tie it off. To single crochet, insert your hook through both of the stitches, and then yarn over. Pull the yarn through the first stitch on your hook, and then yarn over again. Pull through both stitches to complete the first single crochet stitch.
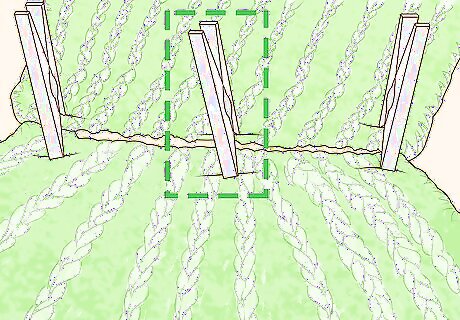
Clip the tail to the bottom of the pocket to check the placement. After you have joined the tail halves, you will need to sew the tail onto the end of your pocket. Use a few laundry clips to attach the tail to the pocket temporarily. Make sure the tail is evenly distributed along the pocket. You will have to gather it slightly, so it is important to check the placement before you sew.
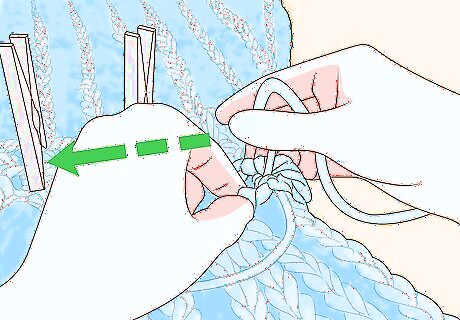
Sew the tail to the bottom of your blanket. Then, thread a yarn needle with about 30 inches (76 cm) of yarn. Then, use the needle and yarn to attach the top part of the tail to the bottom of the pocket. Start sewing through the stitches on one end of the tail’s top and the pocket’s bottom. Work all the way across the pocket bottom and tail top. When you reach the end, cut the yarn a few inches from the last stitch, pull it through, and tie it off. Your mermaid tail blanket is now complete!
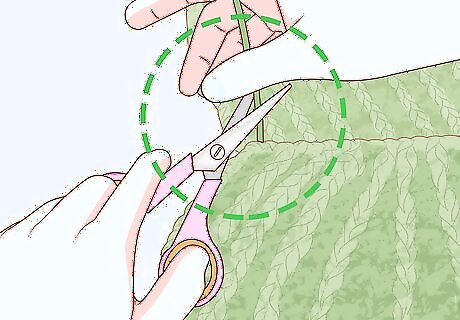
Weave in or cut the loose ends. After you finish your blanket, you can go back over it with a yarn needle and weave the ends into the blanket to hide them, or you can simply trim them off. If you decide to weave the ends in, thread the loose yarn onto a yarn needle and weave it in and out of the surrounding stitches. If you decide to trim the loose ends, cut them so that the excess yarn extends only about 0.5 inches (1.3 cm) from the stitch it is connected to.





Comments
0 comment