views
Making Classic "Rolling" Credits

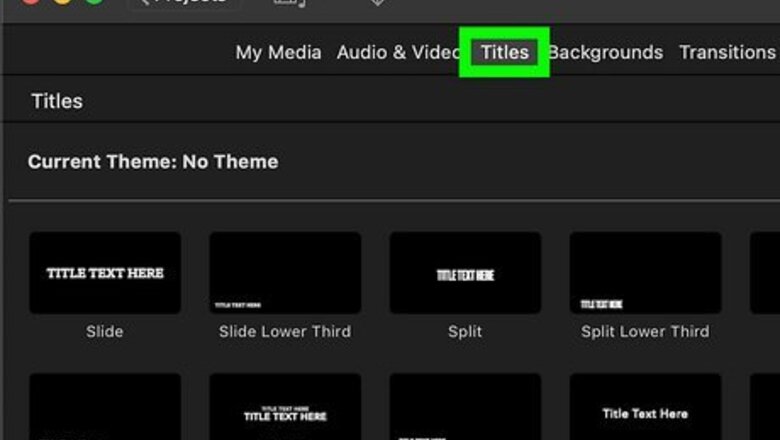
Click on "Window," then "Titles." In rolling credits, the names start at the bottom, then scroll up to the top and out of frame. These are the typical credits in a movie. To make customized credits you'll need to do a little extra work later on. In some versions of iMovie, you get to the titles by clicking the large "T" under the "Content Library" section on the left-hand side of the page. In some versions of iMovie, you must click on the 'Title' tab towards the right-middle of the screen. Then, select the 'Credits' option. You can also try Command + 3 to get to the titles settings screen.
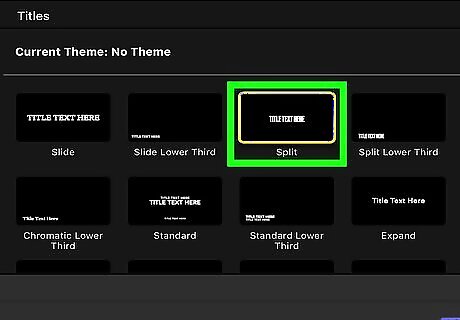
Hover over the titles to get a preview. If you hover your cursor over the different choices, they will animate, giving you a preview of what the larger version will look like.

Click and drag "Rolling Credits" into your editing time line. This gives you the chance to work with the credits and customize them for you movie.
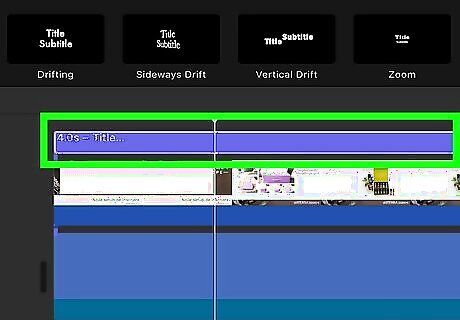
Double click on the title to edit it. There will be general text, like "actor" or "role," that you can replace with your specific text. Hit ↵ Enter to start a new line and add a new credit.
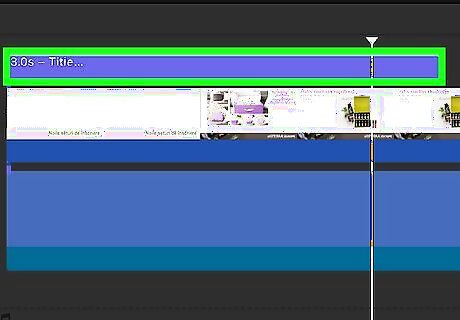
Change the length of the text to edit how long your credits run. If you extend the credit sequence in your timeline (by clicking and dragging the right edge), you'll make the credits run slower and take longer to complete. If you shorten it they will run faster.

Drag the credits on top of video footage if you want them to scroll over an image or video. This is frequently done for the first few credits, as the background video fades away. To do so, simply place the titles in the video slot above the movie you want and underneath the credits. Click on the video in your timeline, then double-click it in the preview window. This allows you to resize it and move it, so you could put it next to the credits as they run. You can do the same thing with your credits.
Making Customized Credits

Use individual title cards to make specific credits. Do this to place a picture of the actor next to the credit, or when creating non-moving, big credits. You simply make and order individual title credits, placing them one after the other in the timeline. If there is no video file underneath the title, they will play over a black screen by default.
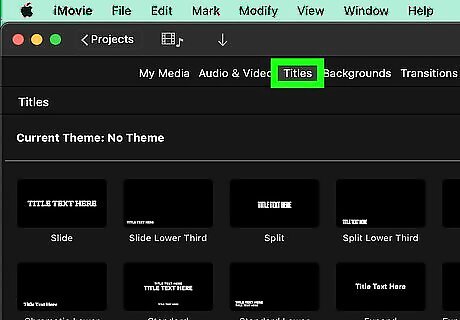
Find your Title editor. This is different depending on your version, but is frequently under "Window" → Titles/Credits" For some versions of iMovie, click the large "T" under the "Content Library" section on the left-hand side of the page. For other versions of iMovie, you click on the 'Title' tab in the upper right portion of the screen. Then, choose the 'Credits' option. You can also try Command + 3 to get to the titles settings screen.

Hover over the titles to get a preview. If you place your cursor over the different titles, they will animate for you, giving you a preview of what the final version will look like.

Double click on the title to edit it. There will be general text, like "actor" or "role," that you can replace with your specific text. Hit ↵ Enter to start a new line and add a new credit. You can even change colors or font sizes here.
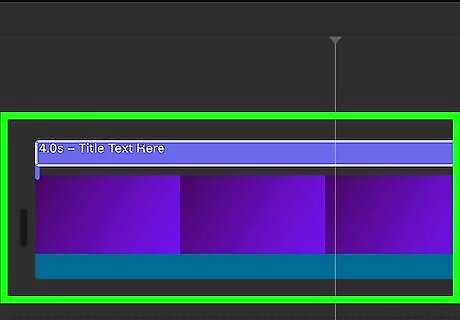
Place the title over a video or image file to give it character. Simply drag the title on top of the video you want. You can use "Transform" effects to resize the clip/photo, placing it next to the text however you want. Click on the title in the preview screen to move it. This allows you to move the text or images so that you get the best titles you can make.






Comments
0 comment