
views
Creating a Watermark

Open the image you want to watermark. Upon launching Adobe Illustrator, you'll have the option of selecting or creating a new document. Click Open, locate the file you want to edit, and then click Open.

Click the Type Tool. It's the T icon at the upper-right of the toolbar on the left side of the window.
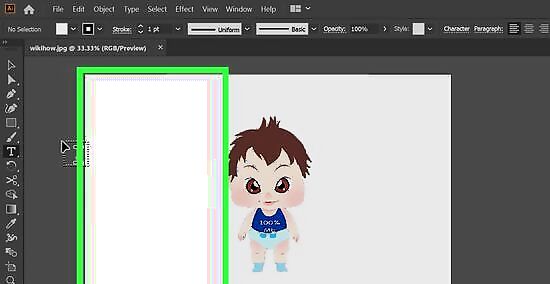
Click anywhere on the document. Doing so creates a text box that contains the text "Loren ipsum."

Type your text watermark. Type anything you like, such as your name, URL, or company name. Other common watermarks include "Sample," "Draft," or copyright notices.
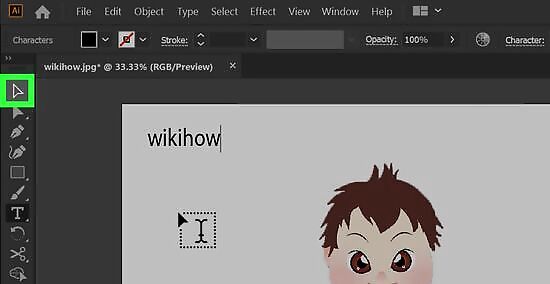
Click the Selection Tool. It's the black pointer in the upper-left part of the toolbar on the left side of the window.
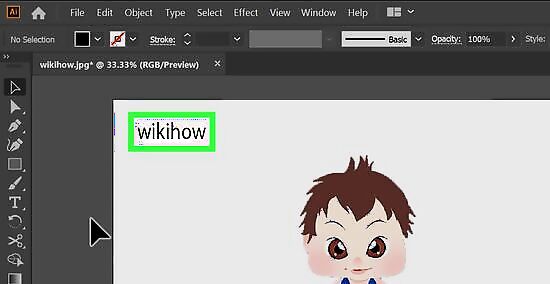
Single-click your watermark text. This selects the text as an object that you can edit. You can adjust the font face, size, and color on the Properties panel, which is on the right side of the screen. The font information face and size settings are at the bottom of the panel under the "Character" heading. If you'd like your watermark to appear at an angle, click on the Rotate Tool ("↺") in the left-center of the toolbar on the left side of the screen, then click and drag over your watermark to rotate it.

Move the watermark to where you want it to appear over the image. To do this, click and drag the watermark text to the desired position.

Decrease the opacity of the watermark. Locate the "Appearance" section of the Properties panel on the right side of the screen. To make your watermark less opaque, select 50% from the "Opacity" menu in this section. This makes the background image visible beneath your watermark.
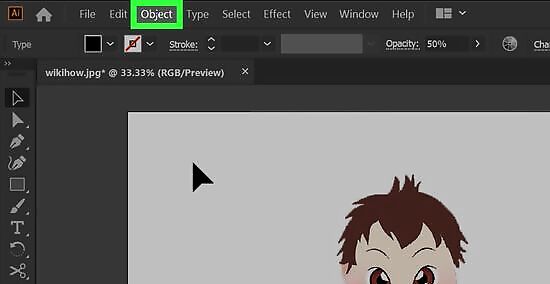
Click the Object menu. It's in the menu bar at the top of the window.
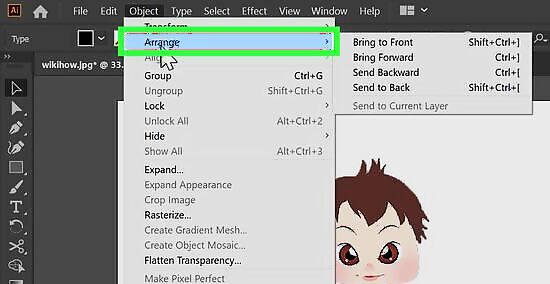
Click Arrange. It's near the top of the menu.
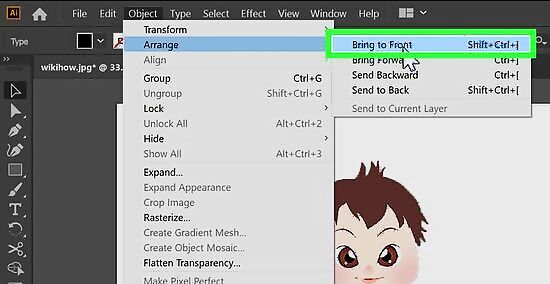
Click Bring to Front. Your watermark is now the topmost object in the layer.
Locking the Watermark
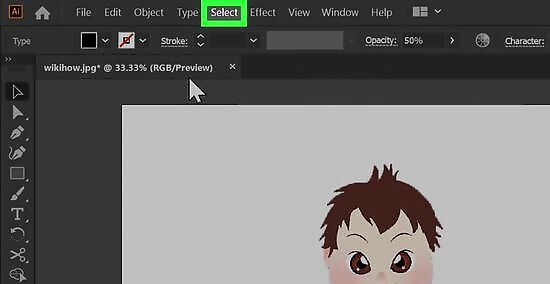
Click the Select menu. It's in the menu bar at the top of the window.
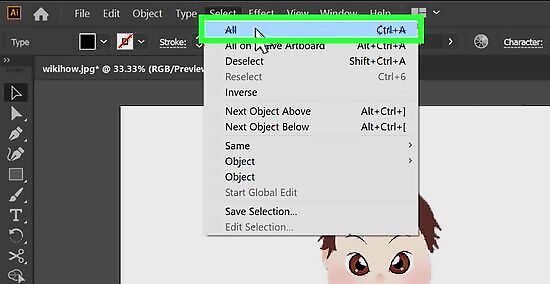
Click on All. It's at the top of the menu. This selects all objects on the image.
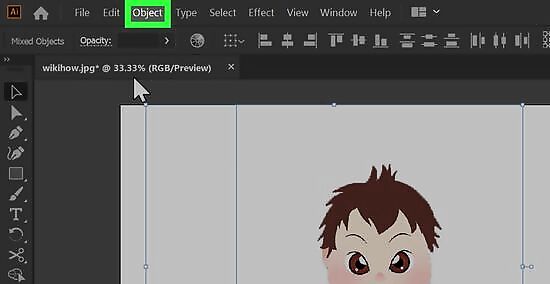
Click the Object menu. It's in the menu bar at the top of the window.
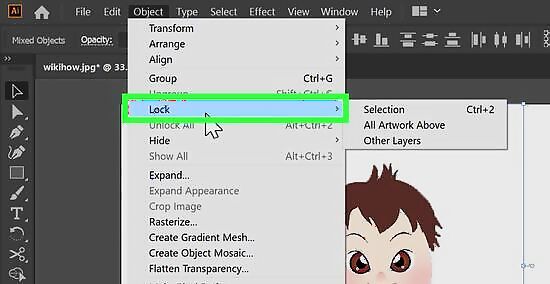
Click Lock. It's near the top of the menu. Another menu will expand.
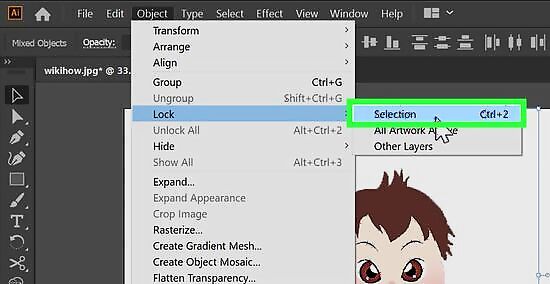
Click Selection. The watermark is now "locked" in place on top of the image.
Saving the Watermarked Image
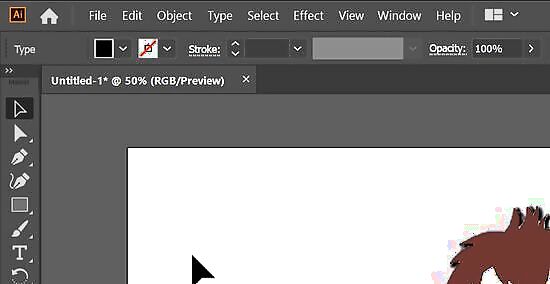
Click the File menu. It's in the menu bar at the top of the screen.

Click Export…. It's near the bottom of the menu. Another menu will appear.

Click Export As. It's the second option in the menu. This opens your computer's Save As dialog box.
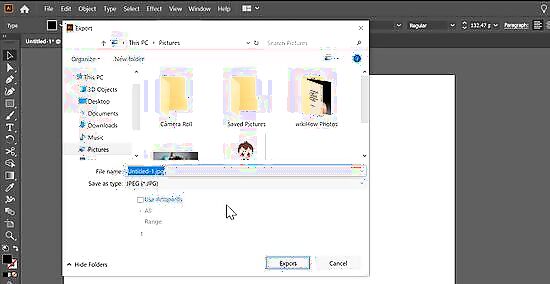
Enter a name for your file. This goes into the "File name" field near the bottom of the window.
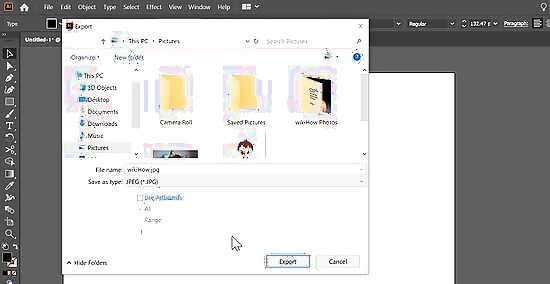
Select a file format. You can save the file in any of the available file types. If the image will be used on the internet, choose a common file type like JPG or PNG.
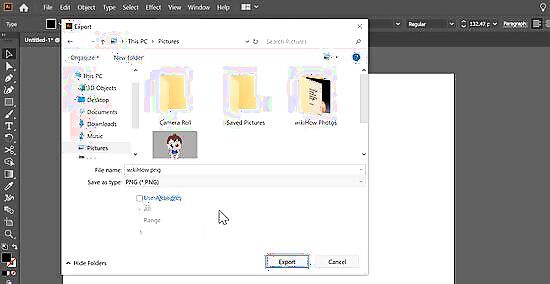
Click Export. It's the button at the lower-right corner of the dialog box.
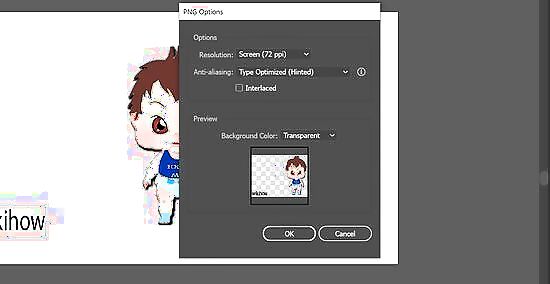
Choose additional settings and click OK. Depending on the file type you chose, you may be asked to choose other properties for the file, such as the resolution and/or quality level. Make your selections if desired, and then click OK to confirm.


Comments
0 comment