
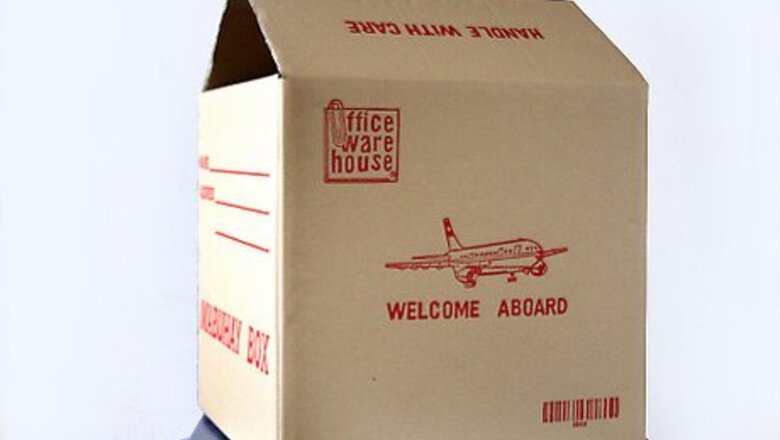
Get the cardboard box that you will be using. Mark out where you will be cutting. You will want to leave yourself 1.5 to 2 inches (3.81cm to 5cm) on each side.
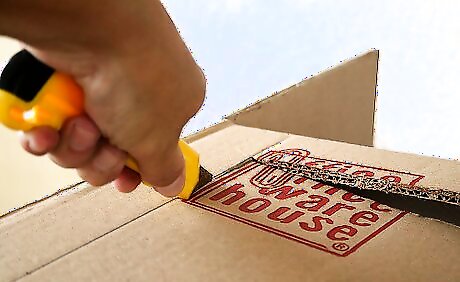
Carefully, cut out the sides of the box. It is up to you whether or not to cut the third side. Cut out at least three sides of the box.
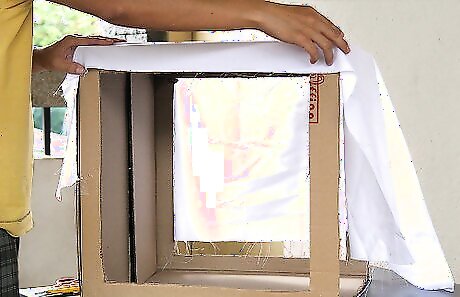
After removing the sides, start recovering the sides with whatever diffuse material you have chosen. The material in this screenshot is a very inexpensive shower curtain liner. Continue doing this for at least three of the sides. The fourth side will need to remain open.

Find something to put in your softbox for a continuous background. This image has white poster board taped together. Admittedly, the image here is not the best look but it gives you the idea; check out the introduction image for a smoother finish.
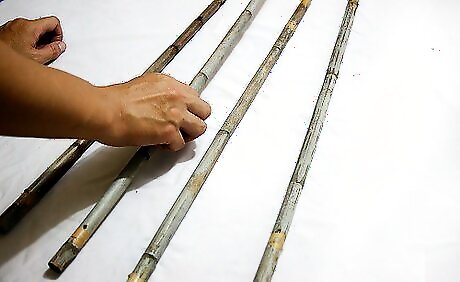
Optional: to add stability for you lightbox get some sticks, cut them so they would fit the opening of the box.
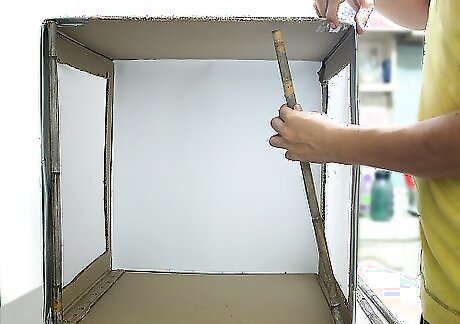
Place them at the corners of the box.
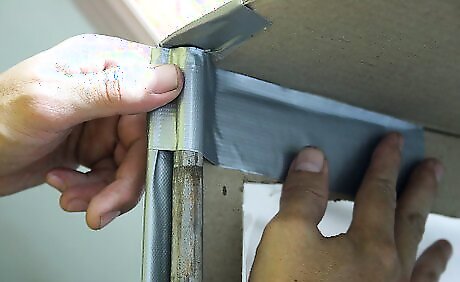
Secure them with tape.
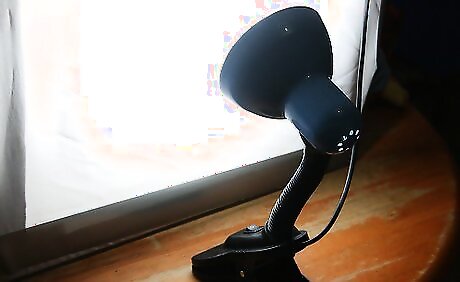
Continue experimenting with various lights to get the right look you need for your photographs. While this article has explained how to create a softbox, it's quite something else to use one and that's best done through experience.
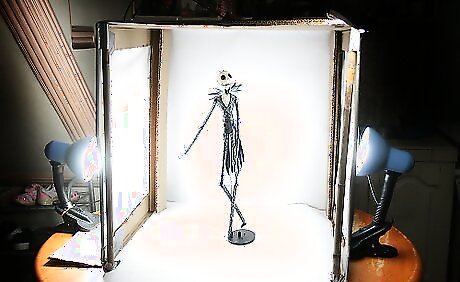
Get a subject or any item you can use to try your new lightbox.
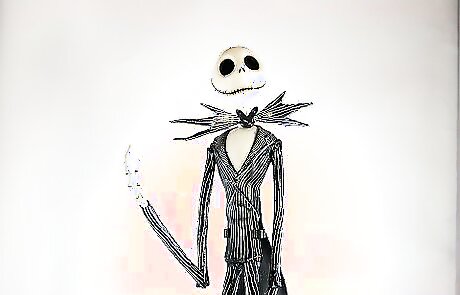
See results and enjoy!


Comments
0 comment