
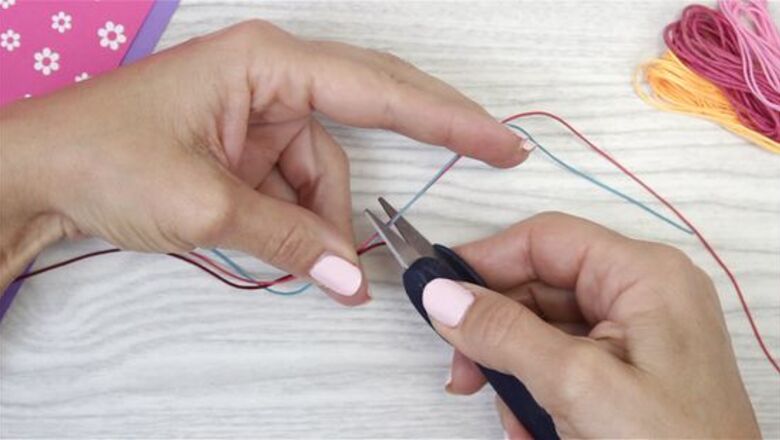
- Cut 6 strands of embroidery floss to 60–65 inches (152.4–165.1 cm) long, then tie them to a paperclip. Tape the paperclip to a table to secure the strands.
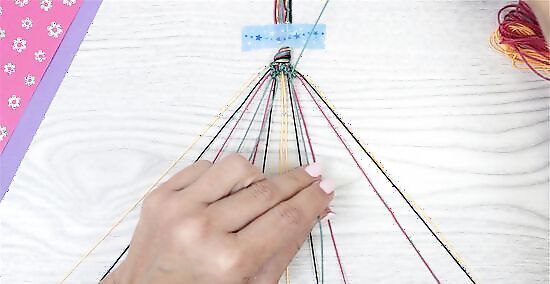
- Splay the strings on a table and tie a right knot in the rightmost string, then tie knots in strings to the left until you reach the middle. Then do the same for the left strings.
- Tie a right knot in the 2 middle strands. Then repeat the process again (tying knots in the right, left, then middle), to the end of the strings.
Making a Chevron Friendship Bracelet
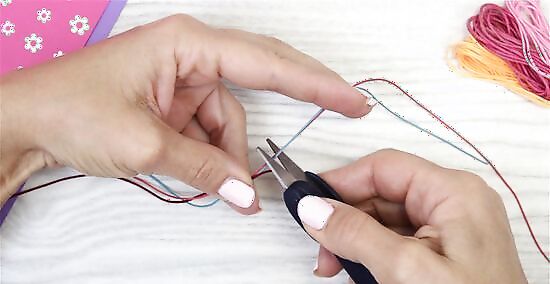
Prepare the embroidery floss. Cut the embroidery floss or craft thread about 60–65 inches (152.4–165.1 cm) for each color depending on your wrist size. You'll need at least six strands of string (two strands of three colors), but you can use any even number of strands. The more strings you use, the more complex your color arrangements will be and the wider the width of your bracelet. Use whatever colors you want; just make sure that you have two strands of every single color that you choose.

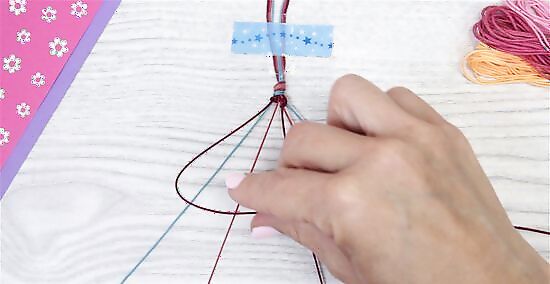
Secure the strands. Tie a knot at the end of the strands of string and secure it in any number of ways to make it easier to hold steady while you finish the bracelet. You can clip it to your clipboard, safety pin it to your pants or a pillow, or tape it to your work surface. You can also use a binder clip with a binder or book. Alternatively, you can just tie it to a drawer handle.

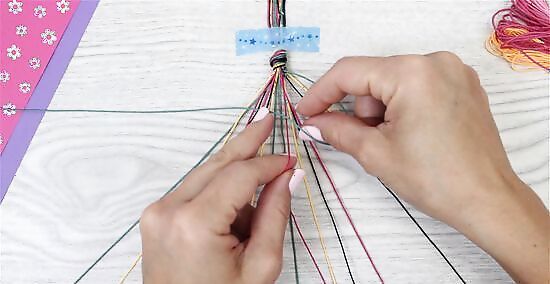
Arrange the strands. Using the thread, make a mirror-image pattern so that the two outside strands are the same color and so on going inwards. Pretend there is an imaginary line in the middle and create the same color pattern with the string on both sides of the line.

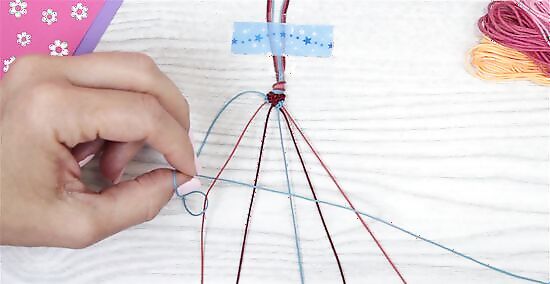
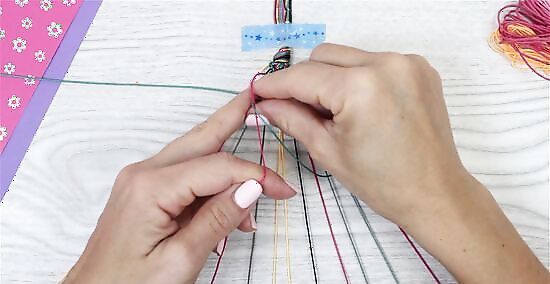
Begin the right knots. Starting with the outer-right string, tie a right knot twice on the adjacent string (the second from the right). To tie a right knot, make a ninety-degree angle with the tying string over the top of the string you are tying it to. Then loop the tying string underneath the other string and pull tight. Note: Remember to make two knots on each string. Once you have knotted the outer right string to the one next to it, do the same to the next string closer to the middle. Continue this process until you've reached the middle. Note: The string you began tying with (the outermost right string) should now be in the middle.
Begin the left knots. From the left side, tie left knots with the outer-left strand until you reach the middle. To tie a left knot, do the same as the right knot but reversed. Make a ninety-degree angle with the tying string over the top of the string you are tying it to and loop the tying string under the other string and pull it tight.

Tie the middle knots. Tie a left or right knot (doesn't matter) with the two middle strands to connect the two sides (be sure to tie the knot twice). Note: If you have done everything correctly up to this point, the strands you are tying together in the middle will be the same color and you will begin to see the V-pattern emerge.
Continue the pattern. Repeat steps 4, 5, and 6 until you reach the desired length, always starting with the outermost strands on each side. These strands should always be the same color.
Finish the bracelet. Tie a knot at the end of the pattern and use the excess string to tie the bracelet onto your wrist or the wrist of a friend. Alternatively, you can create a button-loop closure for the bracelet. Attach a button to one side by pulling any two strands through the holes in the button. Then, tie the strands together and cut off the excess of all strands (even the ones not used for the button). On the other end of the bracelet, there should already be a loop that exists between the knot at the end and the place where the knots begin. Pull the button through the loop once you have finished all the steps.
Making a Double Chevron Friendship Bracelet

Prepare the embroidery floss. For this bracelet, you'll need four different colors of thread. Cut two strands of each color that measure about 65 inches (165 cm) each. This should leave you with eight strands. Once you've cut all of the thread, fold the bundle of strands in half and cut at the center. This will leave you with 16 strands in total.
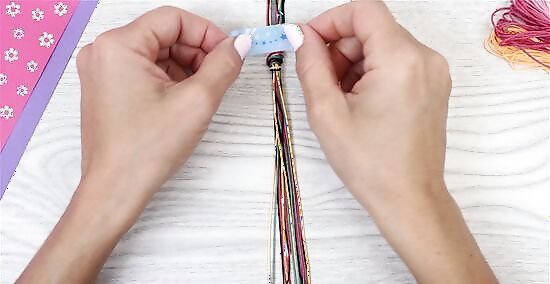
Secure the strands. Tie a knot in one end of the string and secure it to a flat surface you can work on with some sturdy tape (like masking tape or duct tape). Alternatively, you can safety pin it to your pants, tie it to a dresser drawer, or clip it on a clipboard.
Arrange the strands. Using the thread, make a mirror-image pattern that repeats twice so that there are two exact replicas of the same pattern right next to each other. For example, your pattern may look like this: 1 2 3 4 4 3 2 1 1 2 3 4 4 3 2 1 Pretend there is an imaginary line in the middle and create the same color pattern with the string on both sides of the line. Then repeat this pattern again. EXPERT TIP Aly Rusciano Aly Rusciano wikiHow Staff Writer Aly Rusciano is a Creative Writer based outside of Nashville, Tennessee. She has over ten years of experience in creative, academic, and professional writing. Aly’s writing has been nationally recognized in the Sigma Tau Delta Rectangle and featured in Blue Marble Review, The Sunshine Review, PopMatters, and Cathartic Literary Magazine. She graduated from The University of Tennessee at Martin with a BA in English, focusing in Creative Writing and minoring in Theatre. Aly Rusciano Aly Rusciano wikiHow Staff Writer “When I first started making friendship bracelets, I used a bracelet loom to hold my strings in place. The loom makes it easier to track your strands while keeping your bracelet taut. Plus, it’s perfect if you know you can’t finish a bracelet in one sitting because the strings will stay in place as long as they’re in the loom.”
Begin the right knots. Starting with the outer-right string, tie a right knot twice on the adjacent string (the second from the right). To tie a right knot, make a ninety-degree angle with the tying string over the top of the string you are tying it to. Then loop the tying string underneath the other string and pull tight. Note: Remember to make two knots on each string. Once you have knotted the outer right string to the one next to it, do the same to the next string closer to the middle. Continue this process until you've reached the middle. Note: The string you began tying with (the outermost right string) should now be in the middle.

Begin the left knots. Take the far left string from the middle and tie left knots with the outer-left strand until you reach the middle. To tie a left knot, do the same as the right knot but reversed. Make a ninety-degree angle with the tying string over the top of the string you are tying it to and loop the tying string under the other string and pull it tight. This will complete one side of the double mirror image.
Complete the other half. Repeat Steps 4 and 5 for the left side of the double chevron pattern.
Tie the middle knots. Tie a left or right knot (doesn't matter) with the two middle strands to connect the two sides. Be sure to tie the middle knot twice. Note: If you have done everything correctly up to this point, the strands you are tying together in the middle will be the same color and you will begin to see the double V-pattern emerge.

Continue the pattern. Repeat steps 4, 5, and 6 until you reach the desired length, always starting with the middle-most strands and moving outward in each direction to complete the double mirror-image pattern (1 2 3 4 4 3 2 1 1 2 3 4 4 3 2 1).
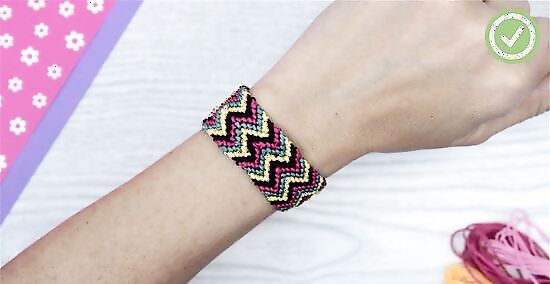
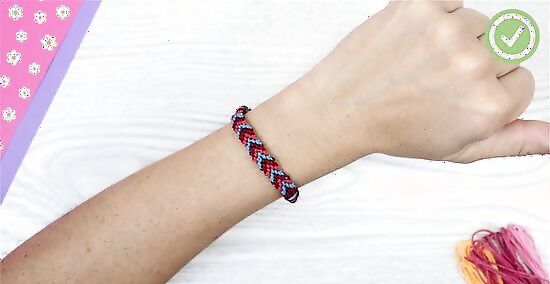
Finish the bracelet. Tie a knot at the end of the pattern and use the excess string to tie the bracelet onto your wrist or the wrist of a friend. Alternatively, you can create a button-loop closure for the bracelet. Attach a button to one side by pulling any two strands through the holes in the button. Then, tie the strands together and cut off the excess of all strands (even the ones not used for the button). On the other end of the bracelet, there should already be a loop that exists between the knot at the end and the place where the knots begin. Pull the button through the loop once you have finished all the steps.


Comments
0 comment