views
Online

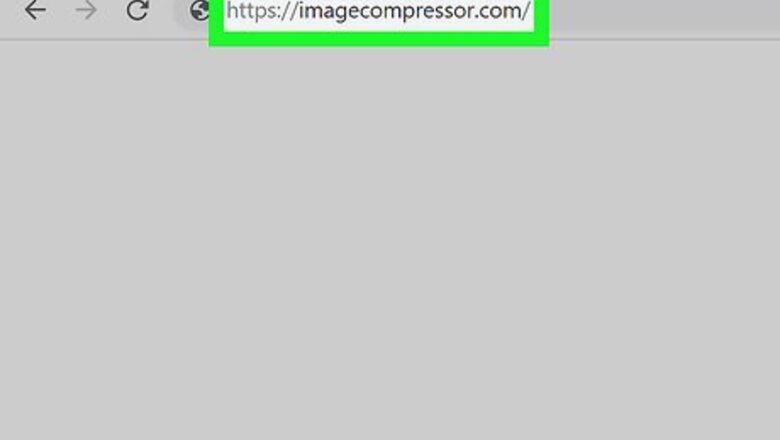
Open the Image Compressor website. Go to https://imagecompressor.com/ in your computer's web browser. This website allows you to compress up to 20 images in JPEG, PNG, and GIF formats at once. and you can control the level of compression on each photo. If you want to compress images in WebP, HEIC, and other formats, you can take a look at xconvert.com, ezgif.com, youcompress.com, and more. Check the supported image formats and file size limit first.

Click UPLOAD FILES. It's a teal button near the top of the page. Clicking it prompts a File Explorer (Windows) or Finder (Mac) window to open.

Select photos to upload. Go to the location of the photos you want to compress, then hold down Ctrl (Windows) or ⌘ Command (Mac) while clicking each photo you want to upload. You can upload up to 20 photos at a time.
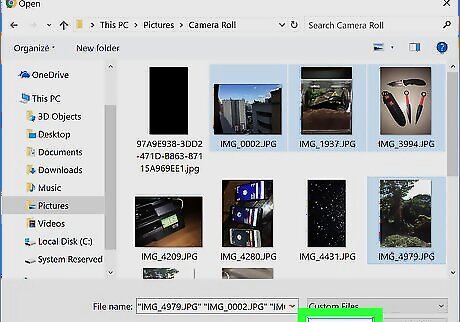
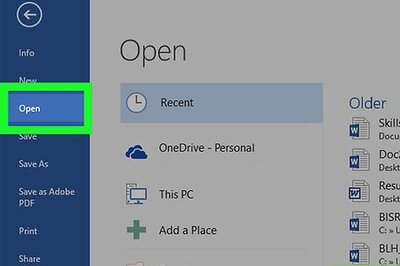
Click Open. It's in the bottom-right corner of the window. Doing so uploads the photos to the Image Compressor website.
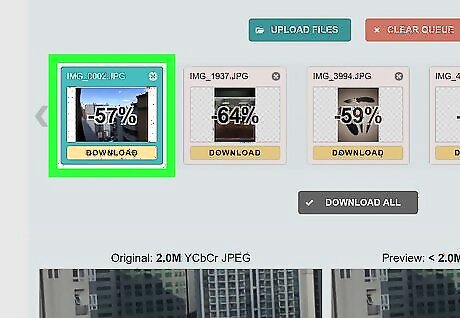
Select a photo. Click one of the photos in the website's list of thumbnails to select it.
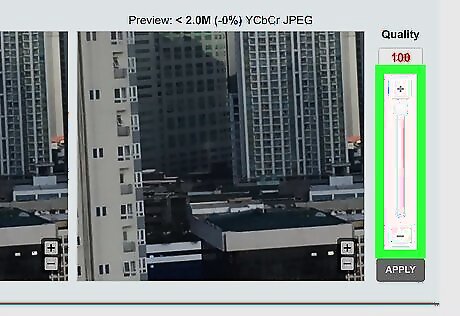
Adjust the photo's compression. Scroll down to view the photo's uncompressed version on the left compared with its compressed version on the right, then drag up or down the "Quality" slider that's on the right side of the page to decrease or increase the photo's compression. You should see the quality of the photo on the right side change to reflect your compression a few seconds after you adjust the quality. If you're planning to upload your images, make sure to check the file size the website uses. Files that are too small often look pixelated, and files that are too large can slow the website down.
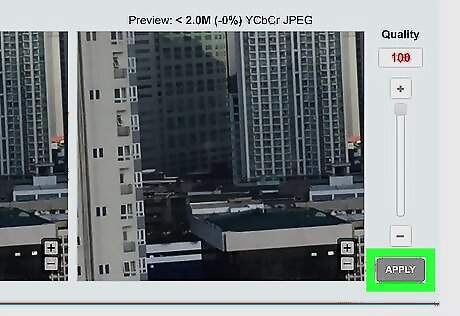
Click APPLY. It's below the "Quality" slider. Doing so applies your compression to the photo.

Adjust the compression of other photos if necessary. While Image Compressor will apply a certain level of compression to each photo depending on the photos' individual sizes, you can apply your own compression to each photo by selecting it, dragging up or down the "Quality" slider, and clicking APPLY.
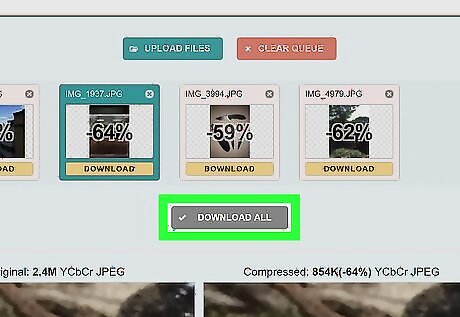
Click DOWNLOAD ALL. It's a button below the list of photos near the top of the page. Doing so packs all of the compressed photos into a ZIP folder and then downloads the ZIP folder onto your computer.
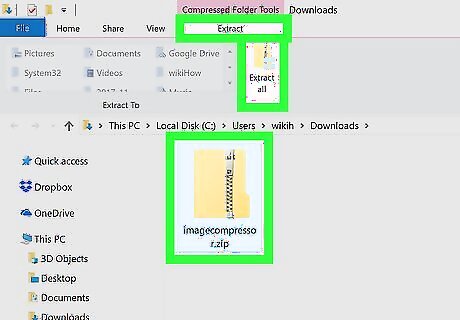
Extract the downloaded ZIP folder. To view the photos' actual extracted sizes, you'll need to unzip them from the ZIP folder. Go to the ZIP folder's download location, then do the following: Windows — Double-click the ZIP folder, click Extract at the top of the folder, click Extract all, and click Extract when prompted. Mac — Double-click the ZIP folder, then wait for the folder to finish extracting.
On Windows
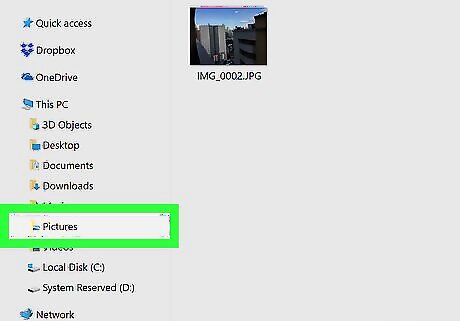
Find the photo you want to compress. Go to the folder location of the photo that you want to use.
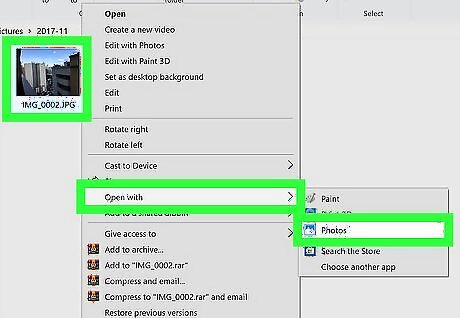
Open the photo in Photos. If the Photos program is your Windows default for viewing photos, simply double-clicking the photo will accomplish this. If Photos isn't your computer's default photo-viewing app, right-click the photo, select Open with, and click Photos in the pop-out menu.
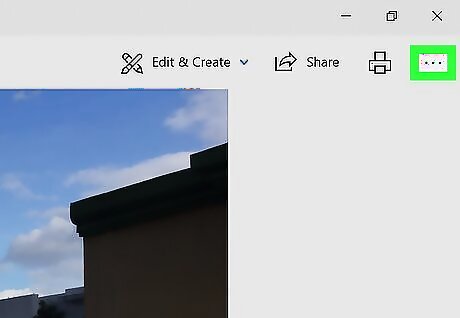
Click ⋯. It's in the top-right corner of the Photos window. A drop-down menu will appear.
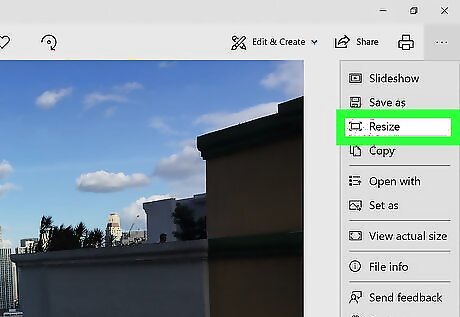
Click Resize. This option is in the drop-down menu. Doing so opens a pop-up window. If you don't see Resize in this menu, the photo cannot be compressed any further via the Photos app. Try using the Image Compressor website.
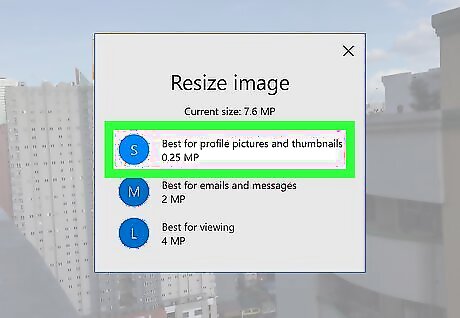
Select a size. Click one of the size letters (e.g., S for "small", M for "medium") in the pop-up window. Clicking a letter prompts a "Save As" window to open. You can only select a letter that's smaller than your photo's current size, so S may be the only available size.
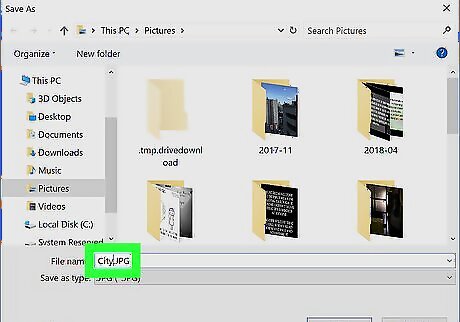
Enter a file name. Type whatever you want to name the compressed version of the photo into the "File name" text box. You should always avoid replacing the uncompressed photo with the compressed photo, so name the compressed photo something other than its default name.
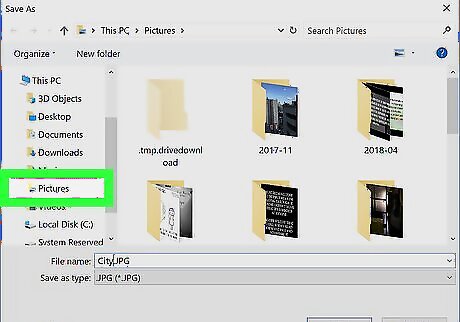
Select a save location. Click a folder location in the left-hand sidebar to select the folder as your compressed file's save location.
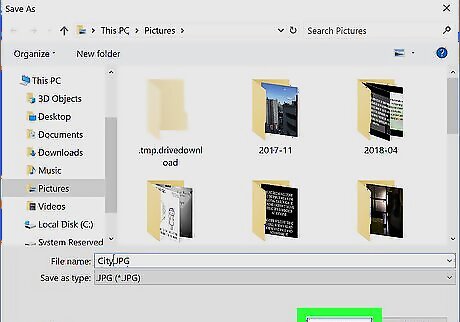
Click Save. It's in the bottom-right corner of the window. Your compressed photo will be saved in your selected file location.
On Mac
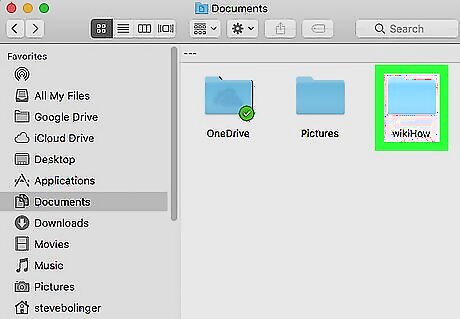
Find the photo you want to compress. Go to the folder location of the photo that you want to use.
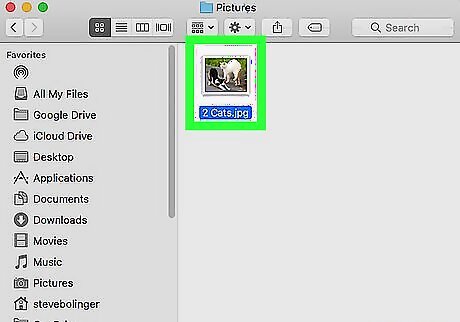
Select the photo. Click the photo you want to compress to do so.
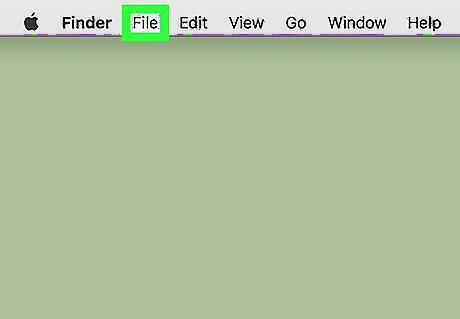
Click File. It's in the upper-left corner of the screen. A drop-down menu will appear.
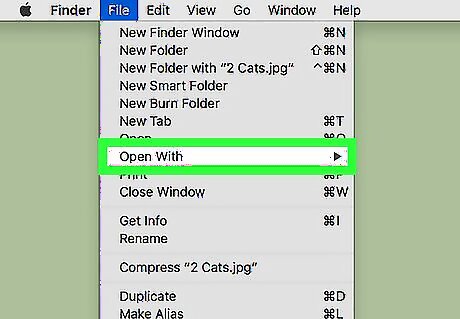
Select Open With. This option is in the File drop-down menu. Selecting it prompts a pop-out menu.
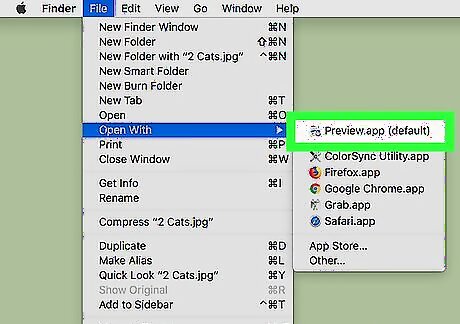
Click Preview. It's in the pop-out menu. Your photo will open in Preview.

Click File. This is in the upper-left side of the screen. A drop-down menu will appear.
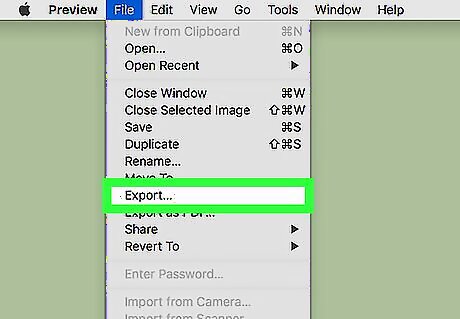
Click Export…. It's in the File drop-down menu. Doing so opens a new window.

Enter a name. In the "Name" text field near the top of the window, type in whatever title you want to use for your image. By default, the compressed image will have the same name as the uncompressed version of the image.

Select a save location. Click the "Where" drop-down box, then click the folder into which you want to save your compressed image (e.g., Desktop).
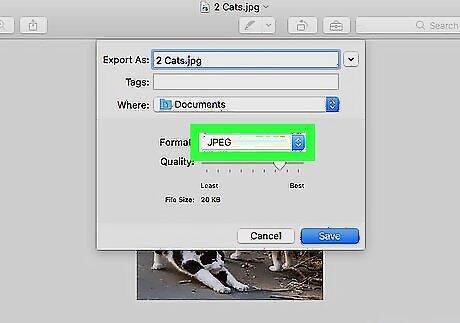
Change the image to JPEG format if necessary. If the box to the right of the "Format" heading says anything other than JPEG, click the box, then click JPEG in the resulting drop-down menu.
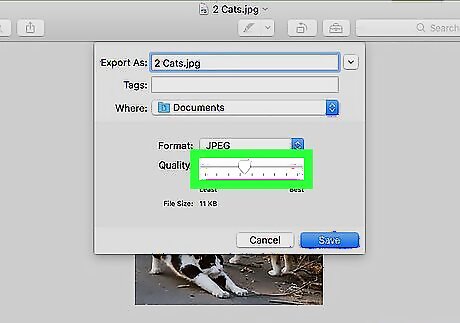
Adjust the compression quality. Click and drag the "Quality" slider to the left to lower the image's quality.
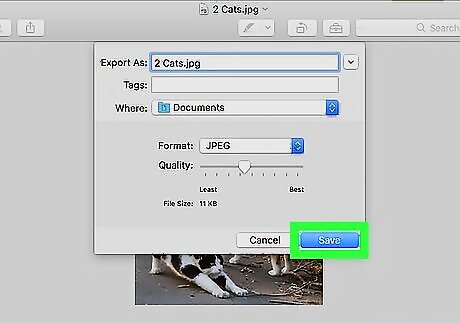
Click Save. It's in the bottom-right corner of the window. Your image will be copied, compressed, and saved to the folder you selected from the "Where" drop-down menu.





Comments
0 comment