views
Booting from the CD
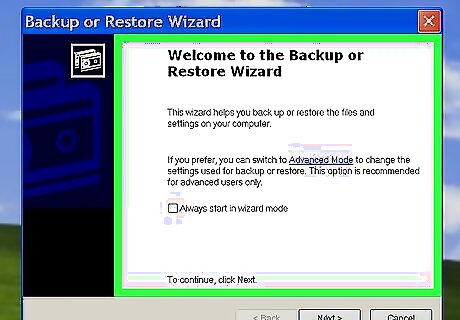
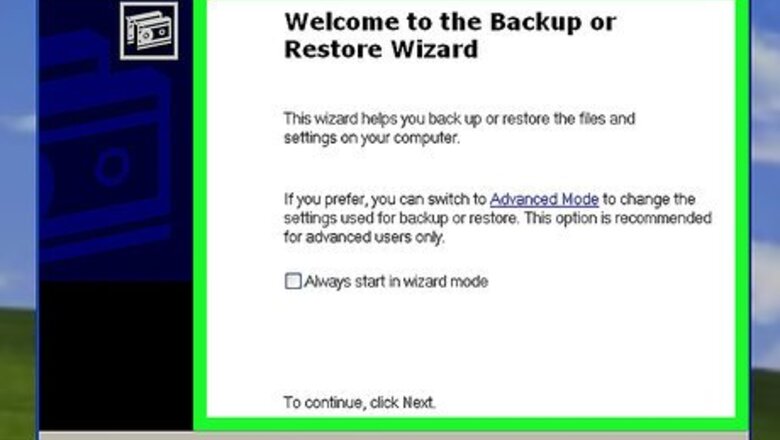
Back up any files you want to save. Once you delete the files from your computer, getting them back will be nearly impossible. You can use a USB drive or an external hard drive to back up your files. You can also use a CD-RW to back up your files, but these typically have less space available than a standard USB drive or hard drive.
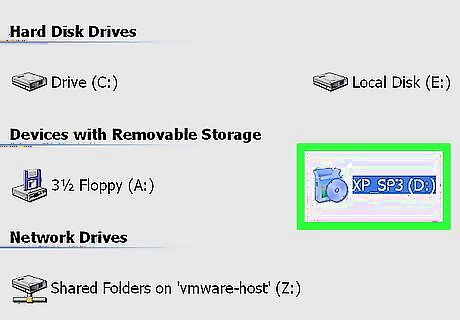
Insert your Windows XP install disc into your computer. If you no longer have your XP install disc, you'll have to buy a replacement. You can also download an XP installation file and burn it to a CD, though you'll need the accompanying purchase key.
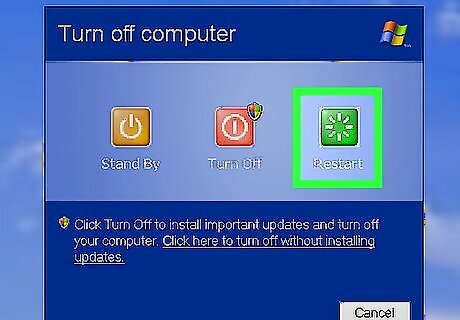
Restart your computer. Click Start, click Turn Off Computer, and click the green Restart button when prompted.
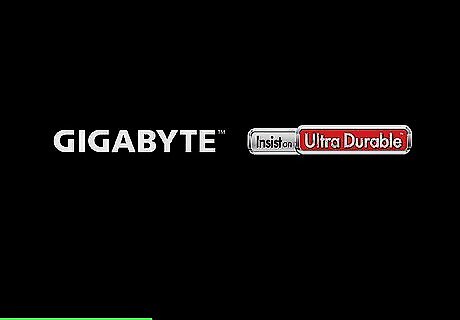
Press and hold Del or F2 to enter setup. The key you're prompted to press might also be different; most computers will display a message on startup that says "Press [key] to enter setup" or something similar. You can look at your computer model's manual or online support page to confirm your computer's BIOS key.
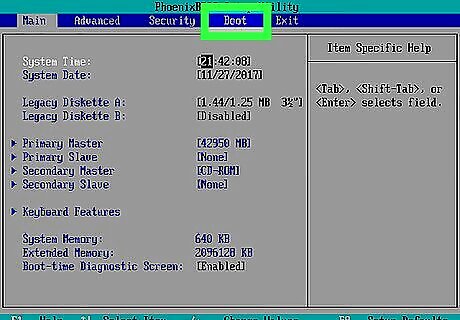
Select the Boot tab. Use the arrow keys to move the selection box over to Boot. The Boot tab may instead say Boot Options, depending on your computer's manufacturer.
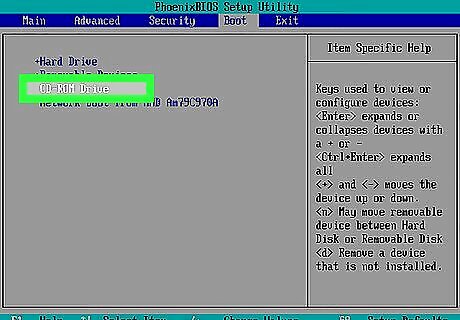
Select the CD-ROM Drive option. Press ↓ until this option has a box around it.
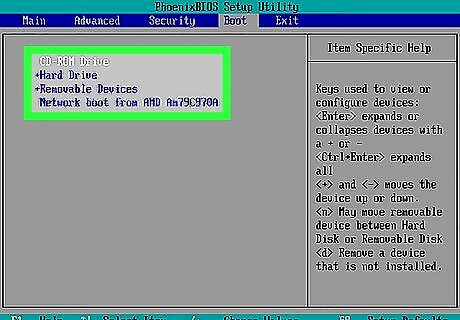
Make the CD-ROM Drive your boot option. Press + until CD-ROM Drive is at the top of the list. You may have to press a different key here. Check the key legend on this screen to confirm.
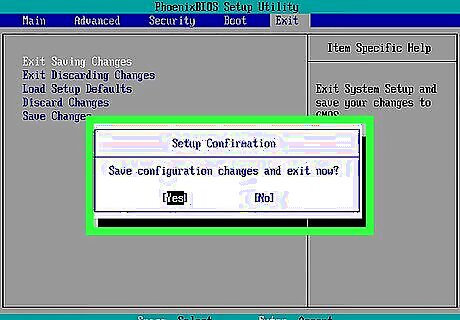
Save your settings. You should see a key prompt (e.g., F10) at the bottom of the screen that correlates to "Save and Exit"; pressing it will restart your computer, using the CD drive as a reboot point. You may have to press ↵ Enter to confirm the changes.
Formatting the Hard Drive
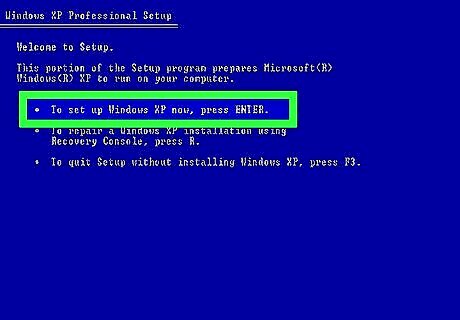
Press ↵ Enter at the "Welcome to Setup" screen. This will begin the setup process.
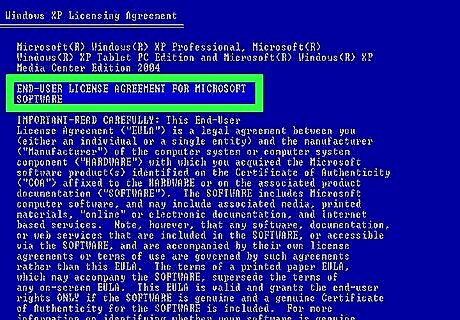
Press F8 to accept the Windows agreement. If you're prompted to press a different key, press that key instead of F8.
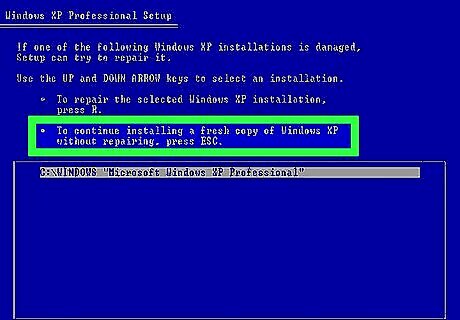
Press Esc when prompted. Doing so bypasses the repair process.
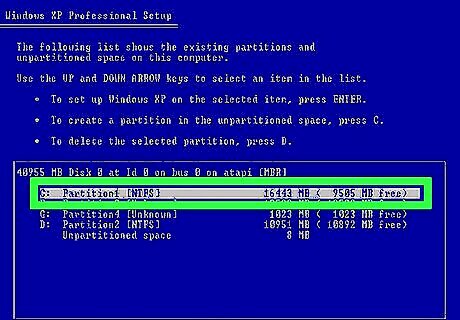
Select the "Windows" partition. This line of text will say something like "Partition 2 (Windows)". Press the ↓ key until this line of text is selected.
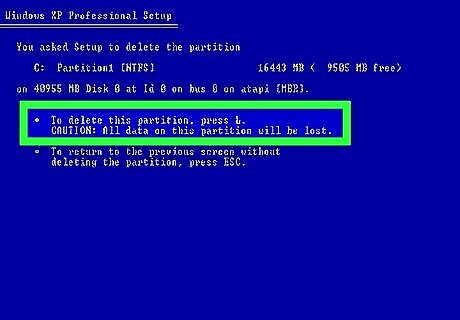
Press D, then press L. This will delete the partition where your operating system and all of its files are stored. You may see slightly different key prompts at the bottom of the screen. If so, use those instead.
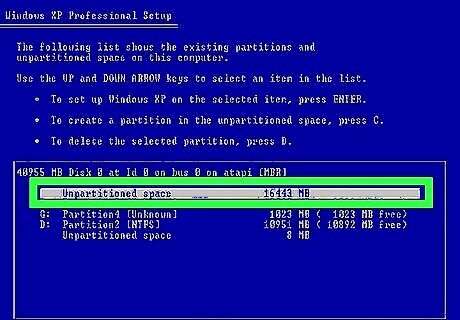
Re-select the partition's space if necessary. There should be a blank space where the partition used to be; make sure it's selected.
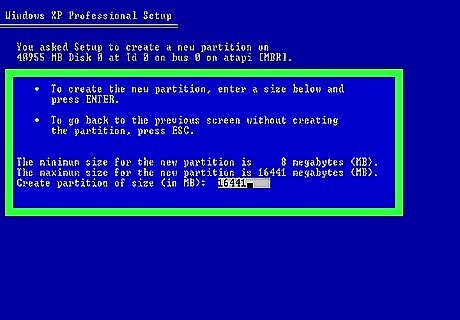
Press C, then press ↵ Enter. This will create a new, empty partition in the space where the old one was.
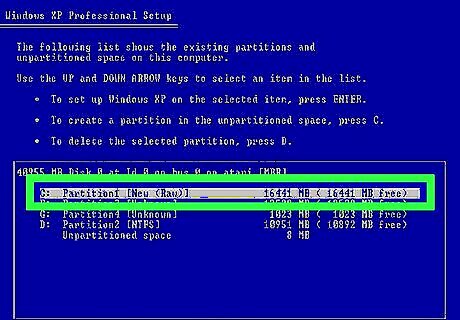
Select the new partition and press ↵ Enter. Doing so will select the partition as the location to install Windows XP.
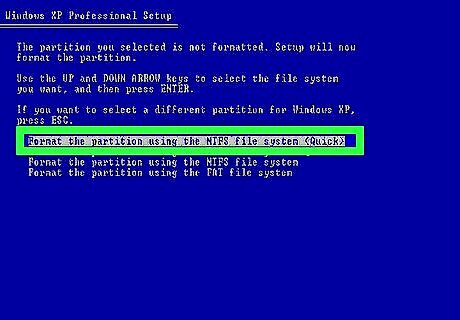
Choose NTFS as the partition's format. Select the Format the partition by using the NTFS file system (Quick) option using the arrow keys, then press ↵ Enter.
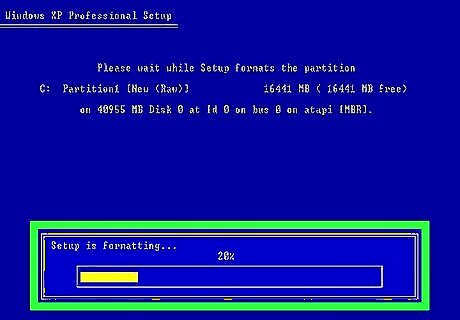
Wait for your hard drive to finish formatting. This can take several hours. Once this process is complete, you'll follow the on-screen instructions to reinstall Windows XP; however, your files, programs, and any other user-installed items will be gone. You will need your product key to finish installing Windows XP.



Comments
0 comment