
Creating a New Ad Campaign
Open Facebook. Go to https://www.facebook.com/ in your computer's web browser. This will open your Facebook News Feed if you're logged into Facebook. If you aren't logged into Facebook, enter your email address (or phone number) and password in the upper-right side of the page, then click Log In.
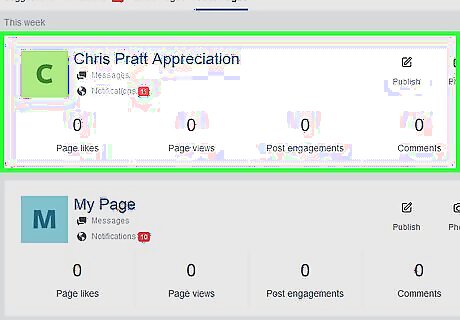
Create a business page if you don't already have one. In order to create ads, you must first have at least one page on Facebook. If you have a page that isn't linked to your business, it's strongly recommended that you create a business page before continuing.

Click the "Menu" Android 7 Dropdown icon. It's in the top-right corner of the Facebook News Feed page. Clicking it prompts a drop-down menu. In some areas and versions of Facebook's website, this will be a gear-shaped icon instead.
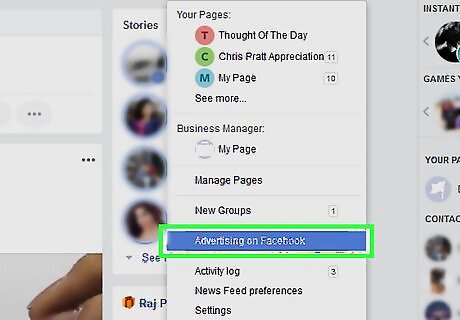
Click Create Ads. You'll find this option near the bottom of the drop-down menu. Doing so will open Facebook's Power Editor, which is its ad creator.
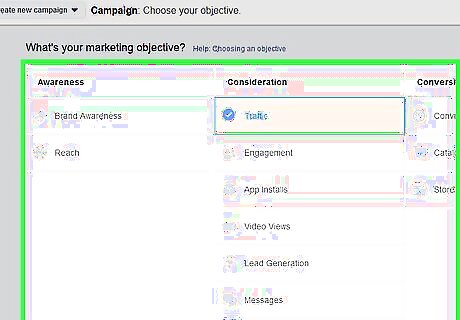
Select a marketing objective. Click one of the tabs below the "What's your marketing objective" heading. Your selected marketing objective is up to you, though your ad's initial preferences will differ depending on your selected objective.

Scroll down and enter a name for your campaign. In the "Campaign Name" text box, type in whatever you want to name your ad campaign. The title that you enter here is private, and serves only to differentiate this ad campaign from other ones that you run later. If you selected the Conversions objective, you'll also have to click the "Key Result" drop-down box and then click the result that you want. If you selected the Engagement objective, you'll first need to select a type of engagement below the "Engagement" heading. For some objectives, you can check the "Create Split Test" checkbox in order to run two sets of ads at once so that you can compare them side-by-side.
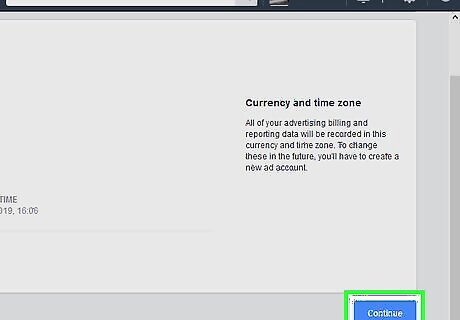
Click Continue. It's a blue button at the bottom of the page. This will take you to the main ad setup section, where you can begin by defining your audience.
Defining Your Audience
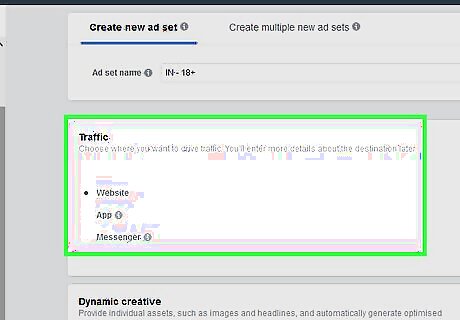
Edit your ad campaign's initial preferences. Depending on the marketing objective that you selected, you may see a form or drop-down box at the top of the page. If so, fill out the form or select an option before proceeding to the "Audience" section.
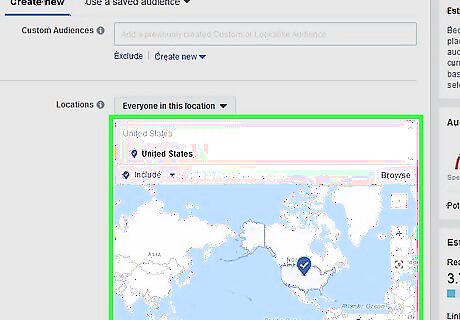
Select your ad audience's location. In the "Locations" section, remove the current location (e.g., "United States") if necessary by selecting it and clicking the X in its upper-right corner, then type in a specific location (e.g., your current city and state). You can also adjust your ad targeting preferences by clicking the "Locations" checkbox and then selecting a different option in the drop-down menu.

Select your ad's preferred age. Scroll down to the "Age" section, then select a minimum age from the left-most age drop-down box and a maximum age from the right-most drop-down box.
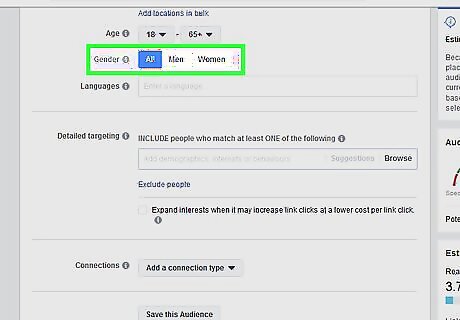
Determine a gender if necessary. If you want to gear your ad toward men or women, click Men or Women in the "Gender" section. By default, this section has All selected. Unfortunately, Facebook does not offer gender options other than "Men", "Women", and "All".
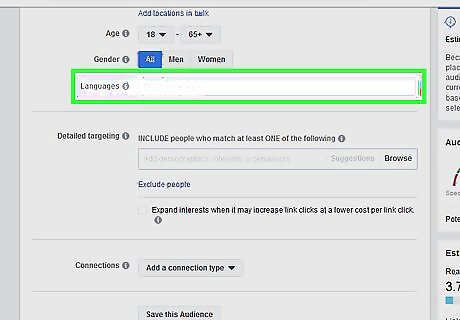
Add a language if you like. If you want to offer your ad in more than one language, you can type a different language into the "Languages" text box and then click the proper dialect in the resulting drop-down menu.
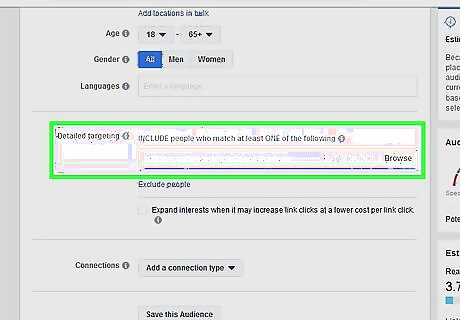
Include detailed targeting. If you have a specific demographic (e.g., business analysts) in mind, type the first few letters of the demographic's name into the "Detailed Targeting" text box, then click the proper result in the drop-down menu that appears and repeat as needed. You can also click Browse to the right of this text field to look through the available demographics.

Select a connection type. Click the "Connections" drop-down box, select a category (e.g., Facebook Pages), and click your preferred option in the pop-out menu. For example, to target people who use an app that you designed, you would select the Apps option in the "Connections" drop-down menu and then click People who used your app in the menu.
Adjusting Your Ad's Placement and Budget
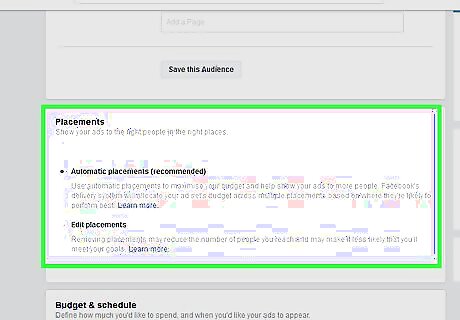
Select your ad's placement. In the "Placements" section of this page, make sure that "Automatic Placements (Recommended)" is checked. This will place your ads in Facebook-tested locations, as well as on Instagram and other Facebook products. If you want to select specific ad placements, check the "Edit Placements" box, then select your preferred options in the resulting menu.
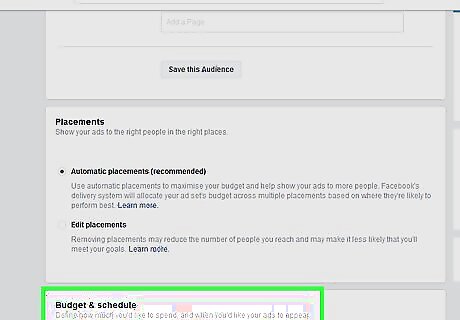
Scroll down to the "Budget & Schedule" section. It's near the bottom of the page.
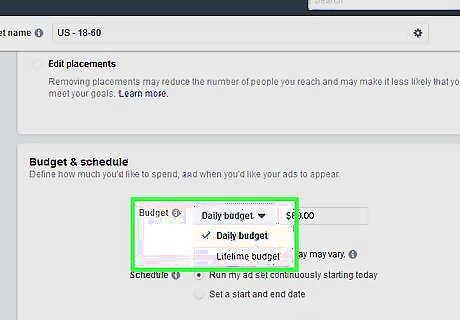
Determine a type of budget. By default, Facebook measures your ad budget in daily increments; if you want to switch to a one-time budget, click the Daily Budget box, then click Lifetime Budget in the resulting drop-down menu.

Enter your budget's limit. Type the number of dollars per day (or per ad cycle if you chose the Lifetime Budget option) that you're willing to spend into the text box on the right side of the "Budget" heading. The minimum required for daily ads is $1.00 per day, while lifetime ads require a minimum budget of $30.00 per day.
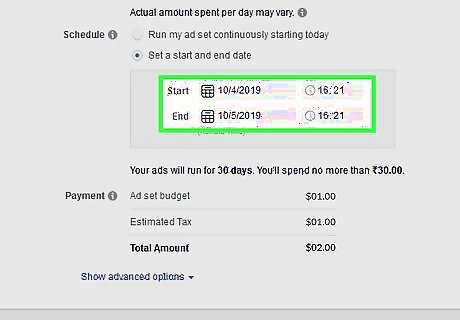
Schedule your ads. You can select the start date for your ads by clicking the "Start" date box and selecting a date from the drop-down menu, and you can determine the time at which they go live by clicking the time text box and adjusting the time there. You can adjust a campaign's end date and time in the same way.

Click Continue. It's a blue button at the bottom of the page. Doing so will save your ad preferences thus far and take you to the next part, which is creating your ad itself.
Creating the Ad
Stick to visual ads. When advertising on Facebook, videos and photos stick out much more than do text-only posts. It's worth putting some time and effort into creating a video or well-designed photo to promote your page rather than just posting text. Keep in mind that text is still a mandatory part of your ads, since you'll use text to create your call to action and your website address link.
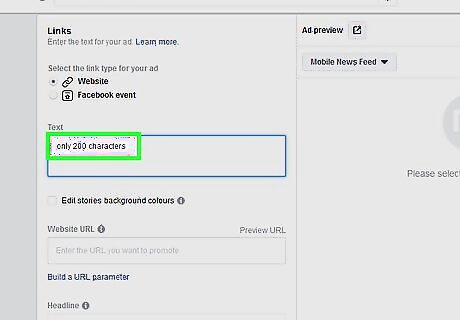
Keep your ads short. Videos should be under a minute, and text should be under 200 characters. This will engage significantly more users than will longer videos or posts.
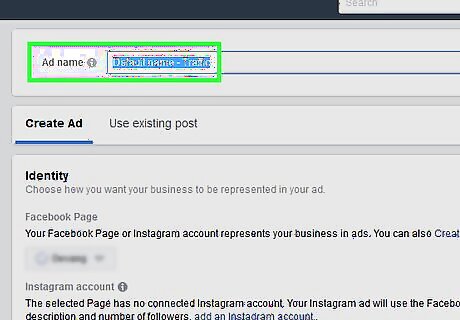
Add a name for the ad. This is the title that will appear on the ad itself. Type your preferred title into the "Ad Name" text box at the top of the page.

Select your business page if necessary. If you have more than one business page, click the "Facebook Page" drop-down box, then click the page for which you want to show your ads in the resulting drop-down menu.
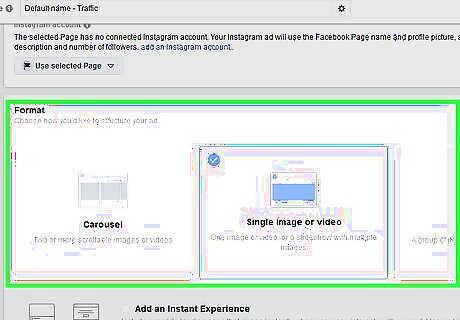
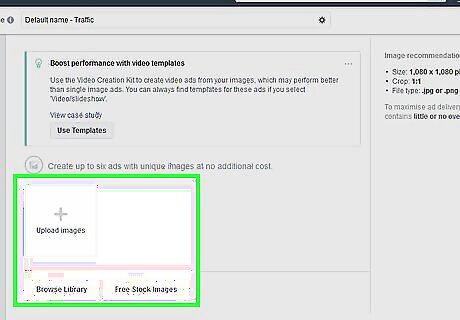
Select an ad format. Below the "Format" heading, click the checkbox next to the type of ad that you want to show people on Facebook, Instagram, and other Facebook-connected platforms. You have four main format choices: Carousel, Single Image, Single Video, and Slideshow.

Edit the rest of your ad's preferences. Depending on your selected format, you'll scroll down to the "Text" (or "Media" and then "Text") section near the bottom of the page and then add your text, image(s), and/or video for the ad. For example, you might want to add your website's URL to the ad, in which case you'd check the "Add a website URL" checkbox and enter your website's address. Even if you're using a video as the main point of outreach, add some text to the "Text" text box in order to add context and a call-to-action for the video.
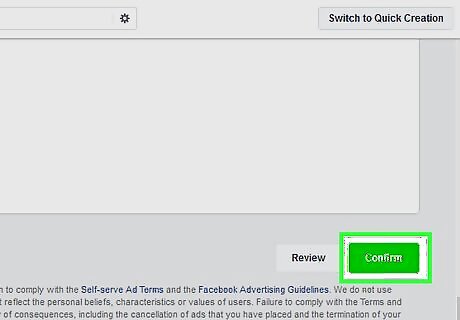
Scroll down and click Confirm. It's a green button at the very bottom of the page. Doing so will save your ads and begin showing them as soon as your scheduled ad date hits. If Facebook doesn't have your payment information saved, you'll need to enter your payment information (e.g., PayPal login details or your credit card number) when prompted.


Comments
0 comment