views
Open your InDesign document.

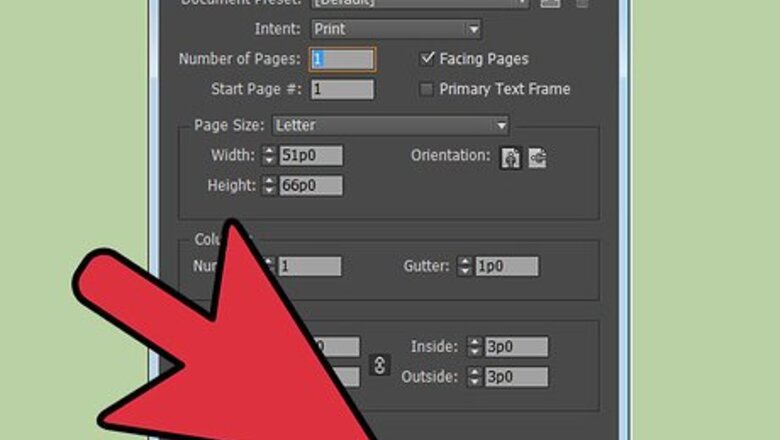
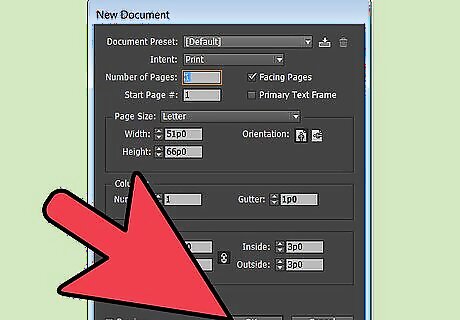
Double-click your document to open it in InDesign. Alternative, you can open InDesign first, click File>Open, and then choose the file. If you do not have an existing InDesign document to work in, create a new document by selecting File>New>Document and specifying the settings for your new document.
Create a table if you do not already have one.

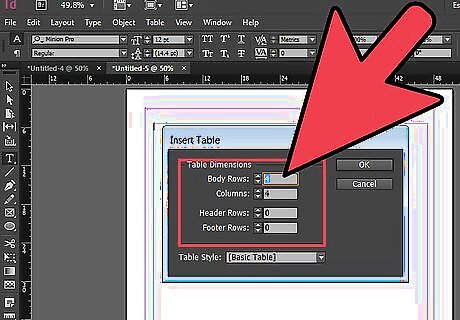
If you already have a table with columns, you can skip this step. If not, here's how to create one. Select the Type tool from your Tools palette and click the location where you want to place your table. Select Table>Insert Table from the Control panel. Enter the number of rows and columns you want your table to contain. Enter the number of header and/or footer rows you want your table to contain. Header and footer rows are rows that repeat at the top of every frame or column. Use them if your table will take up multiple columns or frames. Click OK. Enter text in your header and/or footer row or rows using your Type tool. Do this by clicking the cell in which you want to enter text. Click the cell in which you want to begin entering information and type or import your text. Format text within your table by highlighting the text you want to format and adjusting your font and font size using the drop-down menus in the Control panel.
Resize your table's columns to accommodate your text.

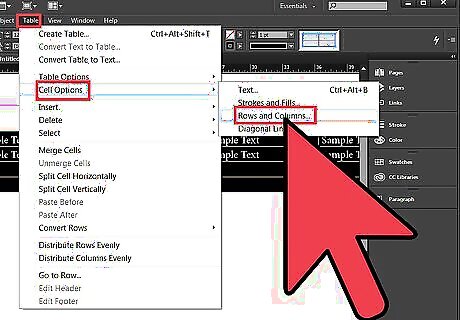
Select the column(s) you want to resize. Then, choose Table>Cell Options>Rows and Columns and enter the value for your desired column width. Select the column(s) you want to resize and select Table>Cell Options>Rows and Columns. Enter the value for your desired column width. You may also resize your column width using the Table panel, which can be accessed via the Window menu located in the Control panel. Column width may also be adjusted manually by positioning your cursor over the edge of the column you wish to resize and dragging your cursor to the left or right once the double-arrow icon appears. To distribute columns evenly across the width of your table, click Table and selecting either Distribute Rows Evenly or Distribute Columns Evenly.


Comments
0 comment