views
Cutting the Boots to Make Room for a Zipper
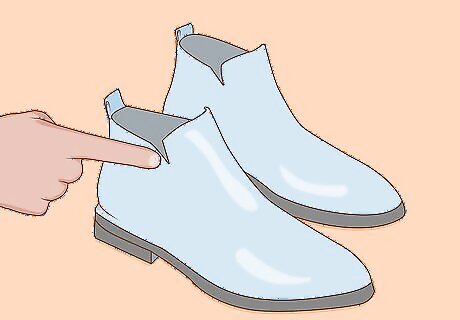
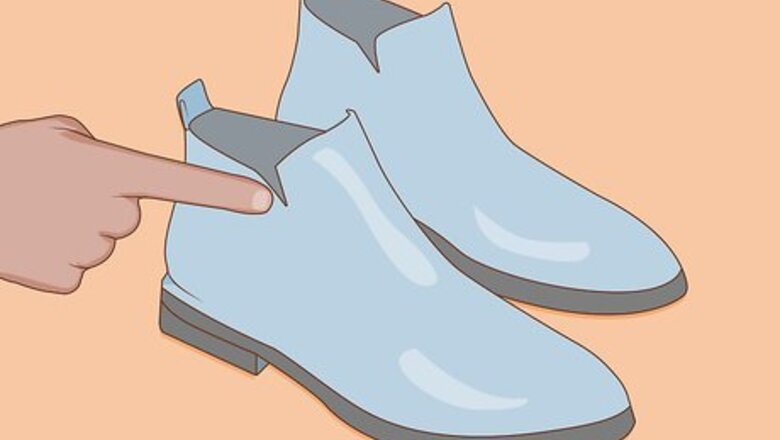
Identify where you want the zipper to go. Usually, zippers on boots are located on the inner part of the boot, but you may put your zipper on the back or outside of the boot if desired. Examine your boots for any details that might get in the way of the zipper, such as buckles, straps, or designs. Then, decide where the best location for the zipper would be.

Measure the area where you want to place a zipper. To ensure that you purchase the right size zipper, you will need to measure the area where you want to place the zipper. Measure from the top of the boot to about 2” (5 cm) from the sole of the boot. Then, record this measurement and take it with you when you go to purchase a zipper. For example, if the area from the top of the boot to 2” (5 cm) above the sole is 7” (18 cm), then this is the size zipper you will need to buy.
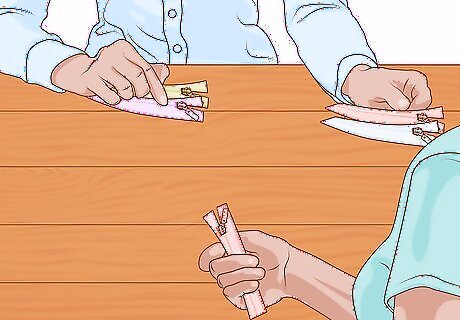
Buy your zippers. Go to a craft store and find the zippers. They should be located in the sewing notions section. Find the size and color zipper that you need and buy two. Make sure to get zippers that are the same color as your boots. This will help the zippers to blend in. For example, if your boots are black, then get black zippers. If your boots are red, then get red zippers.
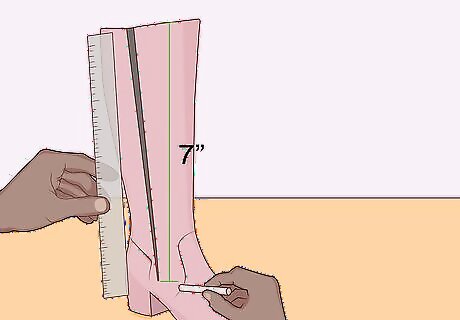
Use a ruler to mark the boots with chalk. Take out your ruler and line it up vertically on the part of the boot where you want the zipper to be. Then, trace along the edge of the ruler from the top of the boot to the place where the zipper will end. This will depend on the length of your zipper. For example, if you are using a 7” (18 cm) zipper, then you will need to draw a line on your boot that is the same length.
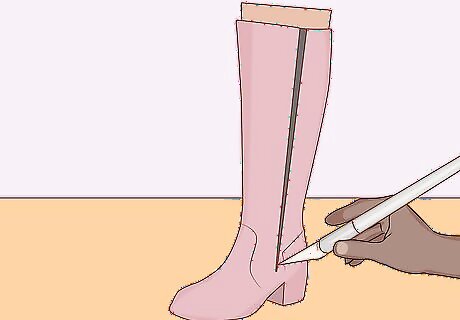
Cut down the line. Place your board inside of the boot so that it is behind the area of the boot that you want to cut. This will protect the other areas of the boot as you cut. Then, use the Exacto knife to cut down the line you have drawn on the boot. Cut carefully and slowly to get a straight, even line.
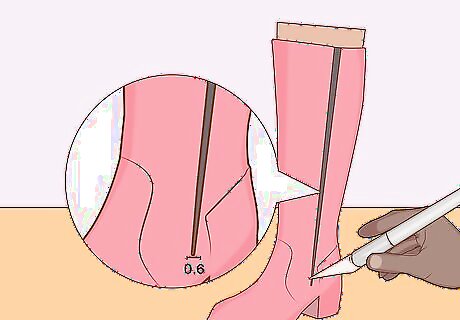
Expand the opening slightly. You will need a little extra space for the zipper teeth and pull. To create this space, use your Exacto knife or a pair of sharp scissors to cut out a small sliver of the boot material. Cut this material off of the edge of the opening you have made. This should be about ¼” (0.6 cm) of extra material cut away from the boot. Keep the board in place as you cut. Discard the excess material that you remove from the boot.
Installing the Zipper

Apply a layer of glue to the zipper fabric. Pins can damage the material of your boots, so it is important to avoid using pins. However, it can be hard to keep the zipper in place as you sew. Gluing the zipper to the inside of the boot before you sew it will help it to stay put while you sew. Spread a thin line of fabric glue along the fabric on the front part of the zipper. Do this for both sides of the zipper. The zipper should be unzipped as you apply the glue. To increase the stability of your zipper before you sew, you may also place a small binder clip at the top and bottom of each side of the zipper. This will not damage the leather or vinyl of your boots, but it will keep everything in place.

Press the zipper into place. Next, press the zipper against the inside of the boot so that the teeth of the zipper are about 1/8” (0.3 cm) to ¼” (0.6 cm) away from the edge of the boot. Do this for both sides of the opening on the boot. Repeat this for the other boot as well.
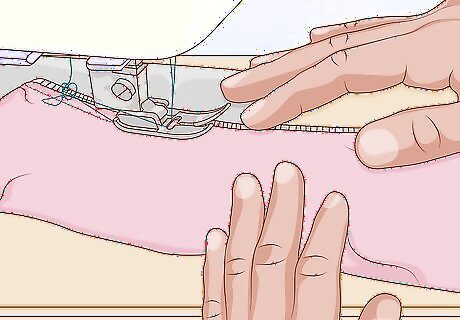
Sew along the area where the zipper fabric and boot are aligned. When your zipper is glued onto the inside of your boot, then can begin sewing. Keep the zipper unzipped and insert the boot and zipper under the presser foot of your sewing machine. Lower the presser foot and sew a straight stitch all the way down to the bottom. Then, press the lever on the side of your machine to reverse your sewing direction and sew back up to the top again. Remove the boot from the machine and snip the excess threads. Repeat this for both sides of the zipper to attach it. Sew your zipper onto both boots in this way.
Getting the Best Results
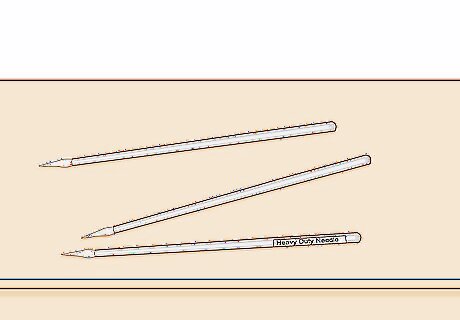
Use a sharp, heavy duty needle. Boots are often made from leather or other heavy materials, such as vinyl, so it is important to use a strong needle. Choose a heavy duty needle or a needle that is meant for sewing leather. Make sure that the needle is sharp as well. It’s best to install a brand new needle right before you begin sewing your zippers into place. Using a fine or dull needle may result in snags while you work or even a broken needle.
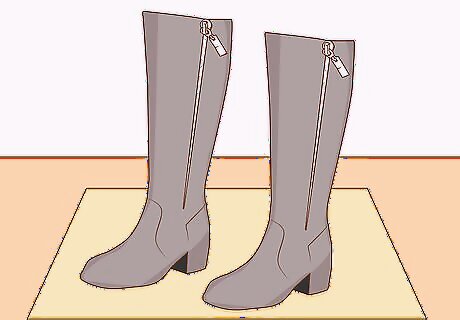
Make sure your boots are in good condition. Boots that are extremely worn out or that have defects, such as tears or holes, will likely not hold up well after cutting them open and sewing in a zipper. Make sure that you are only adding zippers to boots that are in good condition and that are made from strong materials.

Choose a heavy duty thread. Since you will be sewing through multiple thick layers of material, you will need to use a thread that is strong enough to keep everything in place. Opt for a heavy duty thread that matches the color of your boots and zipper. Check the thread label before you buy it. The thread should be labeled to indicate whether it is “fine,” “regular,” or “heavy duty.”


Comments
0 comment