
Fabric Dye

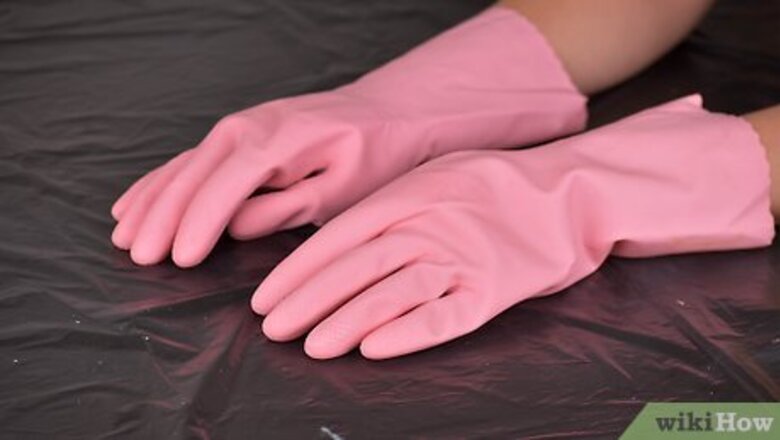
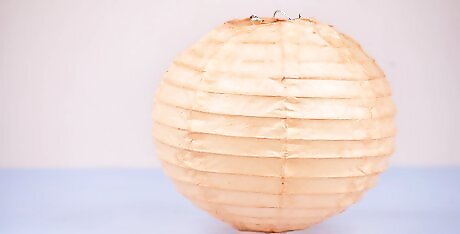
Cover the area with plastic and put on gloves. Fabric dye can stain other surfaces and your skin, so make sure your area is entirely protected. Find a flat, level surface to work on, like your table or countertop. Rubber gloves, latex gloves, and nitrile gloves will all work to protect your skin from the dye. For best results, try to dye a white lampshade so your colors pop. If you’re using fabric dye, make sure your lampshade is made of fabric, not plastic.

Fill a large container with hot water, then stir in your dye. Pick a container that’s big enough to hold your entire lampshade so you can get an even coverage. Make sure the water is at least 140 °F (60 °C), then stir in your packet or bottle of dye with a wooden stirrer. You can find fabric dye in a range of colors at most craft stores. Plastic bins or buckets are perfect for mixing your dye in.

Test the color by dipping in a white paper towel. If the color is too light, add in more dye. If it’s too dark, add in more water. Make sure the color is perfect for what you’d like before you start dyeing. To make the shade brighter, add in 1 cup (128 g) of salt. To ensure the dye goes on evenly, mix in 1 tsp (4.9 mL) of dish soap.
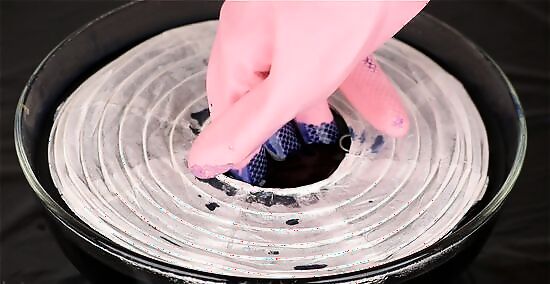
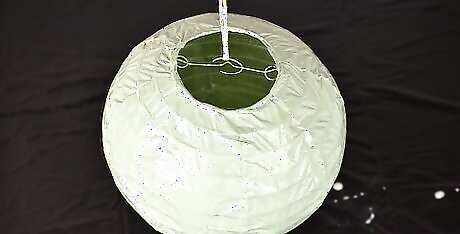
Submerge your lampshade in the dye. If you want to go for an overall coverage, dip your entire shade at once. If you’re going for an ombre look, dip your shade in halfway, then lift it up and down about 1 in (2.5 cm) as you hold it in the dye. Gloves are super important here! Fabric dye can stain your skin.
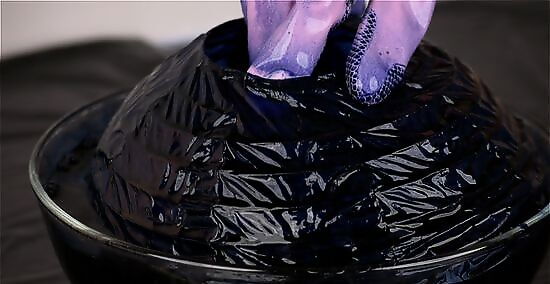
Keep the shade in for 1 minute, then check on the color. The longer you keep your shade in the dye, the darker it will be. If you’d like to make your color darker, put it in for longer, starting with another minute. You can leave your shade in the dye for up to 15 minutes.

Rinse the shade with cool water until the water runs clear. Take your lampshade over to the sink or a bathtub and rinse it until the water runs clear. Use cool water so the dye doesn’t bleed out of the fabric. If you did an ombre dye, make sure you rinse the shade with the dye pointing downwards. If the water runs over the undyed part of the shade, the dye could bleed.
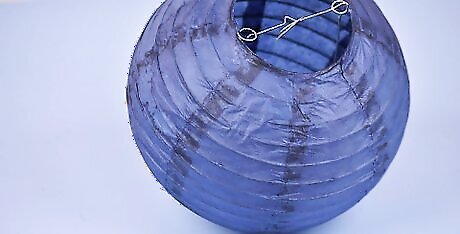
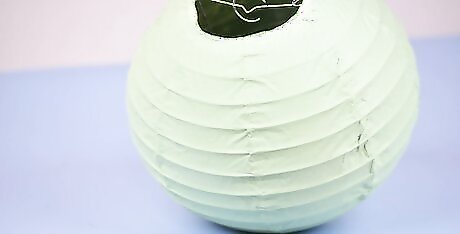
Set the lampshade out to dry overnight before using it. Your shade might take up to 8 hours to dry, so leave it on a towel overnight. Once it’s done drying, you can put your shade back on the lamp for a beautiful addition to any room. Try dyeing all the lampshades in one room to match each other.
Tea or Coffee
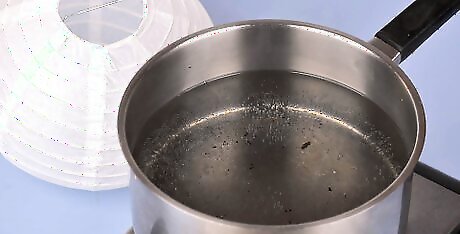
Heat up a large pot of hot water until it’s boiling. Try to use about 1 US gal (3.8 L) so you have enough water to steep all of your tea bags. Heat it up on the stovetop or in a kettle until it’s at a rolling boil. To make sure your color shows up, try this on a white lampshade. Tea dye will only stain lampshades made of fabric, not ones made of plastic.

Steep 30 to 40 tea bags in the water for 15 minutes. For a deeper color, use black tea; otherwise, go for herbal or hibiscus tea. Let the tea bags sit until the water turns a deep brown color. If you’d like a lighter color, use less tea bags. The water will look much darker than the actual dye, so don’t worry if you think it’s looking a little too intense. If you want to use coffee instead of tea, add 1/2 cup (64 g) of instant coffee to the water before heating it to a boil.
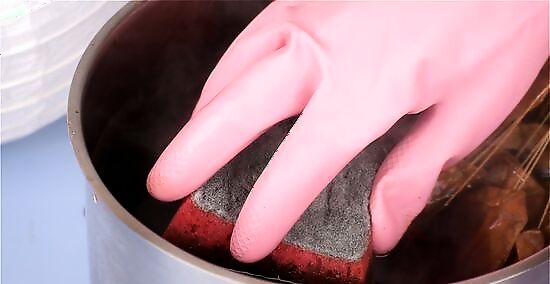
Turn off the heat, then dip a sponge into the water to collect the dye. Let the liquid cool for about 5 minutes so it's not too hot to touch. Put on gloves to protect your hands, then dip a kitchen sponge into the water. For a lighter color, grab a tea bag out of the water and press it against your lampshade instead of using a sponge.
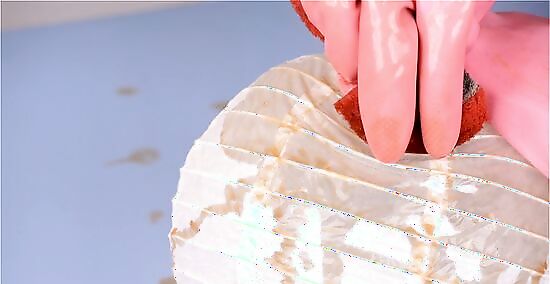
Dab the sponge over your lampshade to transfer the color. Set some plastic on the table to catch any drips, then dab your sponge all over the lampshade. Keep soaking up more tea water as you go to get a darker color. If you notice tea dripping down the side of your lampshade, use a paper towel to wipe it up.
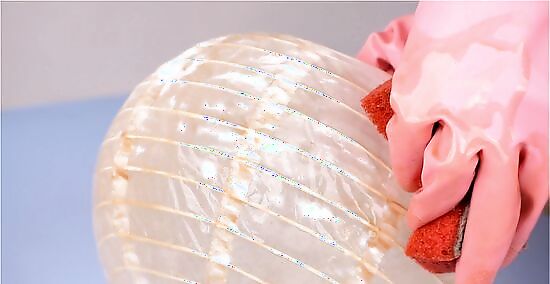
Keep going until your entire lampshade is covered. The more coats you do, the darker the lamp shade will be. A light coverage will look like a dusty yellow color, while a darker one will be a light brown color. It’s up to you when you want to stop, so use your creativity here.
Let the shade dry overnight. Keep the shade upright and set it in a cool, dry place so it can soak in the tea. When your lampshade is dry, you can put it back on your lamp for a new, updated look! If you want to go for a parchment look, use a permanent marker to write words in cursive all over your lampshade.
Acrylic Paint

Protect your area with plastic. Acrylic paint can get a bit messy, so put down some sheets of plastic to cover up your surface. You may want to wear an apron or clothes you don’t mind getting paint on, too. If you’re worried about painting in your home, work outside instead. Acrylic paint sticks best to fabric, but it can work on plastic, too.
Pick an acrylic paint color that will show up on your lampshade. If you want your colors to pop, try painting a white lampshade. Otherwise, pick a dark color to cover over a dark lampshade. Yellows, creams, grays, and light browns all work great on white lampshades. Deep blues, greens, and reds are good for covering over existing color.
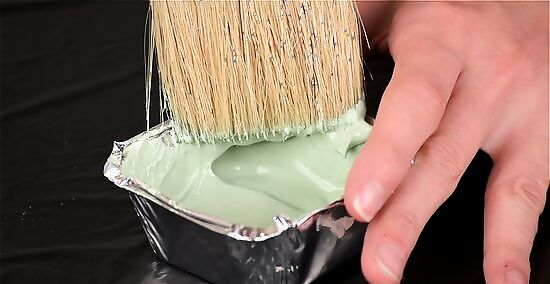
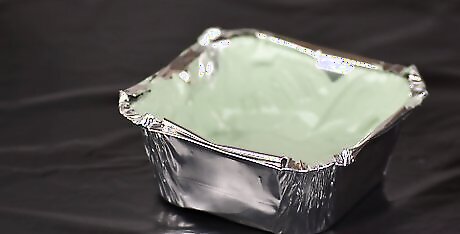
Dip a large paint brush into acrylic paint. Pour your acrylic paint into a small dish so it’s easy to use, then grab a paint brush that’s large enough you could paint a wall with it. Dip the edge of the brush into the paint to grab enough for your shade. A large paint brush will spread the paint on more evenly than a small one. You can use any shade of acrylic paint that you’d like. If you’re working with a white lampshade, you’ll get the true color of the paint; if the shade is any other color, it may affect how the paint turns out. If you don’t have a paint brush, use a new kitchen sponge instead.

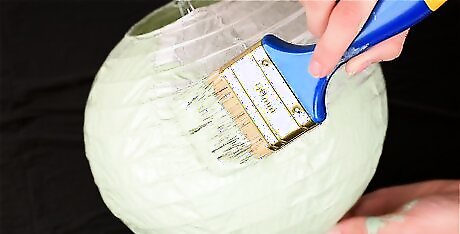
Brush the paint onto your lamp shade horizontally. Start painting the lampshade from the bottom up, brushing left to right in long, even strokes. Dip your brush into more paint as you need it. You can brush your shade vertically if you want to. The important part here is to always keep your brush going in the same direction to avoid streaks.
Keep painting until you’ve covered your entire shade. You may see a few patches, especially if you’re using a light color, but that’s okay. Keep brushing back and forth until you’ve covered your whole lampshade. If any paint drips down the inside of the shade, wipe it off with a wet paper towel.
Let the first coat dry for up to 2 hours. You can use a hair dryer to speed up the drying process, or you can set the shade aside to let it dry on its own. As the shade dries, look for any missed spots or patches of paint that you might need to go over. Depending on how large your shade is, you may have to wait for an hour or so until it’s dry.

Add a second coat to cover up any patches. If you notice any streaking or patchiness on your lampshade, grab your brush and your paint again and add a second coat. Focus on areas where the true color of the lampshade is peaking through. If you’re happy with your first coat, you don’t have to add any more paint.
Set your lampshade out to dry overnight before you use it. Make sure it's in a cool, dry spot so it can dry fully. Once it’s completely dry, attach your lampshade to the lamps in your home for a cool new decoration! If the weather is mild, you could set your lampshade outside in the sun to speed up the process.


Comments
0 comment