views
- Solder a small section of metal wire or cable onto the separated plastic to help reinforce the surface. Then, weld the opposite side of the plastic to seal the other side of the crack.
- Alternatively, seal the cracked plastic with super glue and coat it with baking soda. Layer more super glue over the baking soda and let it dry.
- Weld the opposite side of the crack where you just applied the super glue and baking soda.
Metal Soldering
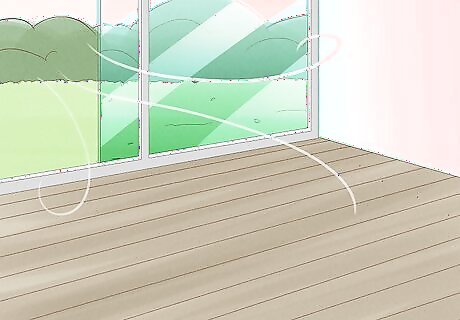
Work in a well-ventilated area. Fumes from melted plastic aren’t something you want to breathe in. Open your doors and windows before you begin or work outdoors. For extra protection, be sure to wear a respirator mask. You can find them at any home improvement store.
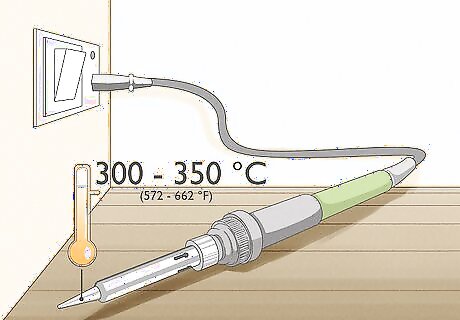
Heat up your soldering iron. A low-watt soldering iron works best for this project. It won’t heat up too much. Within a minute or two, it’ll be hot enough to use. To test it, hold it to the plastic. If it melts the plastic a little without giving off a lot of smoke, it’s at the right temperature. The temperature range to aim for is 300 to 350 °C (572 to 662 °F).
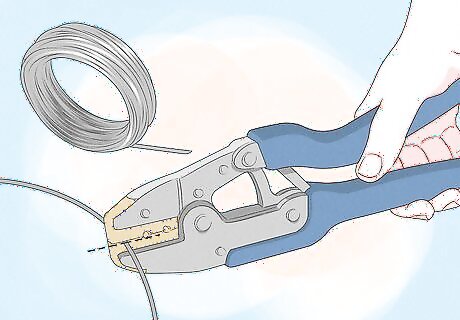
Cut a piece of metal to bridge large gaps. Cracks or joints where pieces of plastic contact one another don’t require filler material. For larger gaps, such as where a piece of plastic has broken off, purchase some cable ties or metal wire. Clip off a piece big enough to lay over the gap. It doesn’t matter what kind of metal you use. The metal combines with the plastic, making the plastic stronger. You could even use a spare paperclip laying around your house.
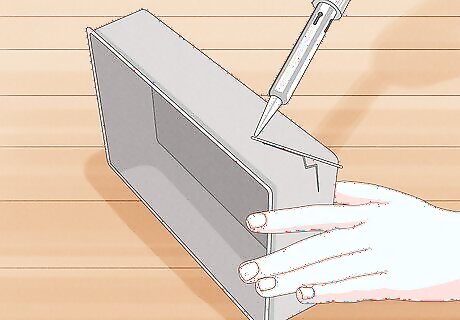
Hold the plastic together. You’ll need to push separated plastic pieces together with your other hand. Hold them together until you’re finished welding. Pick up the metal or tie you clipped earlier and place it where you want to weld. It should be over the area, not inside a crack.
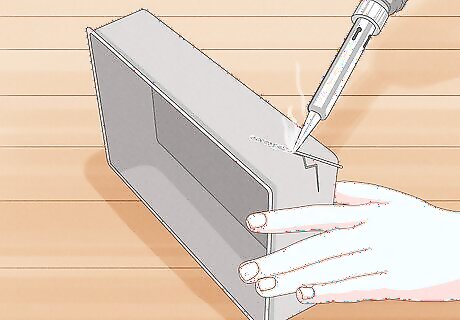
Melt the metal over the plastic. Press your soldering iron against the metal. Don’t try to force it, or else you’ll push through and damage the plastic. Gently hold the soldering iron in place as the filler metal begins to heat up. When it melts, pick up the soldering iron and move to the parts that haven’t melted. Avoid pushing the soldering iron through the plastic. When not applying a metal filler, it should only go halfway into the crack in order to liquefy a small amount of plastic. Another way to apply the metal is to hold it and melt the end onto the plastic with the soldering iron.
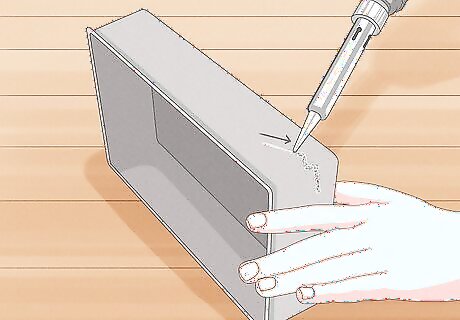
Smooth out the melted metal. Hold the soldering iron flat and brush its tip over the metal filling. Spread the liquid area over the area you wish to reinforce until it forms an even layer. For a crack, you may need to melt more metal to completely fill it.
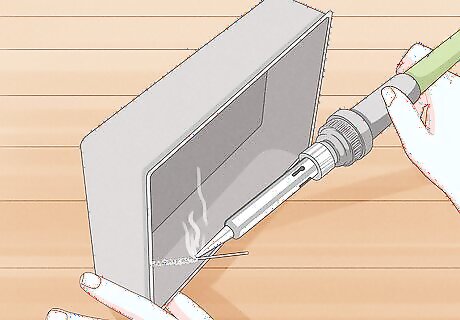
Weld the opposite side of the plastic. To fully reinforce cracked plastic, seal the other side of the crack. You probably will not need more metal to fill it. All you have to do is hold the plastic together and melt it a little to fill the crack. When finished, the plastic will be stronger than it was originally. To stay safe, give the plastic a few minutes to cool in open air. The weld should solidify and cool down very quickly.
Glue and Baking Soda
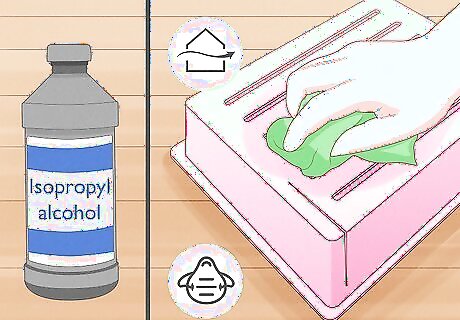
Clean off the plastic with isopropyl alcohol. You can get isopropyl alcohol at any drug or general store. Spread a little bit over the area you wish to reinforce. Use a clean towel to rub off the alcohol and any debris. Remember to work in a ventilated area with a respirator mask when welding plastic.
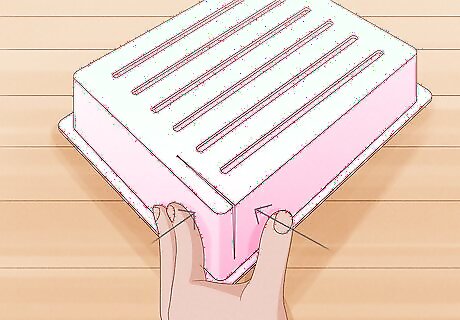
Hold the plastic together with your fingers. In order to fix a crack, minimize the space you need to fill. Use your free hand to hold the plastic parts in place. You’ll need to do this the entire time you work.
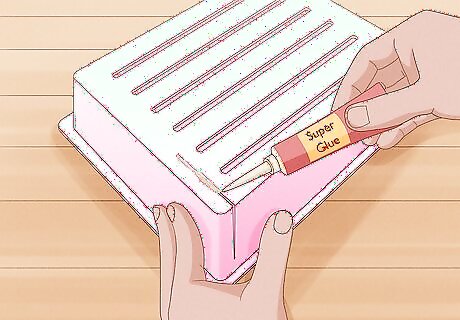
Spread super glue over the plastic. Have a few tubes of super glue on hand. You can find them at home improvement stores. Squeeze glue over the area you wish to reinforce. The glue should form a visible layer over the area. If you are reinforcing a crack, make sure there’s glue around the crack too. The further you spread the glue, the bigger the reinforced area will be.
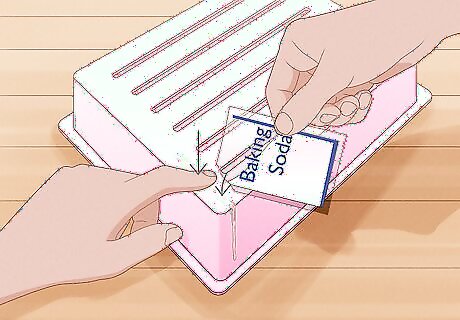
Cover the glue with lots of baking soda. Store-bought baking soda is all you need. Get enough so you can completely layer over the glue. The glue should not be visible. Use your finger to pat down the baking soda and even it out.
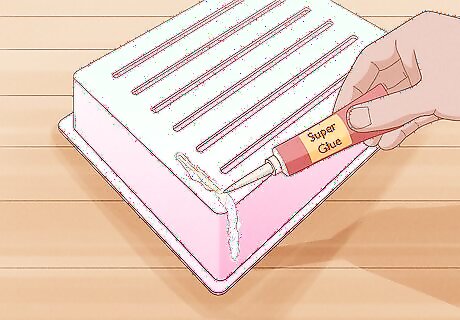
Cement the baking soda with more super glue. The baking soda will have already begun hardening. Pour more super glue on top of ot. Be generous here. The glue will seep through the baking soda, so continue adding more until it covers the area. Make sure it gets over any cracked areas.
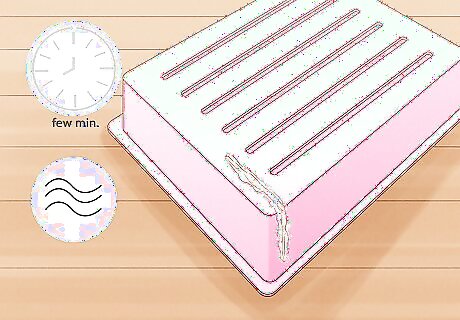
Let the glue dry. The glue and baking soda mixture dries fast. It’ll harden within a couple of minutes. You can add a little more baking soda to mix with any glue still left on the plastic. The mixture solidifies into a very strong cement, so you can blow away any loose baking powder.
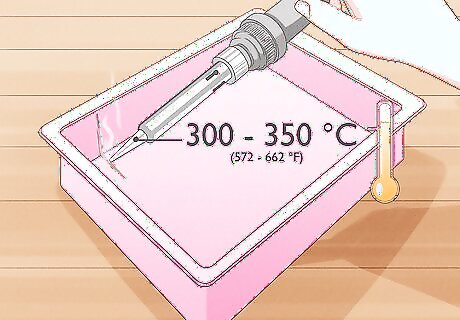
Weld the other side of the crack. If you are reinforcing a crack, flip over the plastic. Heat up the soldering iron and lightly drag it over the crack. Aim for a temperature between 300 to 350 °C (572 to 662 °F). The iron should be hot enough to begin liquefying small amounts of plastic. Keep your touch gentle to avoid pushing through and damaging the plastic further.
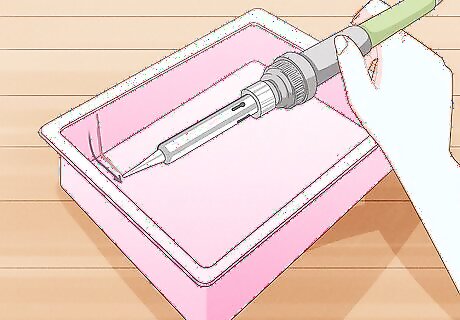
Smooth out the weld. Once the plastic has begun to melt, use the soldering iron to smooth out the liquified plastic. Gently brush over the plastic to smooth it out as much as possible. You’ll be able to push it into and around the crack, making the plastic much stronger. The weld should harden and cool within a few minutes. The plastic is ready for use as soon as that happens.



Comments
0 comment