views
- On Windows, connect your scanner. Open "Settings" → "Devices" → "Printers & Scanners" → "Add a printer or scanner".
- On Mac, connect your scanner. Click the Apple logo → "System Preferences" → "Printers & Scanners" → "+" → Add your scanner.
- Your scanner and computer must be on the same Wi-Fi network.
Connect a Wired Scanner on Windows
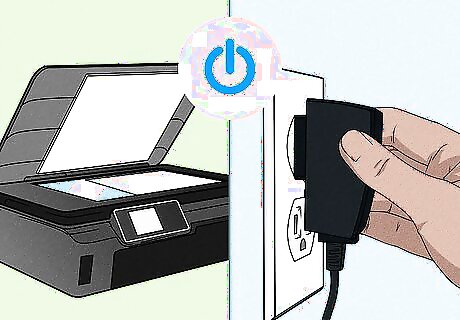
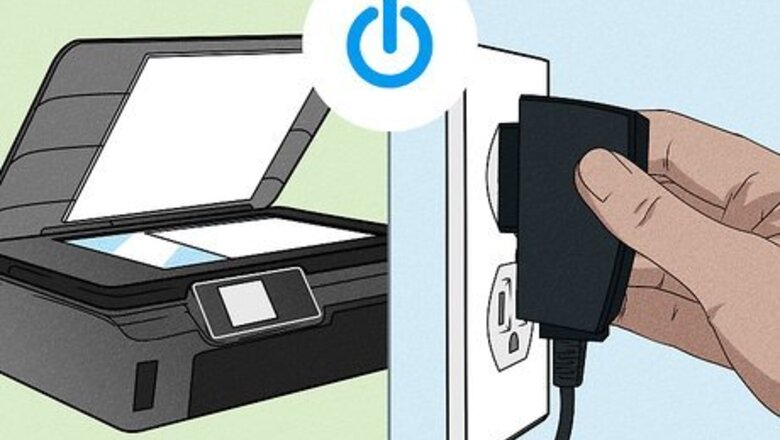
Plug in your scanner to a power source and turn it on. You need it powered on so your computer can detect it.
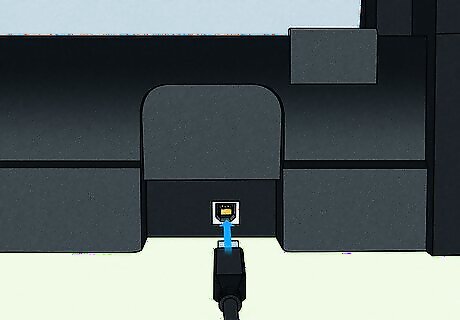
Connect your scanner to your computer with a USB cable. Using the USB cable that came with your scanner, plug it into an open USB port on your computer. If you don't have a USB cable that came with your scanner, usually any USB cable will work. If your computer detects the scanner once they are both powered on, you need to follow the on-screen prompts to download any necessary drivers and skip the rest of this method.
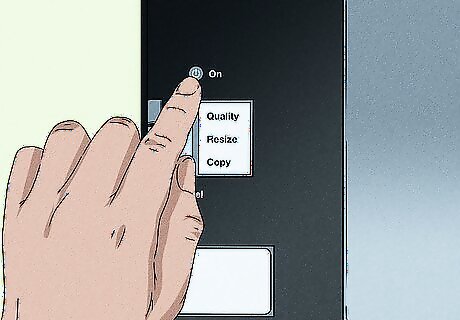
Plug in your scanner to a power source and turn it on (if it's not already on). You need it powered on so your computer can detect it.
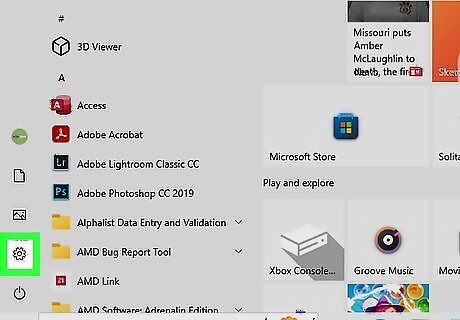
Open your Windows Settings. You can do so on Windows 10 and 11 by clicking the Start menu and selecting Settings or the gear icon.
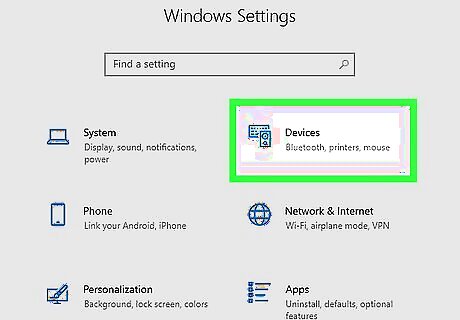
Click Devices (Windows 10) or Bluetooth & devices (Windows 11). On Windows 10, you'll see this with an icon of a speaker and keyboard in the second column. On Windows 11, you'll see it in the left panel.
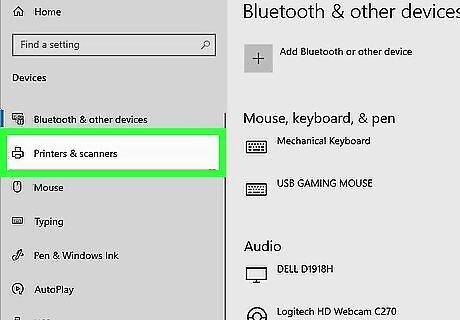
Click Printers & Scanners. You'll see this in the vertical menu on the left side of the window.
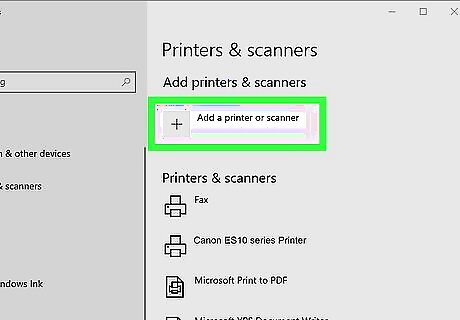
Click Add a printer or scanner. You'll see this at the top of the window.
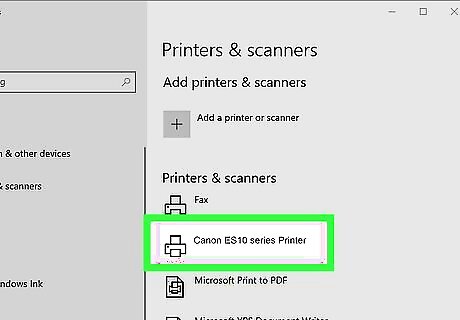
Click your scanner's name and click Add device. In the list that populates, the scanner you want to add will most likely display with the manufacturer name, the model name, and/or the model number. Follow any on-screen instructions if any pop-up. For instance, if your Windows Security asks for permission to allow your scanner to install software and drivers, click Yes.
Connect a Wireless Scanner on Windows
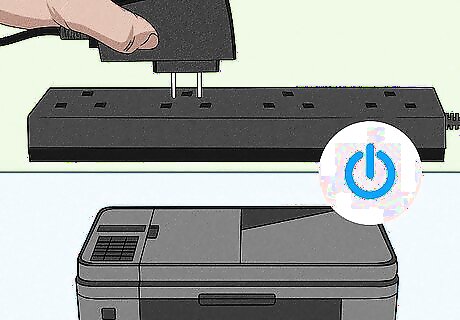
Plug in your scanner to a power source and turn it on. You need it powered on so your computer can detect it.
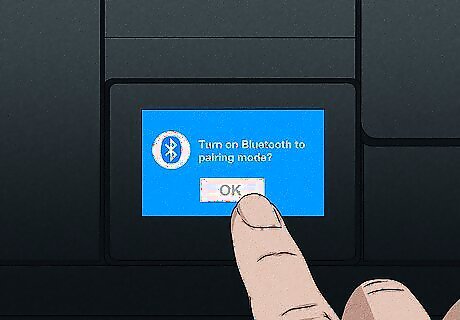
Put your scanner into pairing mode. Some wireless scanners, especially scanners that use Bluetooth to connect wirelessly, require you to put them in pairing or discovery mode first. Each scanner will vary in this process, but you'll most likely need to press the Bluetooth button on your scanner. If you're unsure if your scanner is in pairing mode or you can't find a Bluetooth button, refer to your device's manual. If your computer detects the scanner once they are both powered on, you need to follow the on-screen prompts to download any necessary drivers and skip the rest of this method.
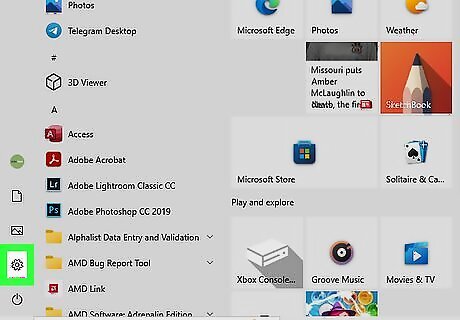
Open your Windows Settings. You can do so by clicking the Start menu and selecting Settings or the gear icon.
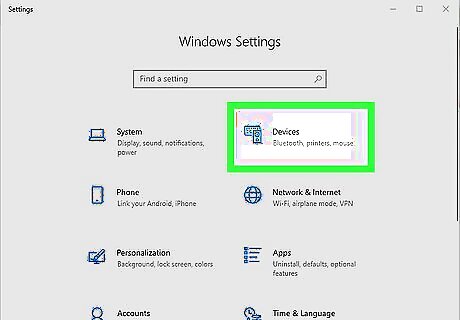
Click Devices (Windows 10) or Bluetooth & devices (Windows 11). On Windows 10, you'll see this with an icon of a speaker and keyboard in the second column. On Windows 11, you'll see the Bluetooth icon on the left panel.
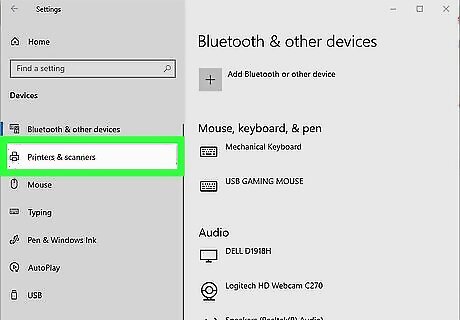
Click Printers & Scanners. You'll see this in the vertical menu on the left side of the window on Windows 10, or in the right panel on Windows 11. A list of available scanners will populate.
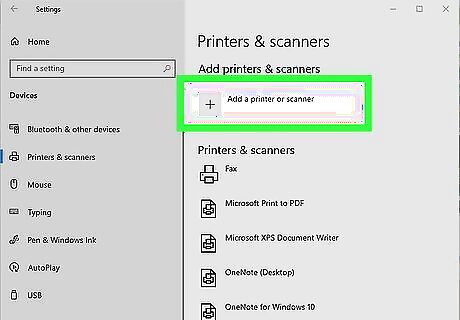
Click Add a printer or scanner. You'll see this at the top of the window. Your computer must be on the same Wi-Fi network as your scanner for it to detect it. If you're using Wi-Fi extenders for either device, connecting might not be successful.
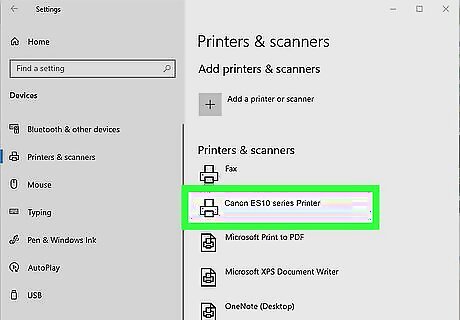
Click your scanner's name and click Add device. In the list that populates, the scanner you want to add will most likely display with the manufacturer name, the model name, and/or the model number. You can now scan documents and scan photos.
Connect a Wireless Scanner on Mac
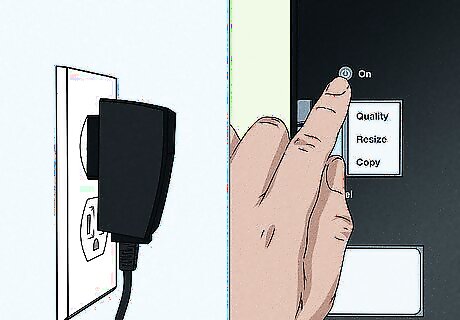
Plug in your scanner to a power source and turn it on. You need it powered on so your computer can detect it. You can also scan documents with an iPhone. This is helpful if you need to scan documents into PDF format. Make sure your printer is connected to the same Wi-Fi network as your computer.

On your computer, click the Apple logo Mac Apple. You'll see this in the menu bar that runs horizontally across the top of your screen. If you're not using an AirPrint printer/scanner, you'll need to update your printer drivers. Don't install the scanner's software. MacOS should download the latest scanner software automatically.
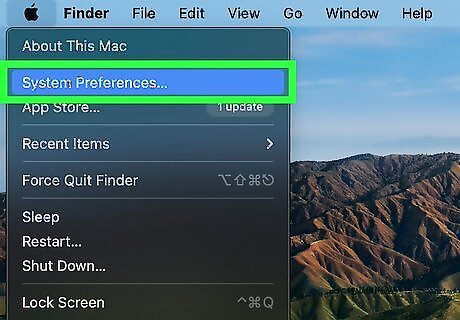
Click System Preferences. This is generally the second listing in the drop-down menu.
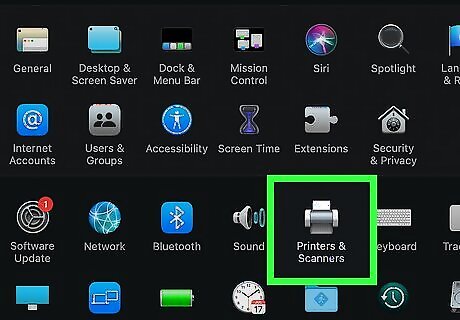
Click Printers & Scanners. You'll see this next to an icon of a printer.
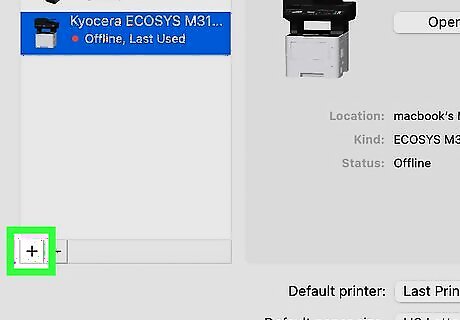
Click +. You'll see this in the bottom left corner of the window. If you see your scanner, skip this step.
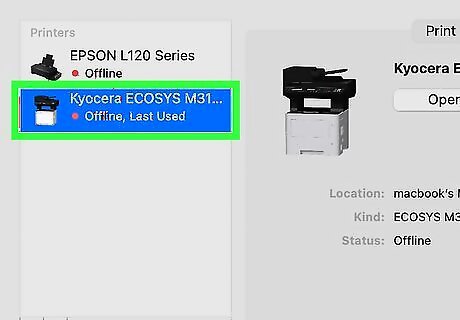
Select your scanner. When you click your scanner, your Mac will begin the process of setting up that device so you can easily use it. If you're having issues, make sure to check for macOS updates. You may need to connect your scanner with a cable first to set up wireless scanning. To do so, proceed to the next method.
Connect a Wired Scanner on Mac
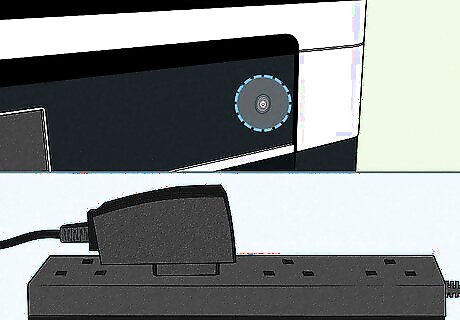
Plug in your scanner to a power source and turn it on. You need it powered on so your computer can detect it.
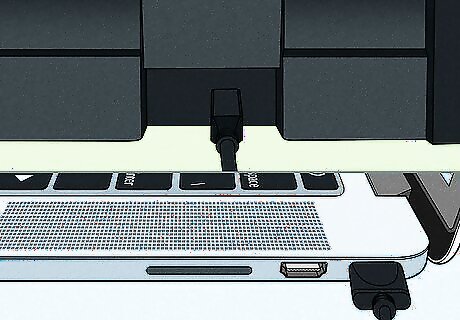
Connect your scanner and computer. Using the USB cable that came with your scanner, plug it into an open USB port on your computer. If you don't have a USB cable that came with your scanner, usually any USB cable will work. If your Mac only has one USB-C port and you have a USB connection, you can use a multiport adapter.
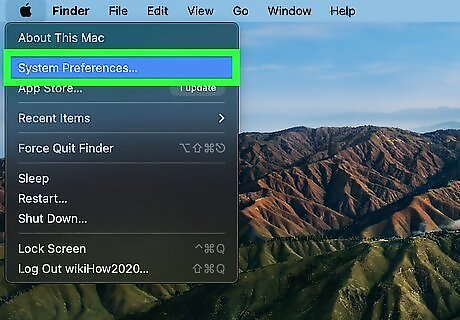
Open your Mac's System Settings (Ventura and later) or System Preferences (Monterey and earlier). Click the Apple logo at the top-left corner of the screen, and select System Settings or System Preferences, depending on your version of macOS.
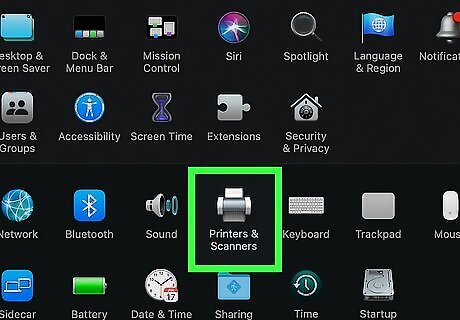
Click Printers & Scanners. You'll see this next to an icon of a printer on Monterey and earlier. If you're using macOS Ventura or later, it'll be in the left sidebar.
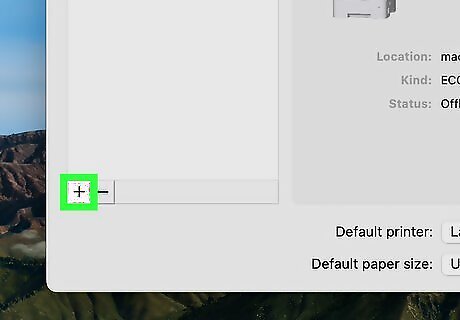
Click + or Add Printer, Scanner, or Fax if needed. If you don't see your scanner listed, click this option to add it now. If your scanner is listed, you can skip this step.
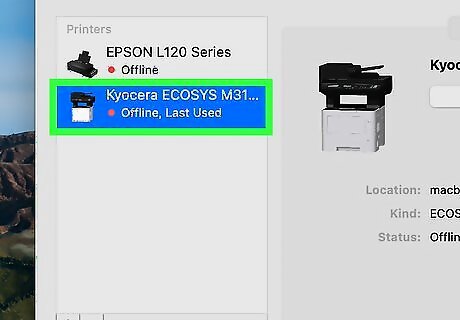
Select your scanner. When you click your scanner, your Mac will begin the process of setting up that device so you can easily use it. If you're having issues, make sure your macOS is up to date. Your scanner will be ready for use. If you have a printer with a built-in scanner, you can scan and print photos from your Mac computer.
Troubleshooting Scanner Problems
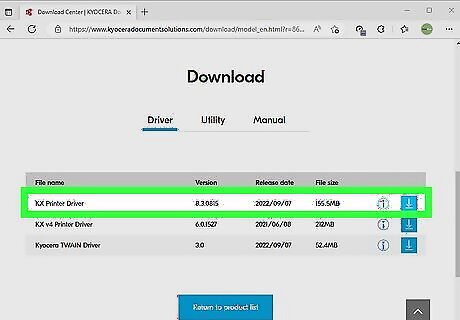
Download the proper drivers. Input your scanner brand and model into a search engine along with "driver download". Be sure to use the official company website for your scanner. After installing your scanner's drivers, restart your computer. MacOS should automatically install the latest scanner software. If it doesn't, you'll need to update your software manually.
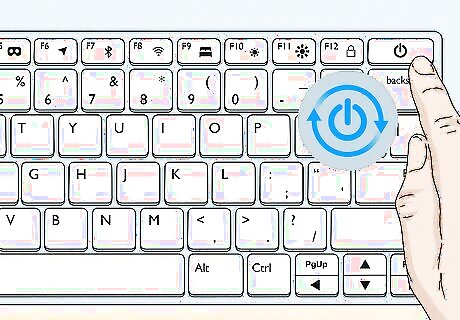
Restart your computer. In some cases, your computer may need a restart to function properly. Do this after installing any new programs or drivers. On Windows, select Start → Power → Restart. On Mac, select the Apple menu → Restart.
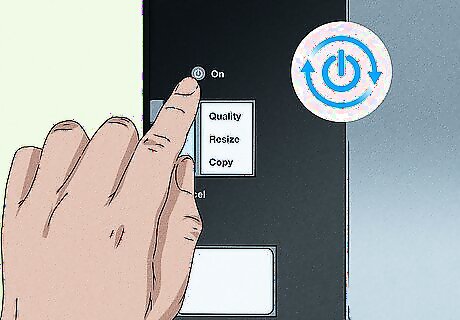
Restart your scanner. Use the Power button on your scanner to turn off the device. Unplug it from the power for a few minutes, then plug it back in. Refrain from turning off the scanner by unplugging the scanner if you have a Power button. This could interrupt scans in progress and cause your device to slow down.
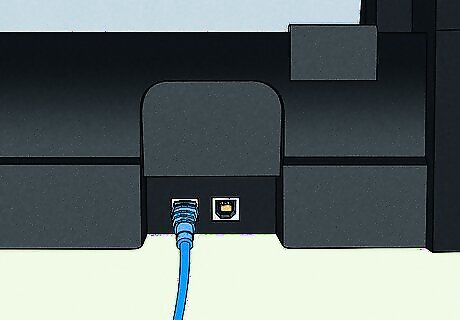
Connect your scanner via ethernet. Your scanner may have trouble connecting to your Wi-Fi network. Connecting your scanner to your computer with an ethernet cable can help your computer recognize the device.
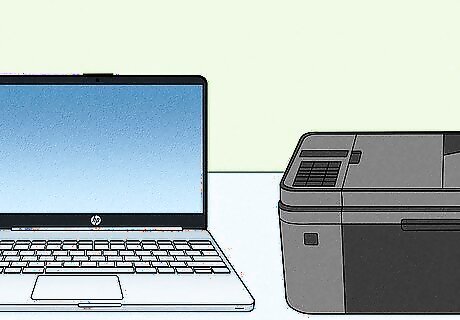
Make sure the scanner is within range. If your scanner is too far from your computer or if its signal is blocked, your computer won't be able to recognize it. Try to set up your scanner next to your computer.
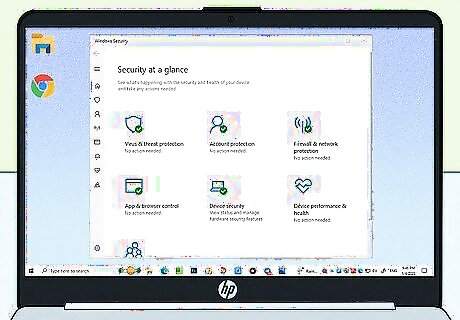
Check firewall and antivirus settings. Your scanner needs permission to communicate with your computer. Be sure your scanner is an allowed program in your firewall and antivirus settings.

Purchase a new scanner. If you're trying to connect an old scanner with a new computer, the software may no longer be compatible. In this case, you'll need to buy a new scanner.


Comments
0 comment