

- Lace your On Cloud shoes with the loop technique if your heel constantly slips out of your shoe.
- Try the diagonal lacing method to prevent blisters and give your toes room to move.
- Skip lace your On Cloud shoes to relieve discomfort from pressing your feet tightly against your shoes.
How to Loop Lace On Cloud Shoes
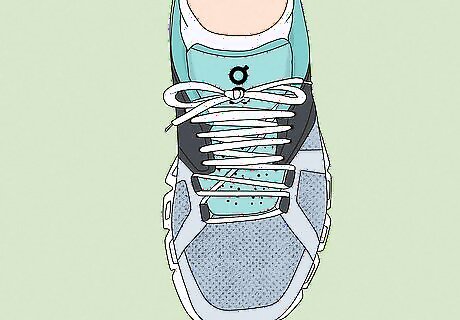
Insert the laces into the bottom eyelets from above. Ensure both sides have equal lengths for a proper fit. Choose the loop lacing technique if your heel slips out of your shoe. This method gives you a snug fit so you don’t have to worry about your foot shifting. It also leaves room for your foot to grow, so it’s an ideal technique for kids’ shoes.
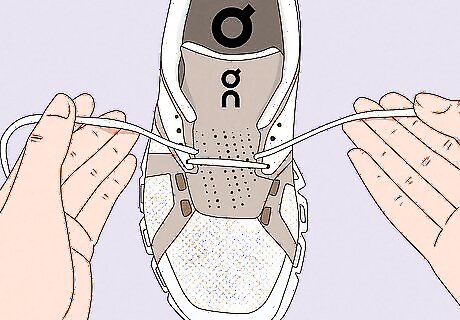
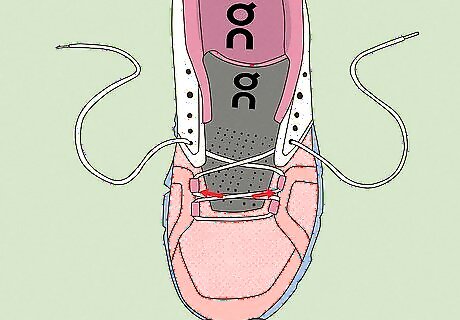
Lace the eyelets using the standard criss-cross method. This is the technique you probably use to lace your everyday sneakers. Insert your lace on the bottom right eyelet and lace it through the left eyelet in the row above it. For the other lace, do the opposite. Start with the bottom left eyelet and lace it through the right eyelet in the next row. You’ll do this until you reach the next-to-last eyelets at the top of the shoe.
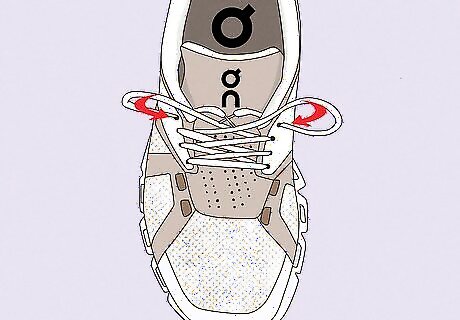
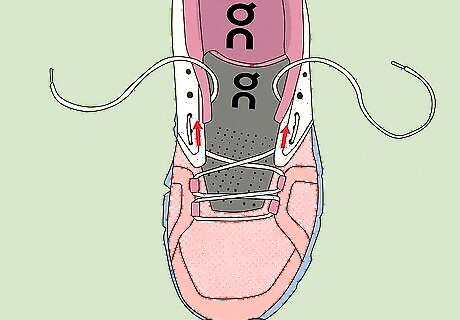
Create a loop on either side of the shoe. Hold the end of the lace and insert it into the last eyelet from the outside. Then, repeat the process on the other side. This forms a "loop" outside the shoe.

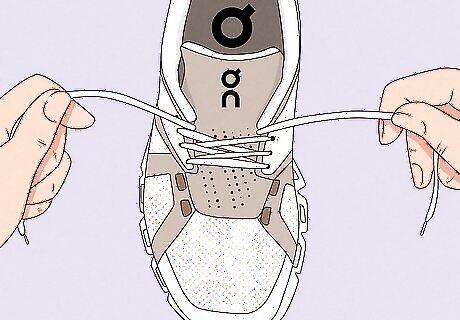
Thread the end of one lace through the opposite loop. You’ll do this for both laces.

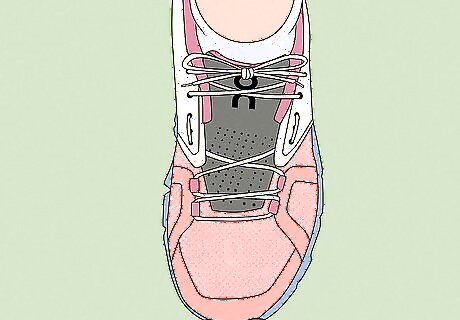
Secure both sides. Insert the laces through the loop a few times until the shoes feel snug but comfortable, then tie your shoes as you normally would.
How to Diagonal Lace On Cloud Shoes
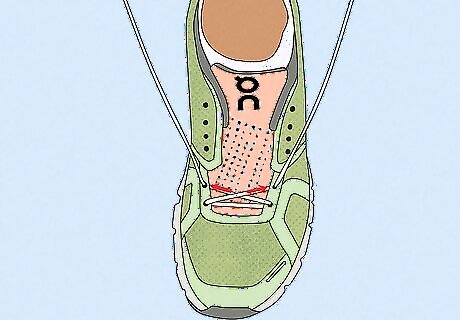
Thread your shoelace diagonally from a top eyelet to the opposite bottom eyelet. Leave enough lace at the top to be able to tie your shoe. Diagonal lacing is ideal for those who get blisters easily. This technique frees up room at your toes for a more comfortable fit.

Thread the lace through the other bottom eyelet. Once you’ve inserted your lace into the first bottom eyelet, thread it through the other one to create a horizontal bar between the bottom eyelets.

Cross diagonally to the next open eyelet. Moving from that bottom eyelet, insert the lace into the eyelet on the opposite side in the next row. Then, thread it horizontally over to the eyelet on the other side.

Grab the lace from inside and insert it into the next eyelet up on the opposite side. This creates another diagonal line.
Repeat the process to the top of the shoe. You’ll continue this method until you reach the top eyelet. Tie your laces to finish.
How to Cross-Over Lace On Cloud Shoes

Insert your laces into the bottom eyelets. Insert one end into an eyelet from the inside and thread it across to the opposite eyelet. The cross-over technique is perfect for those with a high instep. Choose this method for comfortable movement while hiking or performing high-intensity workouts at the gym.
Thread the next two or three rows diagonally. Take the lace on one side of the shoe and insert it into the eyelet on the opposite side in the next row. You’ll do the same with the other lace. This is the same lacing process as a standard criss-cross style.
Thread the lace into the next eyelet up on the same side from the outside. Once you’ve laced two or three rows (depending on your shoe and preferences) using the criss-cross method, take your right lace and insert it into the right eyelet two or three rows above it. Then do the same with the left lace. This will leave an empty space in the middle of the shoe.
Continue lacing up the rest of the shoe like normal. After you’ve skipped the eyelets in the middle, you’ll return to the crisscross method used to lace the first few rows. When you reach the top eyelet, tie your shoe how you normally would.
How to Skip Lace On Cloud Shoes

Thread your laces at the bottom eyelets. Check both ends to make sure their lengths are the same. If you have a high mid-foot, go for skip lacing. Skip lacing also relieves discomfort and injuries caused by pressing your feet tightly against your shoes.

Lace all the eyelets criss-cross style, but skip a pair in the middle. Use the cross-over method to lace your On Clouds, and skip one eyelet on either side of the shoe around the mid-foot to create extra space. If needed, skip additional eyelets for more comfort. When you’re finished, tie your shoes like you normally would.
How to Criss-Cross Lace On Cloud Shoes

Thread your laces through the bottom eyelets from the inside. Check to make sure both ends are the same length. Use criss-cross lacing for training and workout programs. This method is commonly used across all types of footwear because it provides a firm grip. It’s perfect for a snug-fitting running shoe.
Insert the right lace into the next eyelet up on the left through the top. Repeat the process for the left lace. This is the usual way most shoes are tied.

Lace the remaining eyelets the same way until you reach the top. Then, tie your laces as you normally would.
How to Lace and Tighten On Cloud Speed Laces
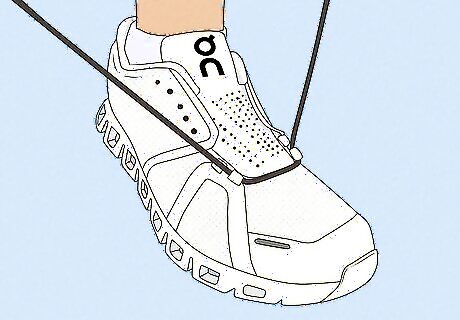
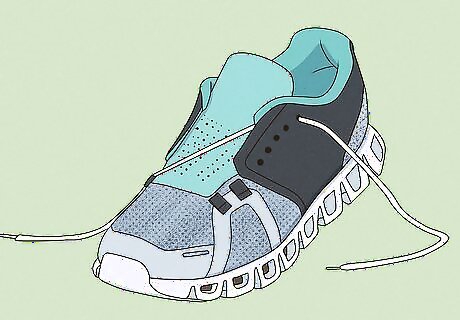
Thread the speed laces in any way you prefer. Insert the speed lace through a bottom eyelet on one side and thread straight over to the opposite side to create a horizontal bar. Continue lacing however you prefer up to the second-to-last eyelet. Tie each end of the lace with a knot large enough that it won't slip through the eyelet. Speed laces are designed to keep your foot snug. They replace your regular laces and allow you to set your preferred level of tightness without having to tighten and knot them every time you put on your shoe.

Pull the speed laces to tighten them. Pull the knot on each side and tuck it beneath the lace, tugging to ensure a tight fit. Loop it back underneath the lace to secure it, and then you can adjust the laces to your comfort.
Hiding Your Laces

Hide the bow of your laces under the tongue of your shoe. This is the easiest method of hiding your laces for On Cloud shoes. Here are the steps: Make sure your shoes are laced from the outside going in at the top eyelet. Tie the laces tightly enough to prevent them from coming loose. Tuck the knot under the tongue of the shoe to keep the laces from showing.
Hide your laces under the insole. This is another easy method of hiding your laces, but it requires insoles that can be detached. Here are the steps: Lace the shoe. Use your preferred lacing method to lace your On Clouds to the top eyelet. Make sure the laces pass through the top of each eyelet. When you reach the top eyelet, lift the insole and tug both ends of the lace under it. Once the laces are secure, replace the insole.


Comments
0 comment