views
Creating Guides
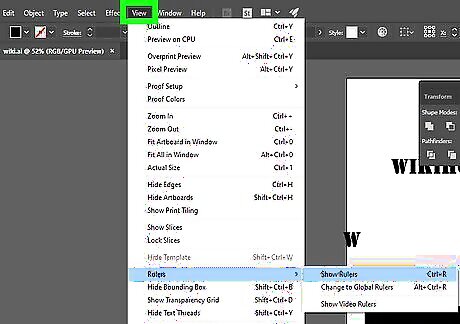
Click View. It's in the menu bar at the top. This displays a drop-down menu.
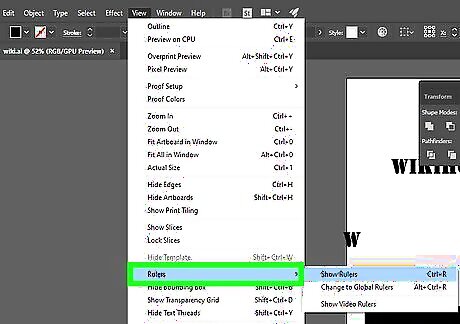
Hover over Rulers. It's about halfway down the View menu. Placing the mouse cursor over "Rulers" displays a submenu to the right.
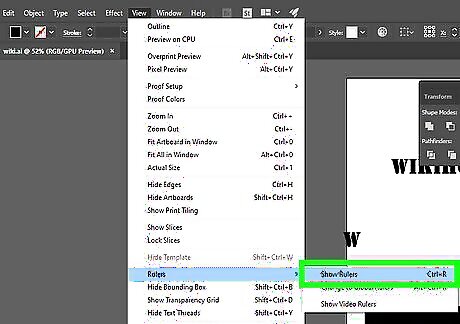
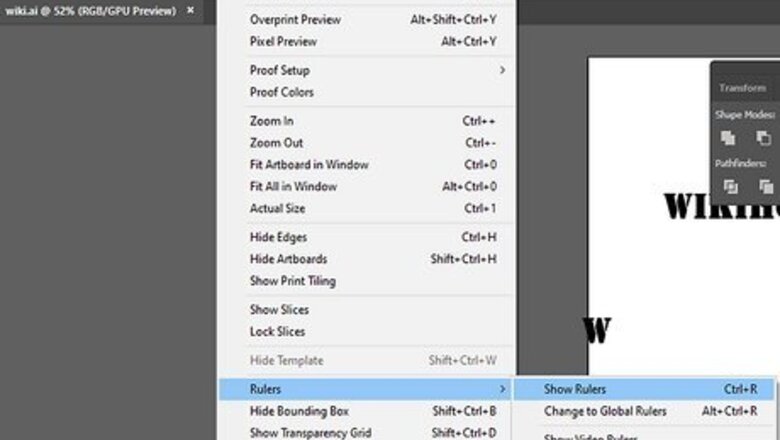
Click Show Rulers. It's the first option in the submenu that appears when you hover over "Rulers." This displays rulers on the top and left sides of your Illustrator document. If you see "Hide Rulers" instead, rulers may already be showing. Check the top and left sides of your document.
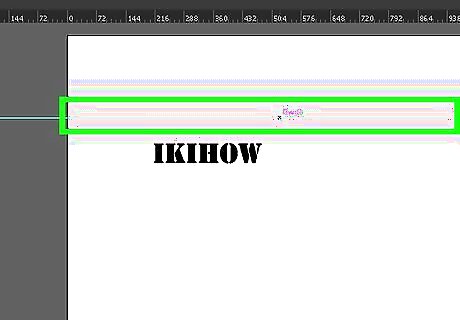
Click and drag the rulers onto your artboard. You can use either the top ruler or the ruler on the left. You will notice a dotted line will appear when you drag away from the ruler. Drag it to where you want to place a guide. When you release the mouse cursor, a blue line will appear. This is a guide. You can add as many guides to your Illustrator document as you want. If guides are unlocked, you can move them by clicking and dragging them. If they are locked, you cannot move them.
Locking and Unlocking Guides
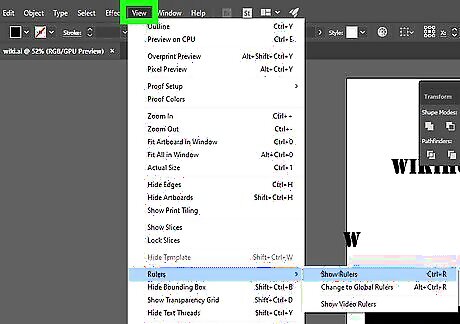
Click View. It's in the menu bar at the top. This displays a drop-down menu.
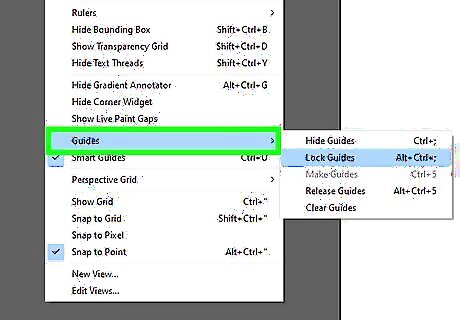
Hover over Guides. It's towards the bottom of the View menu. This displays a submenu to the right.
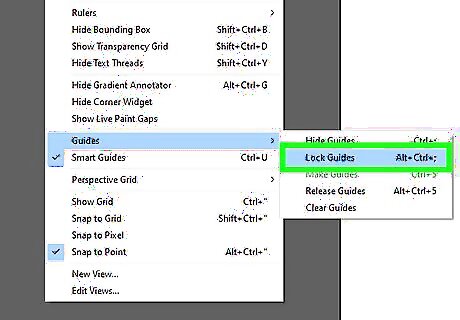
Click Lock Guides. This locks or unlocks your guides. If there is a checkmark next to "Lock Guides," guides are locked and you cannot move them. If there is not a checkmark next to "Lock Guides," guides are unlocked and you can move them by clicking and dragging them. Alternatively, you can click Clear Guides to completely remove all guides from your document. Click Hide Guides if you want to hide the guides from your document instead of removing them. Click Show Guides to display the guides again.


Comments
0 comment