views
Using Spray Tint
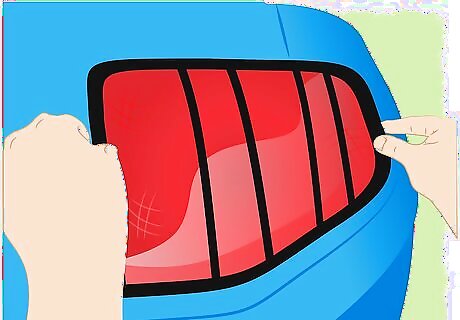
Take out each of the taillights. In order to spray your taillight, you will first need to remove them from the car. To do this, open the trunk and pull back the carpet liner. There should be two bolts securing the back of each taillight. You will need to remove these. Before you can pull the tail lights out completely, you will need to disconnect the bulbs. You can do this by pulling out the prongs that connect them to the light. This may take some force. Now you can completely remove the tails lights.
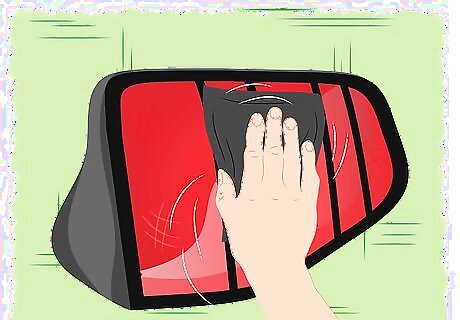
Sand the taillights. Before spraying your taillight, you will first need to sand them to provide a completely smooth surface for the spray tint. Wet a piece of 800 grit sandpaper and rub it against the taillight until the surface is dull and scuffed up. You can use a little dish soap if you like. Repeat the sanding process for each taillight. When you're done, wipe the lights clean with a cloth or some paper towel and allow them to dry. Check to see if you have sanded the surface of the lights evenly. Next, take a piece of 1000 grit sandpaper and repeat the sanding process with it. When you're done, wipe the taillight clean and allow it to dry. Finally, take a piece of 2000 grit sandpaper and sand the lights a final time, using smooth, firm strokes. Clean the lights and allow them to dry. The lights should now feel completely smooth and have a hazy, cloudy color. Give the lights a wipe down with some cleaning product - such as rubbing alcohol, gasoline, or window cleaner - and allow the lights to dry. A good tip when using the sandpaper is to let it soak in some water before sanding - this will make the paper more flexible and easier to use.
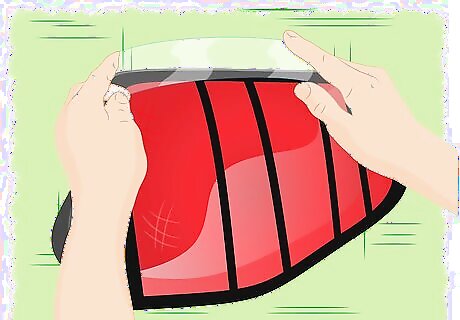
Place masking tape over any areas you don't want to spray. In most cases, this will be the reverse light, which must remain untinted according to several state laws. Regardless of the law, tinting your reverse lights may make it very difficult to see when driving at night, so if you choose to leave it uncovered, stick masking tape to the correct area and use a sharp utility knife to give the tape a clean line on either side. One alternative option, if you'd rather tint your whole light, is to purchase some aftermarket lights, which you can plug into the trailer hitch. This will provide you with the extra light you need for reversing at night, but will not ruin the effect of your tinted taillights.
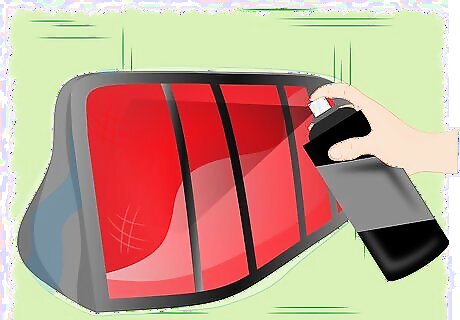
Apply the spray tint. Once the lights are completely dry and you have masked off the applicable areas (if necessary), place the tail lights on a stable work surface to begin the spraying process. Give the can of spray tint a vigorous shake, then hold it about seven inches away from the light, for best coverage. Spray a light, even layer all over both tail lights, making sure both lights achieve the same color. Leave this first layer of tint to dry for 20 to 30 minutes. Once the first layer of tint is dry, you can apply a second layer of tint. When you are done, let the lights stand for 20 to 30 minutes until they are dry to the touch. Then apply a third layer of tint and let that dry completely. In the majority of cases, three coats of spray tint will be enough to achieve the desired level of tinting. When you are happy with the level of tinting, leave the lights outside in the sun to cure for 45 minutes to an hour. This step is optional but will give you a better idea of what your finished tail lights will look like. Remember to remove any masking tape before moving on to the next step.
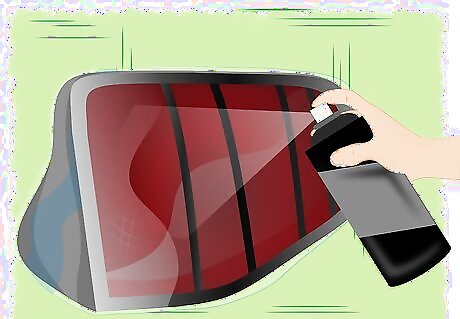
Apply the clear coat. The process of applying the clear coat is very similar to applying the spray tint. Once the final layer of spray tint has dried and you have cured the taillights, place the taillight back on the work surface and spray them with a light layer of clear coat. You can use a clear coat with a glossy finish, if you like. Once you have finished spraying, allow the clear coat to dry for about 20 minutes before applying the next layer. Although some tinting professionals claim that 3 to 5 layers of clear coat should be enough, others argue that you should apply between 7 and 10 layers for the best results. This provides better protection for the spray tinting. Make sure to allow each layer of clear coat to dry completely between applications. This is the part where most people become impatient and attempt to apply the clear coat too quickly. However, this can ruin your tint job because if the clear coat isn't allowed to dry completely between applications the coating can start to run.
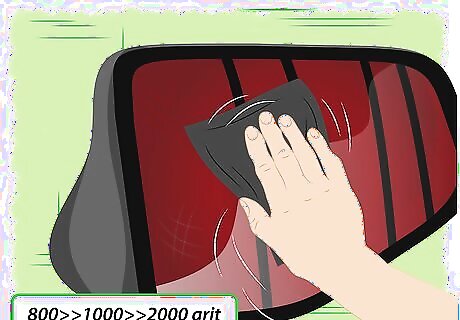
Sand the tail lights again. Once the taillights are completely dry (this may take a couple of hours) you will need to repeat the sanding process. Make sure to soak the sandpaper in water first, and this time use gentler strokes, making sure each stroke is going in the same direction. Use the 800 grit sandpaper, then the 1000 grit sandpaper, followed by the 2000 grit sandpaper. When you are done, the taillights should have a light, hazy finish.
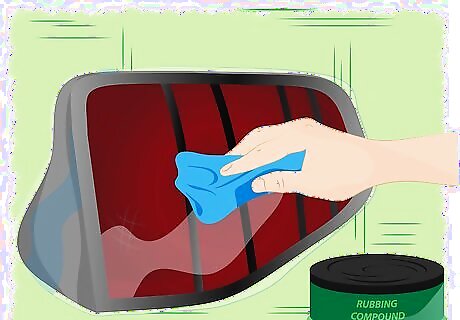
Apply some rubbing compound. Once the taillights have been evenly sanded, get some rubbing compound and apply a generous amount to an application pad or clean cloth. Apply the rubbing compound evenly over the tail lights using a wiping motion. Then use a vigorous circular motion and some elbow grease to really work the rubbing compound into the taillights, to fill in all of the fine scratches caused by the sanding.

Polish and wax the lights. Once you have finished applying the rubbing compound, wipe your tail lights down with a microfiber cloth, then use the same technique to apply a polishing compound. Give the lights another wipe down, before applying the wax product of your choice.
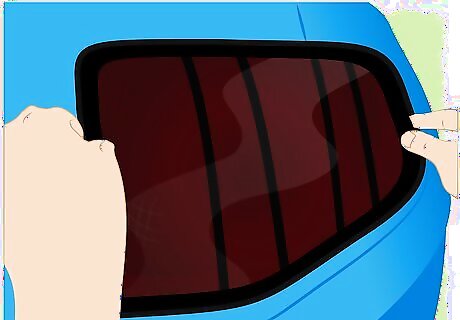
Replace your tail lights. Once your tail lights have been waxed, they are ready to be reinstalled in your vehicle. Remember to reconnect the light bulbs before sliding the lights into place, then secure the bots and replace the carpeting. Now the only thing left to do is to take a step back and admire your handiwork!
Using Film Tint
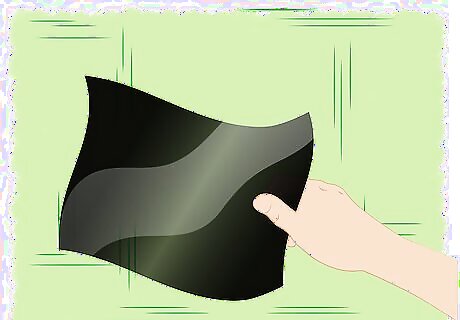
Choose your film tint. Film tint is a great option for tinting your tail lights, as it allows the light through the tinting, but restricts the light that comes back in. There are many different types of film tint available both online and in car accessory stores. Depending on the effect you wish to achieve, you can choose a regular black tint, or go for something a little more out there, like yellow, red, gunsmoke or optic blue. You can even find some film tint that's pre-cut to fit certain car models, so if you have a popular type of car, look out for those.
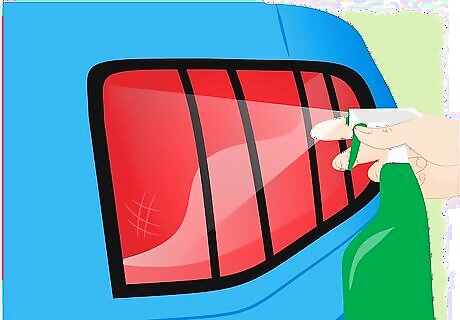
Clean the surface of the taillight. Before applying the film tint, it is important that your car's taillights are extremely clean. Use some window cleaner and a microfiber cloth (that won't leave any lint) to get rid of any debris or watermarks.
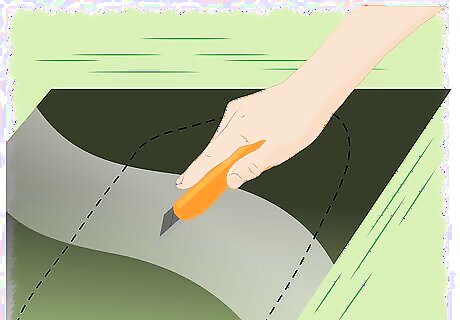
Cut the film tint to a rough size. Depending on the size of the vinyl sheets, you may want to cut the film tint to an approximate size, so it will be easier to work with. Use a precision knife to do this.
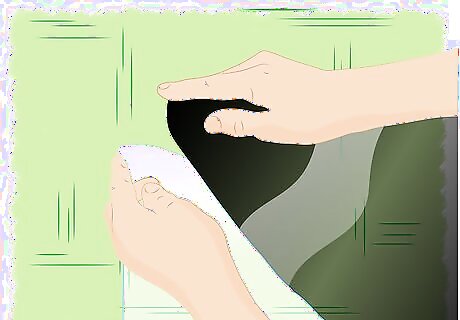
Remove the film tint from its protective sheet. Peel the film tint from the protective plastic sheet and spray either some soapy water or a solution of 85% water and 15% rubbing alcohol in a spray bottle on the adhesive side. This will prevent the film from sticking before you have properly aligned it on the taillight.

Apply the film tint to the taillight. Place the film tint over the taillight. You may need to stretch it to fit the shape of the light, which can be difficult if the light is very curved. Try to get the film tint as smooth as possible, using your hands to work out any creases. If you're having difficulty, spray some more solution on the outside of the film and use a heat gun or hair dryer to help stretch out the film and make it more malleable. Just don't hold the heat source too close to the film or apply heat for too long, as this may weaken or shrivel it.
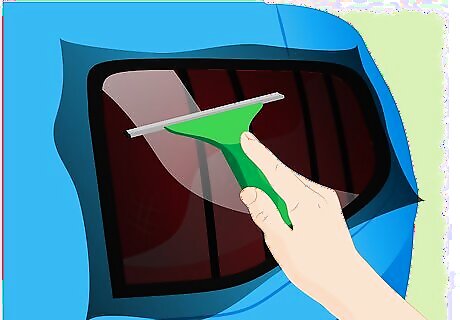
Use a squeegee to remove any air bubbles. Use a vinyl squeegee to push any excess water or air bubbles from underneath the film, working from the center outwards. You will need to apply firm pressure to the film to ensure you get the film tint looking as smooth as possible. If you don't have a squeegee, you can improvise using a credit card or a spatula wrapped in a microfiber towel. You can also continue to use the heat gun or hair dryer at this point to help you to smooth the film.
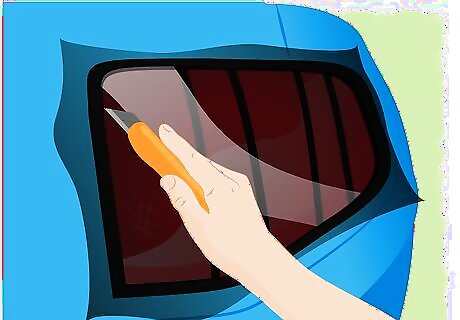
Cut away the excess film. Once you are happy with the surface of the film, use a precision knife to cut around the taillight, leaving a little extra film around the perimeter. Be very careful when doing this, so you don't accidentally cut any of the film covering the taillight.

Tuck in the edges. The final step is to use the heat gun and the squeegee (though the smaller spatula may be better for this) to stretch and tuck the edges of the film around the edges of the taillight, out of sight. Once the film sets it will hold its position.




Comments
0 comment