views
Securing the Cow
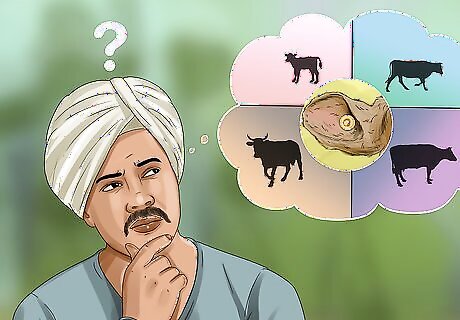
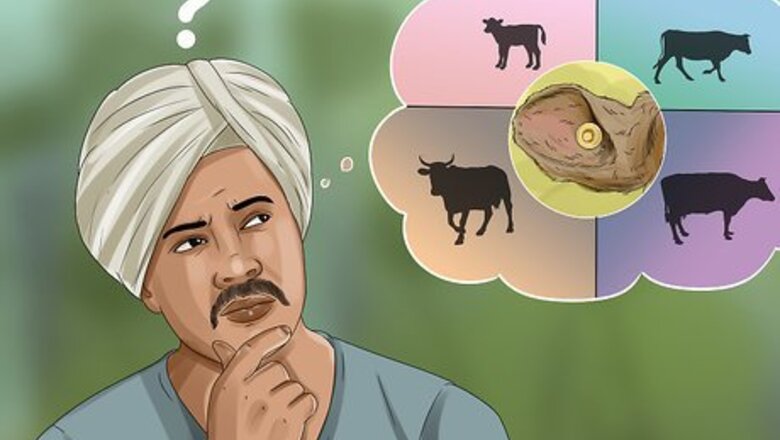
Determine the best time to tag your cattle. You can apply tags shortly after birth, during the calf’s weaning period, or around the time that you begin branding young or fully-grown cows. The time that you choose will depend mostly on how operations are carried out on your farm or ranch. For some, tagging calves at birth may make it easier to keep up with them as they grow. Others may prefer not to bother with it until a cow is headed for auction. If you’d rather not take on the task of tagging yourself, the officials at the feedlot or auction will usually be more than happy to do it for you. Some experienced ranchers recommend holding off on tagging until the calf no longer needs its mother’s milk. Attempting to tag a newborn calf could disrupt its bond with its mother.
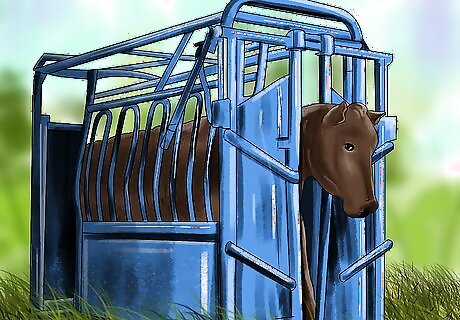
Use a chute with a head gate to secure the cow. In order to tag a fully grown steer or heifer, it will first be necessary to safely restrict its movement. Attach a halter or nose ring to the cow and guide it into the chute. Once it’s inside, tie the lead rope to 1 side of the gate tight enough to keep the cow from moving its head more than a couple inches (about 2.5-5 cm). A head gate typically isn’t necessary for securing young calves. Simply lay the calf down on its side and hold it firmly yet gently. It may help to have an assistant on hand to help hold the calf still. Erratic movement could increase the risk of injury to either you or the cow, or result in a botched tagging that must be repeated.
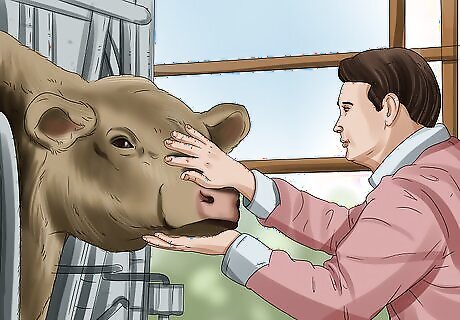
Make sure the cow is relaxed. The tagging process will go much smoother for both of you if your subject is calm. Ease the cow’s nerves by petting it and speaking to it in a soothing voice. Stroking its ears will also help it get used to having them handled. The cow will be less likely to struggle if it doesn’t feel afraid.
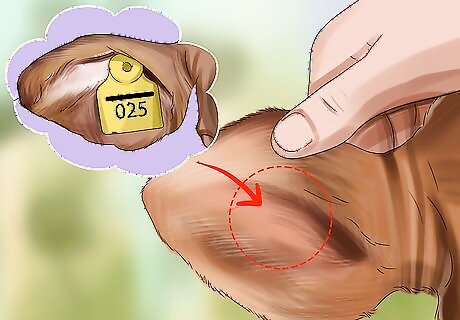
Locate a suitable tagging site on the cow’s ear. Find a soft spot somewhere in the middle portion of the ear between the upper and lower cartilage. The fleshy part of the ear will provide optimum visibility, offer the least resistance, and result in the least amount of discomfort to the cow. Always keep your tagging equipment a safe distance away from the ear canal or surrounding cartilage.
Priming the Applicator
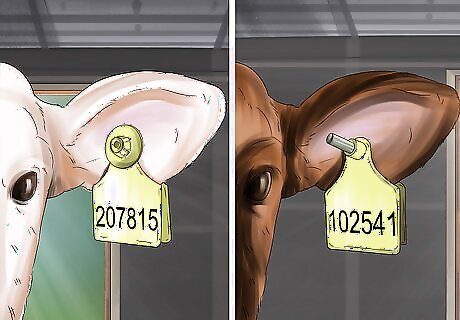
Select the best type of tag for your cattle. Basic plastic tags are the most common and least expensive means of identification used by small-lot farmers. These feature a broad, flat display panel bearing an easy-to-read ID number. There are also more sophisticated electronic identification systems (EIDs), which make it possible for ranchers to track their livestock remotely via special radio frequencies. The decision of which type of tag to use may come down to the size of your herd, the acreage you've allotted for grazing, or the amount of money you're willing to spend on simplifying the identification process. If you're tagging an animal for the first time, don't forget to note its age or purchase date on paper in case something happens to the tag.
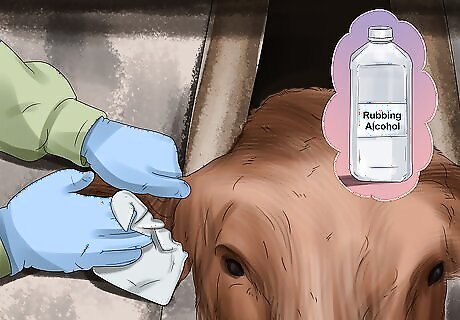
Clean the applicator to decrease the risk of infection. For the wellbeing of your livestock, it’s important that all materials that come into contact with the cow’s ear be properly sterilized beforehand. Wipe down the pin (male) and clip (female) components with rubbing alcohol or a disinfecting solution like chlorhexidine or betadine. This will help eliminate any bacteria present. You can also swab the inner and outer surfaces of the cow’s ear using a cloth or cotton ball soaked in alcohol for added protection. Take care not to let any of the solution drip into the ear canal itself. Be sure to clean the applicator thoroughly before and after use. In addition to protecting your cows from infection, cleaning and disinfecting the applicator after each tagging session will keep it working longer.
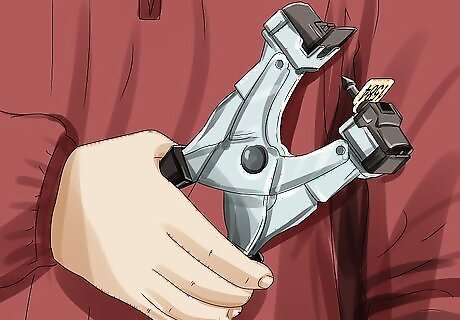
Load the two halves of the tag into the applicator. Insert the pointed stud on the backside of the visual panel onto the long, slender pin. Then, fit the button or backing into the clip on the opposite arm of the applicator. Double-check that both pieces are fully inserted and attached securely before moving on. New applicator tools are often labelled with diagram stickers indicating where each piece goes and how to load it correctly. Make sure that the panel of the tag is facing away from the male stud piece so that it will be visible from the outside of the cow’s ear.
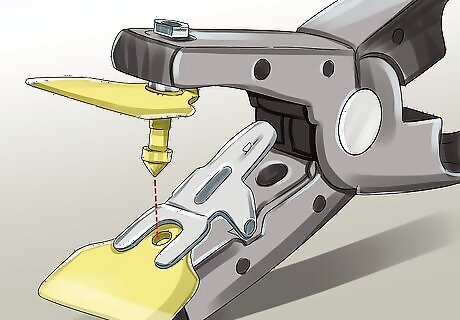
Check the alignment of the applicator jaw. Before you get to tagging, give your applicator a practice run. Squeeze the handles of the device together slowly so that the jaw closes to the point just before the two tag pieces meet. The stud should be perfectly centered with the hole in the backing piece. If the hole and stud are out of alignment, it may be necessary to remove and reload them. Be careful not to close the jaw completely, or you’ll have wasted a tag.
Applying the Tag
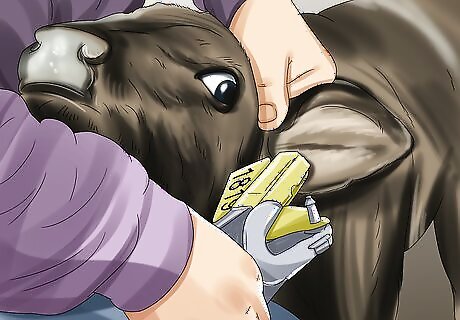
Position the applicator over the tagging site. Hold the applicator in your dominant hand and use the other to gently stretch and flatten the cow’s ear. The jaws of the device should be hovering above the soft central part of the ear you pinpointed earlier. Remember to keep to the fleshy tissue, and avoid cartilage, visible blood vessels, or other easily-damaged structures.
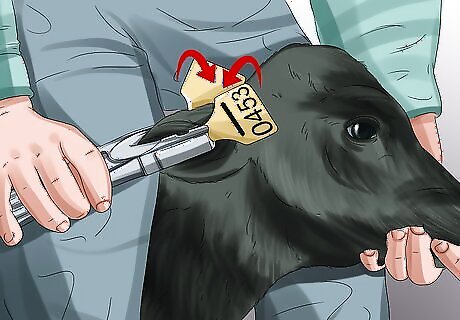
Clamp the applicator shut firmly and quickly. Squeeze the handles together in 1 smooth motion. You’ll hear a loud click as the 2 halves of the tag come together. Once the tag is in place, release the handles and pull the applicator away. Speak to the cow in a soft voice and stroke its head and neck to keep it calm as its momentary discomfort passes, but avoid touching its ears. You’ll need to be quick to get the tag in before the cow moves its head. Don’t put any pressure on the applicator handles until you’re ready to insert the tag. Failing to successfully apply the tag on the first attempt will only cause unnecessary pain.
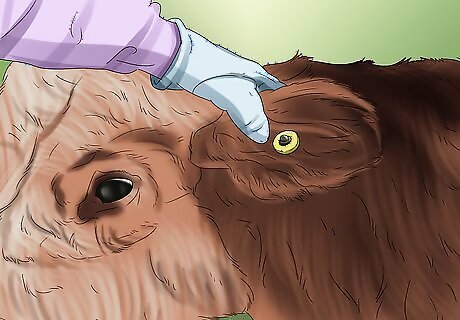
Inspect the finished tag. Check to make sure the tag is correctly positioned, is secure, and doesn’t appear to be causing the cow any discomfort. It may be a good idea to jot down the animal’s unique identifying code or number in case you need to adjust the tag later on. When using an electronic identification device (EID), it’s important that the visual panel (the face of the male piece) be situated on the outer part of the ear where it can be seen clearly and easily.
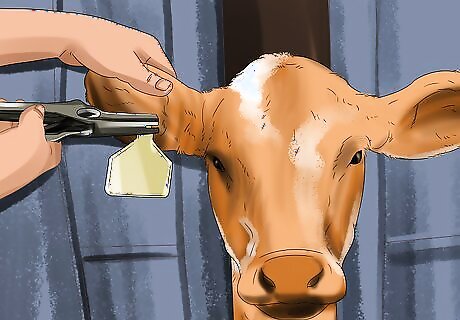
Tag the other ear if desired. Many ranchers tag both ears of their cattle to make them easier to read from either side. Some even insert an additional EID or RFID device along with traditional panel tags. If you decide that it’s necessary to apply a second tag, repeat the process the same way you did the first.
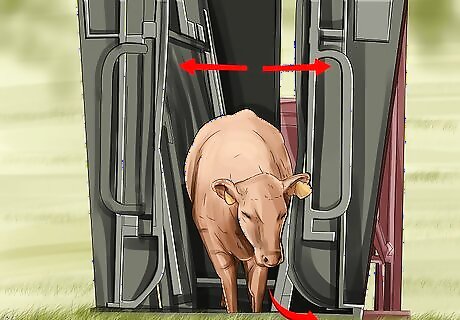
Let the cow go. Once the tag is in position, release the animal from the chute and free it from its lead rope. The newly-attached tag should remain in place for several years, allow you to track, identify, and account for the cow among the rest of your livestock more easily. Sturdy metal identifying buttons tend to stay put longer than flimsy plastic tags.
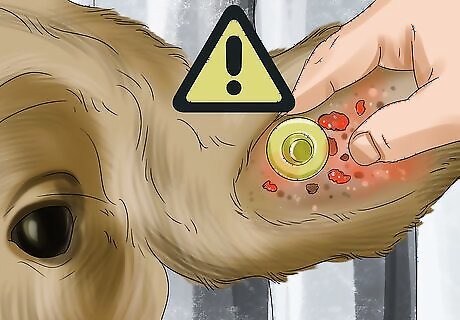
Check the tagging site for signs of infection for the next 5-7 days. Keep a close eye on the area around the tag. Any excessive redness, swelling, or discharge you observe should be treated as a serious concern. Applying a topical disinfectant like rubbing alcohol or hydrogen peroxide can go a long way in preventing infection, especially if your cattle spend a lot of time grazing in wet conditions. Continue treating the tagging site with disinfectant for at least 3-5 days after the puncture has healed. If infection symptoms don’t begin to clear up within about a week, contact a large animal veterinarian for a more advanced course of treatment.




Comments
0 comment