views
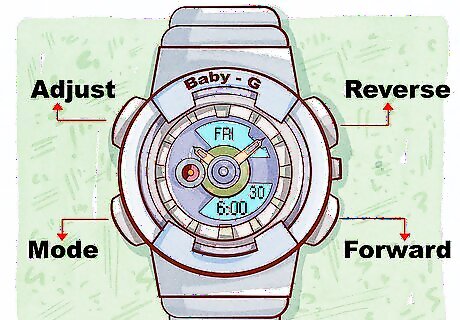
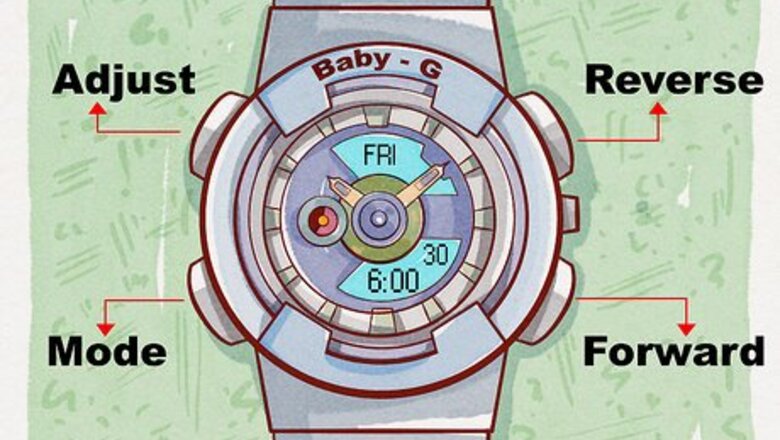
Familiarize yourself with your watch's buttons. There are four main buttons on your watch. They may be labeled differently than below, but they all serve the same functions once you place your watch in edit mode: Adjust - Upper-left corner of the watch. Used to place your watch in edit mode. Reverse - Upper-right corner of the watch. Used to move back one value (e.g., a time zone, an hour, etc.). Forward - Lower-right corner of the watch. Used to move forward one value (e.g., a time zone, an hour, etc.). Mode - Lower-left corner of the watch. Used to cycle through options on your watch.
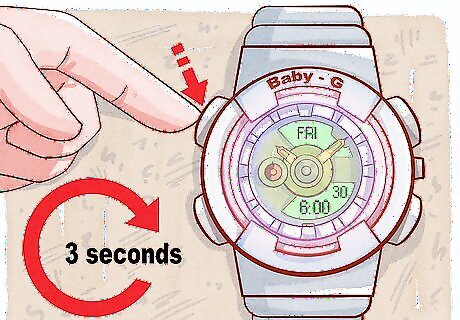
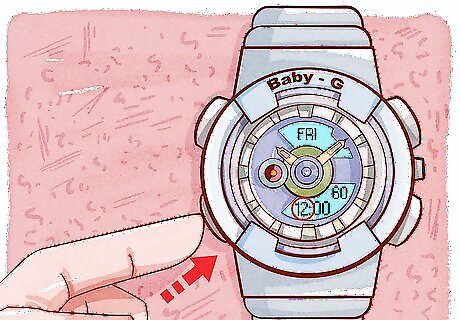
Press and hold the Adjust button for three seconds. This is the button in the upper-left corner of the watch's face. After three seconds, you should see one of the items on the watch's face begin flashing.
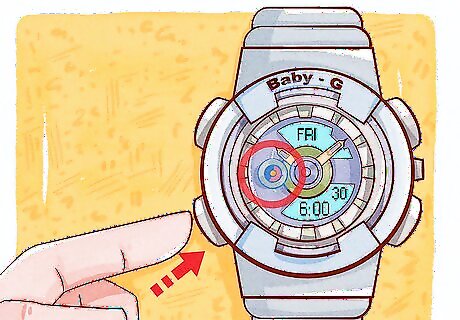
Press repeatedly the Mode button until the Seconds value begins flashing. The "Mode" button is in the bottom-left side of the watch face. Once the number that represents the number of seconds begins flashing, you can proceed.
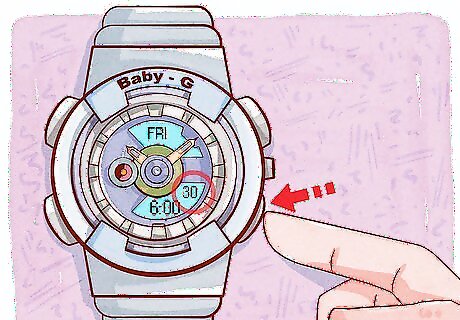
Reset the seconds to the current time. Press the Reverse or Forward button in the upper- or lower-right corner of the watch until the seconds match the current time (e.g., 30 seconds).
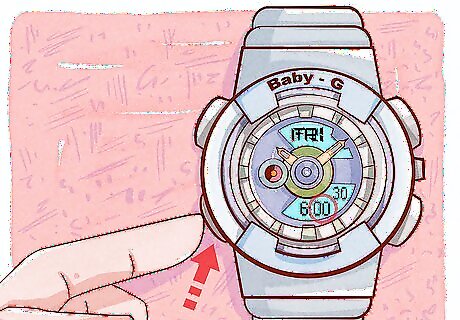
Select the Minutes value. Press the Mode button again to select the number that represents minutes.
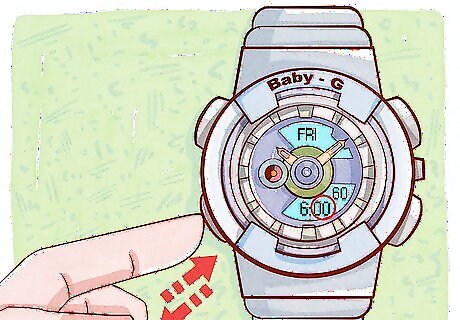
Change the Minutes value to a minute before the current time. You can do this by pressing the Reverse or Forward button. Setting the minutes to a minute prior to the current time will allow the minutes to automatically synchronize when the seconds reach 60 again.
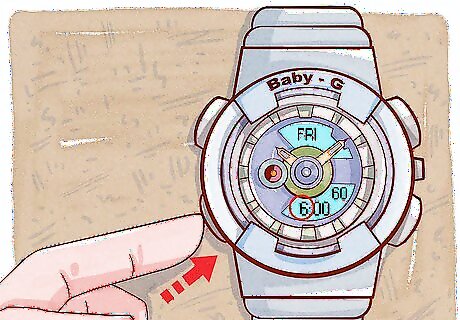
Select the "Hour" value. Press the "Mode" button again until the current hour is selected.
Change the "Hour" value to the current hour. Press the "Reverse" or "Forward" button to cycle to the current hour (e.g., 6). If you're using 12-hour time on your watch, make sure that the time of day (represented by "AM" and "PM") is correct. If it isn't, you'll have to cycle through 12 times to get to the correct time.
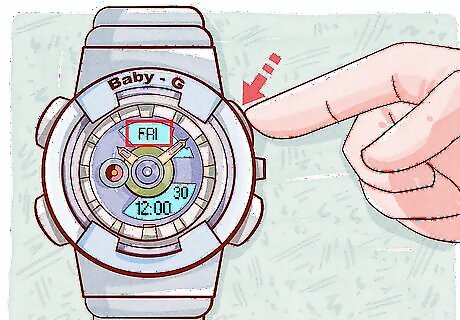
Adjust any flashing options. You can press the Mode button to cycle through other options that you watch has to offer, and use the Reverse/Forward buttons to adjust them as needed: Time zone - This will usually appear at the top of the watch's face. Keep in mind that the time zone will affect the current hour. DST - You can turn this on or off on supported watches. Doing so will allow your watch's time to reset based on daylight savings time. 12H or 24H - This setting will allow you to choose between 12-hour time (e.g., AM and PM) and 24-hour time (e.g., 06:00 for 6 AM, 18:00 for 6 PM). Light - On Baby G watches that have lights built in, you may be able to set a number of seconds for which the light displays. Date - You can usually adjust the month and day on supported watches.
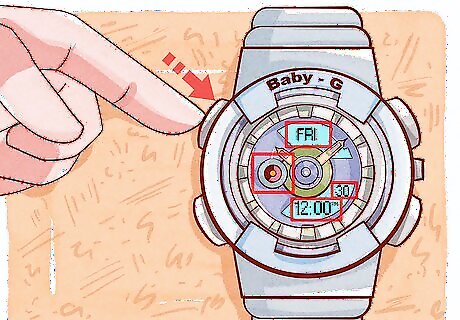
Press the Adjust button. This will set your Baby G watch's time to match your selected time. On some watch models especially analog-digital ones you may need to hold down Adjust for a couple of seconds before the time will set. Analog-digital models' hands will automatically adjust to match the digital time.



Comments
0 comment