views
Mousetrap Setup
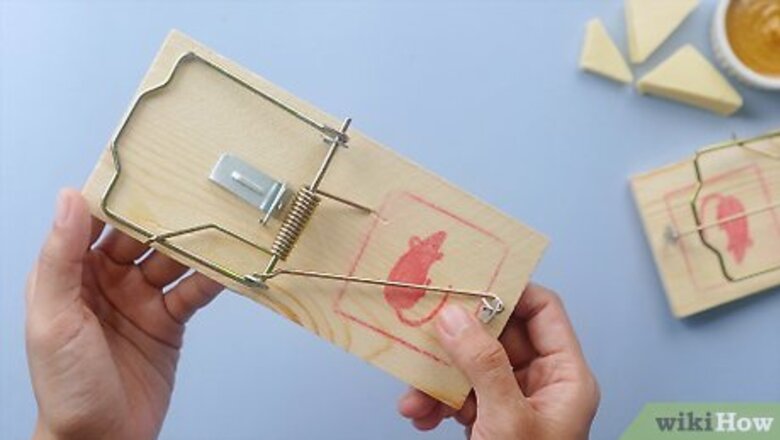
Identify the kill bar, pedal, and armbar on your snap trap. Look for the distinct, rectangular-shaped bar looping around one side of the trap–this is the kill bar, which is spring loaded to snap back and kill any lured mice. The pedal is a small, copper-colored piece of metal that springs the trap when the mouse steps on it. The armbar, a thin, wire-like piece of metal, hooks onto the pedal and holds the kill bar in place. Victor, a popular mousetrap brand, makes an “easy set” mousetrap that has a plastic pedal that springs the trap instead of a metal one.
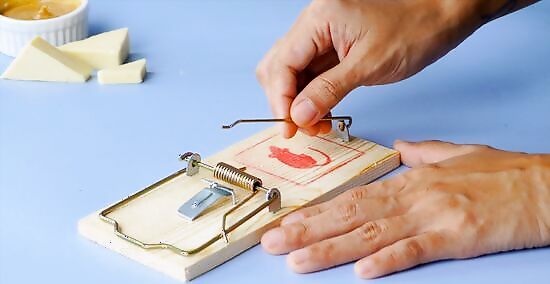
Remove the staple holding the armbar in place. Unpackage your trap and look for the armbar, which should be stapled to the left side of the wooden trap. Pull up on this armbar to remove the staple and free it from the rest of the trap.
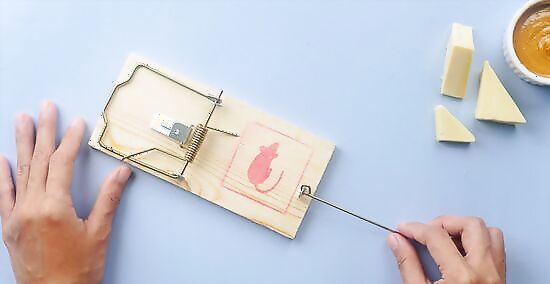
Drape the armbar behind the trap. You don’t need to use the armbar until you’ve set up everything else, so place it out of the way for now.
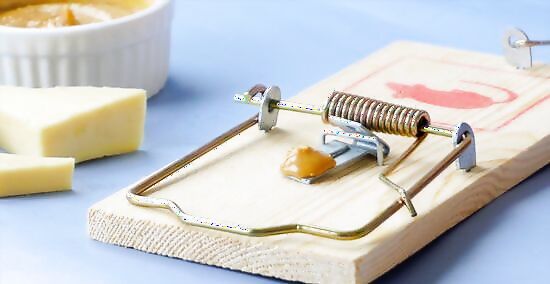
Dab a pea-sized amount of peanut butter on the pedal with a toothpick or swab. Spread the peanut butter along the top-center portion of the pedal with a cotton swab or toothpick instead of a finger; this way, you won’t stick your own scent on the mousetrap. You can use string as bait, too! Loop and knot a small section of string or floss around the pedal. Mice love to use string in their nests and will want to grab it off the end of the trap.
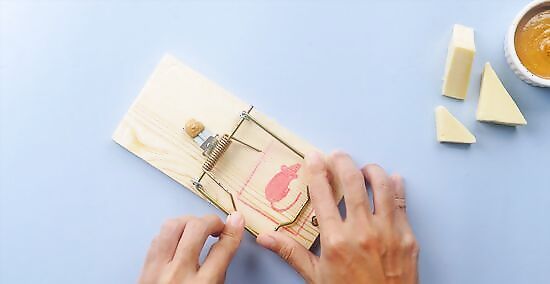
Tug the kill bar back and grip it down with your thumb. This bar is spring-loaded, so it may take a little effort to pull and completely flip the bar to the opposite side of the trap. Press and hold down on the bar with your thumb so it doesn’t return to its original position.
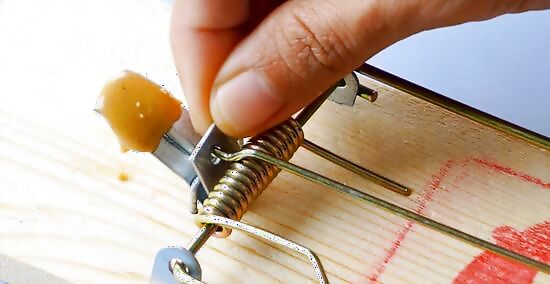
Hook the end of the armbar beneath the latch on the metal pedal. Use your free hand to flip the armbar up and over the rectangular bar. Then, secure the curved end of the armbar beneath the latch along the bottom of the metal pedal. This part can be a little tricky, so don’t be discouraged if your armbar doesn’t latch right away! You’ll be fine as long as you keep firmly pressing your thumb down on the kill bar.
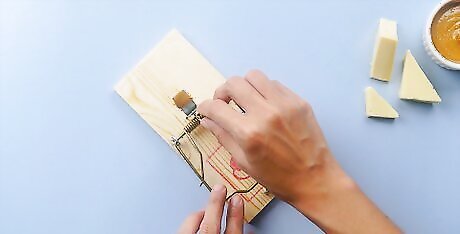
Secure the armbar in the colored pedal if you’re using an “easy set” trap. Insert the armbar into the yellow pedal’s opening. Lean the armbar to the left side of the pedal for a “firm” setting, and to the right side for a “sensitive” setting. The “firm” option is easier to set up, but requires a little extra pressure from a mouse to trigger the trap. The “sensitive” option is a little trickier to set up, but it will trigger more easily.
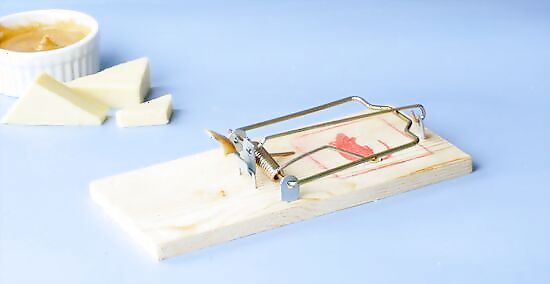
Let go of the kill bar quickly. Pull your thumb off the rectangular bar and move your hands away as fast as you can. Don’t be discouraged if the trap doesn’t set at first, though–it can take some practice! Just continue pulling back the kill bar, holding it in place, and latching the armbar until the trap stays put.
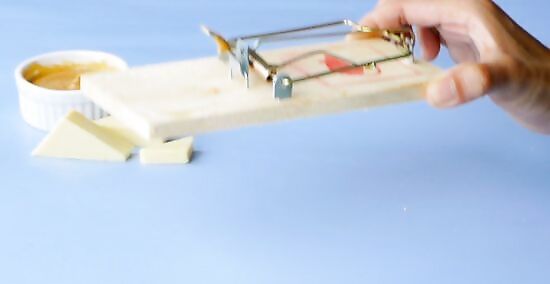
Disable the mousetrap by lifting and dropping the device on a table. Grip both sides of the wooden trap with your thumb and pointer finger. Lift the trap at least 1 to 2 in (2.5 to 5.1 cm) off of a table and firmly drop it down. Move your hands away as soon as you let go–the trap should snap and disable itself right as it hits the surface. Dropping the trap from a low height over a table is a good, safe way to trigger your trap without hurting yourself.
Where to Put Mousetraps
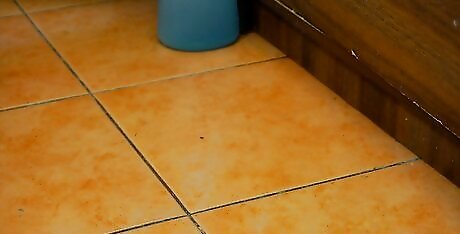
Find spots in your home that mice pass through the most. Set traps along the perimeter of your home or garage, since mice like to travel along walls. If you’ve noticed mice or rodent droppings under cabinets or in your pantry, set additional mousetraps there.
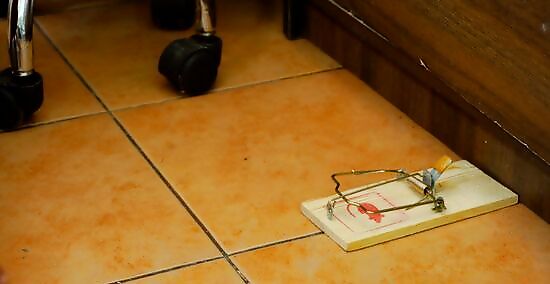
Place the trap so it’s perpendicular against the wall. Pretend that you’re creating a capital “T” shape between the mousetrap and your wall–the mousetrap is the vertical base of a “T,” while the wall is the horizontal top line. Make sure that the bait side of the trap is touching the wall, so a passing mouse is more likely to step on the trigger.
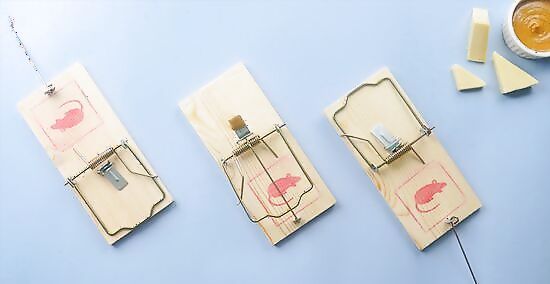
Set multiple traps to increase your chances of success. Arrange your traps wherever the mice seem to hang out the most. Space each trap about 3 ft (91 cm) apart (or less), so you have a better chance at catching more rodents in one go.

Trash any trapped mice while wearing gloves. Monitor your traps each day and clear away dead mice and their traps as soon as you notice them. Always slip on a pair of gloves before handling a dead mouse, so you don’t pick up any germs or diseases. Then, toss the mouse and the trap in an outdoor trash bin or dumpster as soon as you can. A plastic bag can work in a pinch if you don’t have any gloves on hand. If you’d like to reuse the trap, slip on a pair of gloves and hold it over an open trash bag. Pull up on the kill bar to release the dead mouse, and thoroughly clean off the entire trap with a disinfectant before using it again.
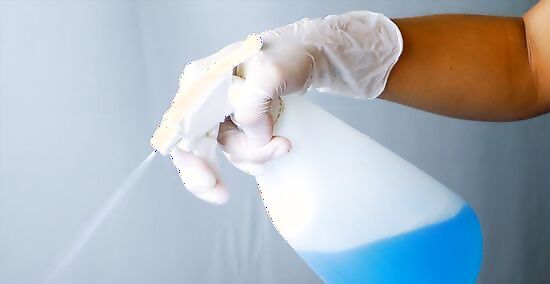
Clean up the area with a bleach solution or disinfectant wipe. Slip on a pair of disposable gloves and spritz over any visible urine or mouse poop with a 10:1 water-bleach mixture. Lift up the damp waste with a clean paper towel and toss it out. Then, wipe down the entire area with the bleach mixture again. Avoid using bleach on floors or surfaces made of wood, granite, or metal. In that case, use a disinfectant labeled as safe to use for those kinds of surfaces.






Comments
0 comment