
- Develop a theme for your magazine and look at some of your favorite publications for organizational inspiration.
- Ask people to contribute to your magazine or create your own content. Then, outline and draft your magazine’s layout.
- Create the cover page and add a title to your magazine. Then, print or hand-write the pages and bind them together with staples or tape.
Organizing Your Material

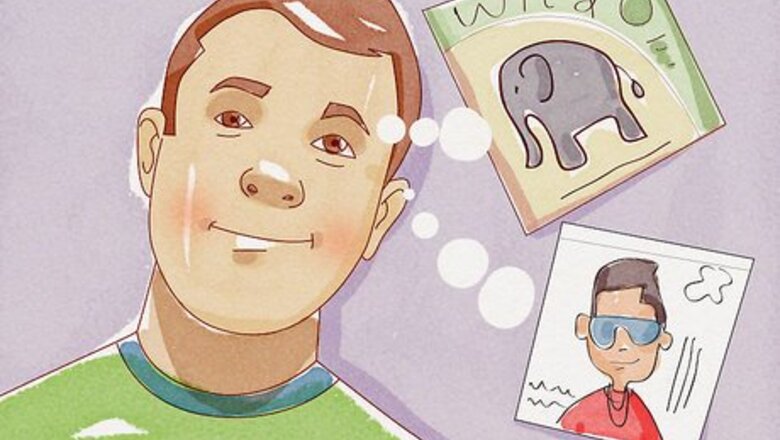
Decide on a theme. Think about what you want your magazine to be about. Is it going to be a scientific publication, a collection of lifestyle opinion pieces or a feature on the local music scene? Come up with the basic idea for your magazine and how you might present it. Since you're making it yourself, there are no rules! The more unique, the better. You can come up with a title for your magazine right away, or wait until it's more cohesive if you're having trouble thinking of the right title. Whatever title you choose should reflect the theme of the magazine and be short and memorable enough to catch the eye of readers.

Get a handle on the format. Now that you have a general theme or topic in mind, consider how you'd like to present your content. If it's scientific or informative in nature, it may make sense to arrange the articles in a linear fashion and include photographs and graphics related to what you'll be writing about. If the magazine's purpose is to showcase a creative pursuit, you can take more liberties with the format, interspersing poetry, drawings, paintings, and other features among the expository writing. As the editor of your magazine, you have total control over the direction it takes. Take a look at some of your favorite magazines, or some of the more polished publications on the shelves, to receive inspiration for the style of your own magazine. What stands out to you about these publications, and how can you recreate these details while making your own work stand out?

Pull together your sources. Take whatever writings, artwork and other content you choose to put on display and start compiling your source materials. Separate different content types into sections to help you keep track of your raw material. Once you decide what to include in your magazine, you'll start to see the overall concept take form. While most of your content will be original pieces in the form of written articles, you can also piece your magazine together with photography, drawings, research information and even interviews with interesting figures. It usually isn't a violation of any property laws to use copyrighted content or images in self-published work that isn't being sold for profit, but make sure you're careful about the sources you pull from anyway. The last thing you want is to get in hot water over exploiting your sources for an independent creative project.
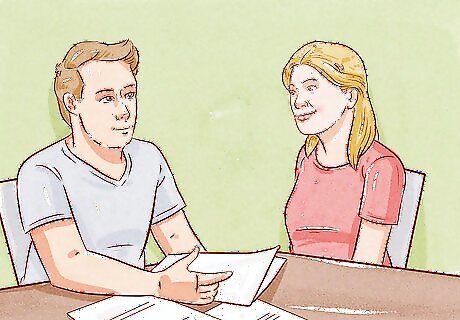
Ask for contributions. You don't have to do it all by yourself--seek out other creative minds to contribute content for your magazine. This is a great chance for writers, artists and other talented individuals to have their work and opinions featured in an actual publication. Including other people's original work can help make your magazine more balanced and allow it to reach a wide audience. Reach out to creative people in your area to see if they'd be willing to have their work featured in your magazine. Even if it only reaches a small demographic and doesn't pay, any exposure is good exposure when you're trying to make a name for yourself. If you're in school, look for contributions from science and art groups, bands or others with special knowledge that goes along with the subject of your magazine.

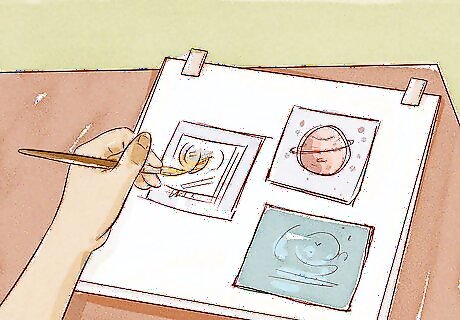
Incorporate visual elements. Do you intend to include your own photography to complement the magazine's articles? What about pop cultural images for satirical use, or to give the publication an injection of zany relevance? Magazines implement many different visual elements in addition to their textual content, and you'll want to include a few in your own to make it engaging to readers. When you use a photograph, make sure that it's either one you took yourself or that you have express permission to include it in your work. Remember what you learned in grade school: don't be afraid to break out the glue sticks and colored pencils in order to produce one-of-a-kind artwork for your magazine.
Producing Your Content
Craft interesting articles. Write your own articles about a chosen subject or solicit contributions from others for absorbing featured pieces. This is where the bulk of the content on your theme will come from. Make each article distinct by using it to highlight a different topic or approach to the subject matter, and break multiple articles up with graphics, interviews, artwork and other design elements. Base your articles on a particular motif for that issue of the magazine. If your magazine is about music, for instance, do a rock feature and include interviews and write-ups about rock bands in your area. As with any form of writing, stay on top of grammatical errors and spelling mistakes. Proofreading every step of the way will make your magazine more professional.

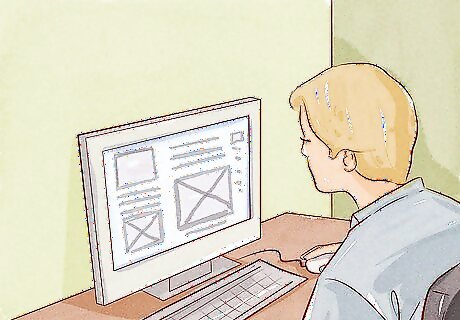
Devise a design style. You're now starting to build content to fill the pages of your magazine, but what will those pages look like? Take chances with the layout of your magazine's pages to make it identifiable and unique. Use color printing or hand-drawing, play around with various fonts and configure articles and pictures to be visually appealing. No two pages should look the same! Designing page after page of content can be challenging. It's perfectly okay to take a somewhat random approach to where things go on the page, as long as the flow of the magazine makes sense. Trust your instincts.

Create a chart or timeline for your content. Visual aids like flow charts and linear timelines can make it easier to organize the wealth of content to be included in your magazine and let you plot the best order for the finished product. Try to look at the progression of the publication holistically, from beginning to end.

Write a first draft. Pen an initial draft of your selected articles. Include as much relevant information as you can while keeping the pacing of each article brisk and readable. Start pairing up written content with related photos and graphics. You can keep playing around with the order of the articles and how best to arrange other design elements as you compose your first draft. Just get the information out first, then use your intuition to streamline the content for the right flow. Your first draft should be a little messy. You'll have plenty of time to tighten it up later once you have all the key details in place.
Publishing Your Magazine
Determine your preferred publishing method. For most people it will probably be easiest to type and arrange the content in a word processor and then print the pages out. If for some reason you don't have access to a computer, or if the theme of your magazine calls for it, you can lay everything out by hand, giving the magazine an impressive hand-crafted aesthetic. Choosing a publishing method will mostly come down to individual taste, but certain methods will be better suited to certain types of publications. For example, a magazine dealing with traditional art might contain original hand-drawn pictures, while one about modern psychology would probably benefit from a precise, straightforward publishing approach. Printing the pages of your magazine will be much faster and easier, but will make less of a splash with readers. Hand-drawn pages will likely be more impressive, but require a much greater time commitment. If you plan to print multiple copies of an issue, hand-drawing pages can be especially labor intensive.
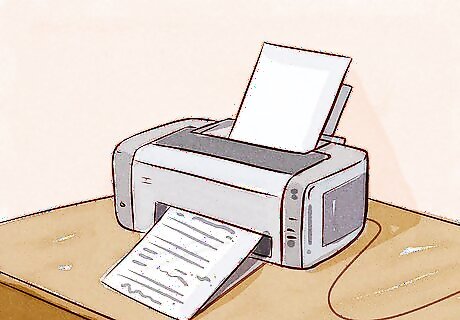
Print or hand-write the pages. Print the finished, proofread pages of your magazine and collate them in the right order. If you've gone the hand-designed route, write out a final draft that takes into consideration the space you plan to use to add pictures, titles, borders, etc. The "guts" of your magazine are now finished and ready to be bound with a completed cover. You'll have no problem getting your pages in order if you've drawn them up by hand. Printing them, however, can cause complications depending on how you plan to bind the magazine. If each piece of paper will be a separate page, you can organize the pages by hand once they're printed. If you choose to fold the pages in half and then staple them to make the binding, you'll need to be certain you have articles and images in the correct order in the word processor, and that you're selecting the "print for publishing" option that arranges the document by page number. If you have a little money to play around with or need a more polished look for a school or work project, you can take your printed pages to a copy store like Kinko's or FedEx Office and have them reprinted on glossy paper like the professional magazines in the supermarket. This will be more expensive than printing the pages yourself at home, but the luster of the finished product will be worth it. They can even help you bind it there in the store.
Create the cover and title. If you've been putting off coming up with a title for your magazine, now is the time to do it. The magazine will need a short, catchy title that reflects the theme and content it contains, as well as front and back cover designs that preview what's inside. Save your most impressive photos or artwork for the cover to attract readers with the magazine's visual presentation. Consider utilizing blurbs, or short descriptions, on your cover to provide insight into the magazine's contents, or bullet points that inform readers what they'll find in the issue. For self-published works, a table of contents isn't always necessary, but can be useful if your magazine contains lots of information divided up by article.

Bind your magazine. After your pages are printed or written out by hand and the cover is designed and ready, it's time to bring the whole thing together. Bind your magazine's pages together using staples or specialty binding tape for a cleaner, more professional finish. Double-check to make sure that everything is in the correct order before binding. To bind your magazine with staples, collate the pages and staple three or four times down the outer edge; you can also fold the pages in half for more of a pamphlet style and staple down the center (saddle stitching). Binding tape is easy to use and holds well for most small print projects--just make sure you're applying the tape straight and even to avoid mistakes. Other forms of binding, such as gluing, lacing and stitching are also available to you, but require much more care and attention. These will need to be researched independently, as they are an art form in themselves.
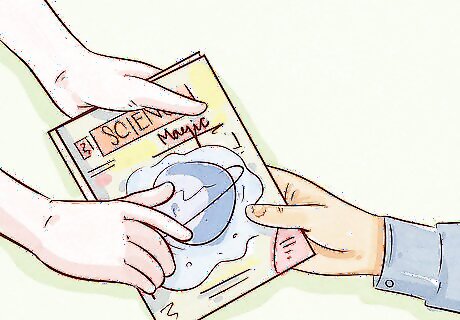
Distribute your magazine. Show off your hard work! Hand out copies of your magazine to friends and family, and have them pass copies around to anyone else who might be interested. Sometimes you can even distribute or display self-published works in cafes or on school campuses so that a wider population of people will see it. You made your magazine to be read, so get it out there and let others see what you have to share. Make sure you receive permission to distribute your magazine on school campuses or in places of business before you start. Whether or not it's okay to hand out or put publications on display in a given place may depend on the location and/or the policies of the owner.


Comments
0 comment