views
Selecting Spoons and Learning Hand Positioning
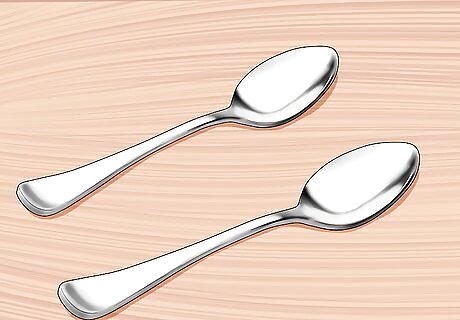
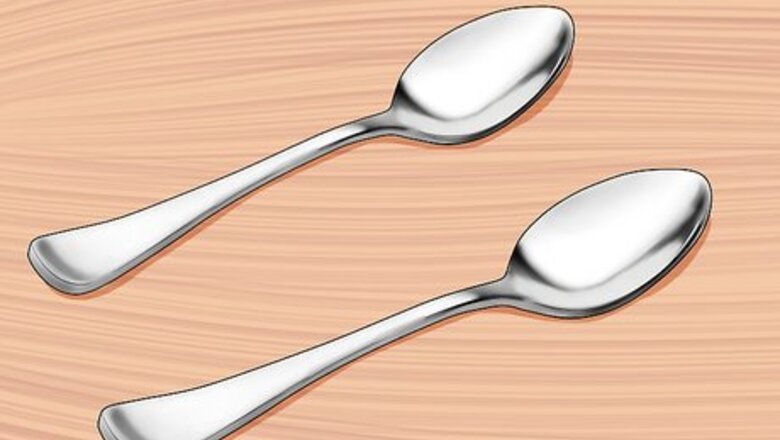
Gather two suitable spoons. The ideal spoons for you to play with will be identical. Each should have a flared base and a decently deep hollow part, which is called the cup of the spoon. Heavier spoons will have more heft and will sit in your hand more comfortably. Avoid spoons with handles that narrow toward the end opposite the cup of the spoon. Soup spoons are an excellent option and create a great tone. Silver spoons might work to accompany certain kinds of music, but these are generally too high pitched and ring too much to work well with most tunes.
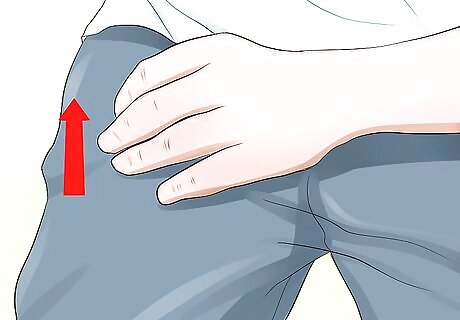
Position your hands. Put your non-dominant hand, likely your left hand, in a stationary position about 5 inches above your leg. Keep your hand flat, with the palm facing downward toward your leg. Your dominant hand, which is likely your right hand, should go between your left hand and your leg. This hand should also be flat, with your palm facing down at your leg. Bounce your right hand between your left hand and your leg to create a clapping sound and get used to the motion used to play the spoons. Advanced spoon-players add a flourish to their routine by moving their spoons and left hand around their body. This can have a slight influence on tone, but is largely for show.
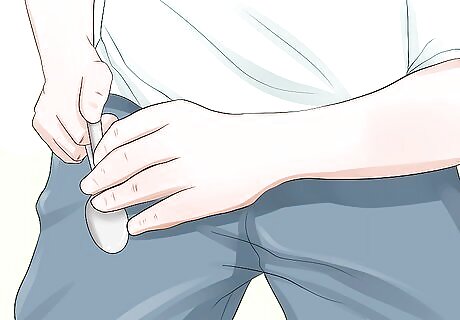
Create some rhythms with your hands. This will help prepare you for the complex rhythms you’ll soon be making with your spoons. Try to keep a steady beat, and use slow/fast strikes to create patterns with the sound. The accent for most music falls on the second and fourth beats; try this accent with your hands. Another pattern you might want to try with your hands: bounce your hand off your leg and up into your non-dominant hand in a short-short-long-short pattern. Repeat this several times until it feels natural.
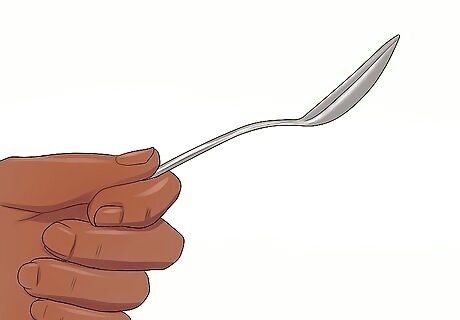
Position your first spoon. Hold the spoon with your dominant hand. If this is your right hand, the first spoon should lay across the middle knuckle of your right pointer finger, with your hand position so that your thumb and the cup of your spoon are both facing upwards. Your pointer finger should curl into a fist, so the end of that finger can hold the flared end of the handle of the spoon, trapping it in place. Your thumb will cover the top of the handle of the spoon. Your spoon should cross the knuckle about a half inch or so from the back of the handle of the spoon.
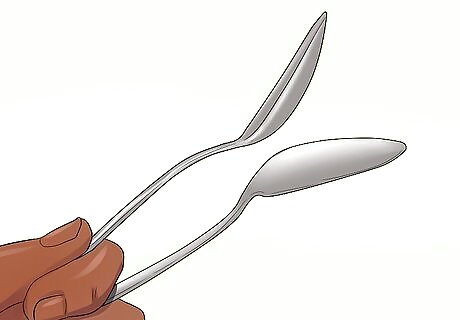
Position your second spoon. Hold your second spoon between your pointer and middle fingers, laying across the middle knuckle. The cup should face downward, so the backs of the spoons face each other. Your middle finger should curl in to hold the flared end of the handle, much like your pointer finger did with the first spoon. This spoon should also cross the middle knuckle of your middle finger about an inch or from the backmost part of the handle.
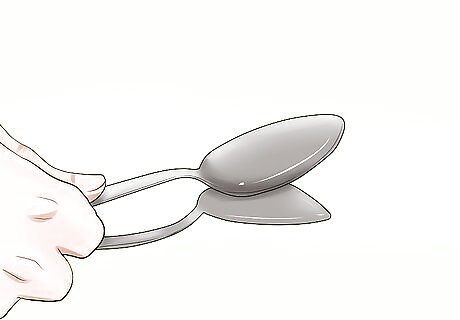
Hold both spoons firmly. This will likely feel awkward until you get some experience and your hands become used to the sensation. Your hand should grip both spoons in a fist shape. There should be a small space between both spoons, which can be adjusted by tucking the spoons deeper or less deep into your grip. Your spoons should be parallel at all times. If your spoons wobble out of line with each other, they will not play properly. Depending on the shape and curvature of your spoons, you may have to adjust the point the spoons cross your middle knuckle on both your pointer and middle fingers.
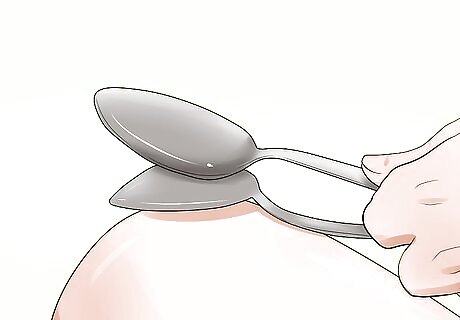
Strike the spoons against your leg. The grip with which you are holding the spoons should cause the spoons to clack once against each other before silencing and returning to a parallel, slightly separated position. If there is no sound or only a faint one, your problem is most likely the distance between your spoons. Correct insufficient gaps between your spoons by moving each deeper into your grip.
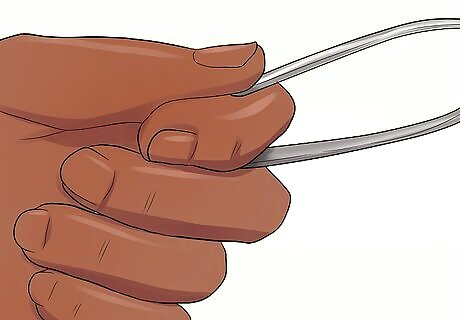
Keep your spoons parallel to your inward curled fingers. Your pointer finger and your middle finger, which should be curled inward and holding the handle of your spoons, will probably get tired or cramped. This can cause the spoons to come off-center, with one or both spoons moving to one side or opposite sides. Keep your grip firm, and take a break when your inward curled fingers begin to tire. As you practice, your hands will become more comfortable with this position and holding the spoons tightly will become easier.
Playing the Spoons
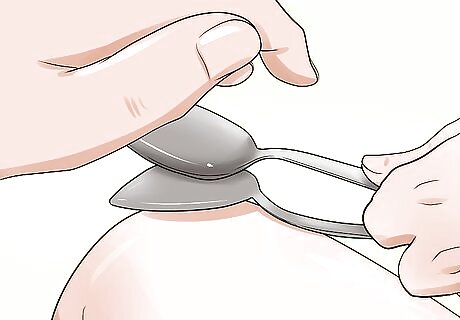
Return your hands to the starting position with your spoons in hand. Your non-dominant hand, which for the purpose of this example will be referred to as the left hand, should be suspended over your leg. Hold the spoons in your right hand. Position your right hand between your left hand and leg. Remember that your left hand should be about 5 inches or so above your leg.
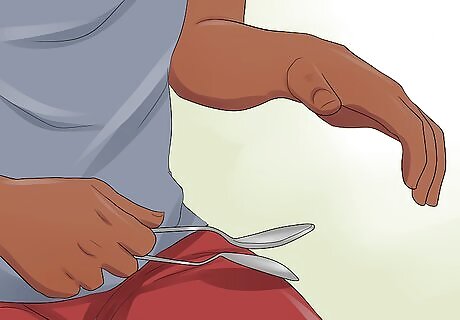
Practice the motion of striking your spoons. You will create a clacking, rhythmic noise with your spoons by striking them down into your leg and up into your left hand. Lightly tap your spoons several times slowly until you feel comfortable with the grip.
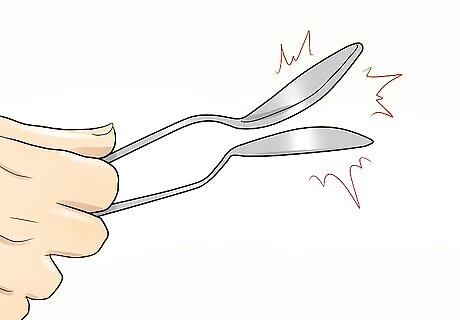
Identify the two main striking points on your spoons. You can create different tones with your spoons by striking different parts against your left hand or leg. The two main striking points are the tip, which is the rounded end of the spoon opposite the end of the handle, and the cup of the spoon, which is the hollow part. Striking the tip of your spoons up into your left hand or down into your leg will create a lighter, brighter sound in your spoons. Hitting the cup of your spoon up into your left hand or down into your leg will creates a stronger, more accented sound.
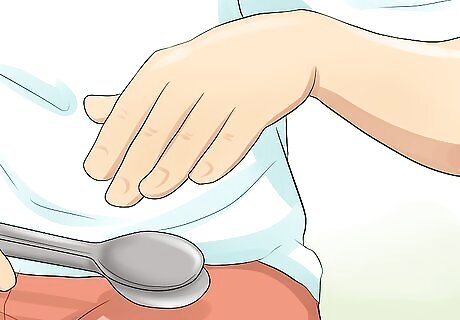
Master tip strikes with your spoons. When attempting to strike the tip of your spoons, you may find it easiest to hold your left hand at a slight angle, so that you can bring the tip of your spoon up into the meaty part of your hand where the thumb joins the palm. This posture will help prevent you from hitting too much of the cup of the spoon, creating a louder clacking.
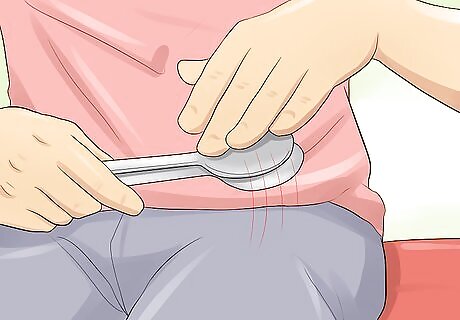
Perfect your cup strikes. Cup strikes will be flatter against your leg and left hand. Strike one cup against your leg, and then bring it up into the meaty part of your hand, where the thumb joins your palm. Both strikes should be as flat as possible to create the strong, accented tone of a cup strike.
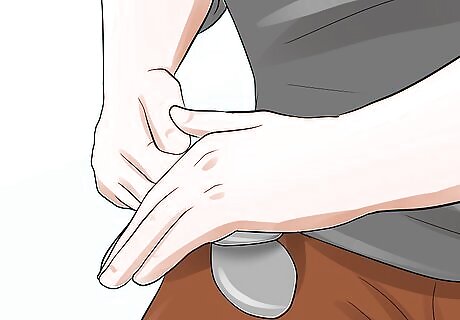
Alternate your cup and tip strikes. At first, you’ll probably want to do this slowly. This will ensure you keep your spoons gripped correctly while coordinating the different strikes. Repeat the earlier exercise where you accented the second and fourth beats of your rhythm, only this time use a clap strike to accent and your tip strike on beats one and two. As you become more comfortable, try different patterns. You might try only accenting the third beat, or the first and fourth beats. Turn on some of your favorite music and follow the beat as you play your spoons. Keep in sync with the music while alternating your strikes.
Adding Advanced Techniques
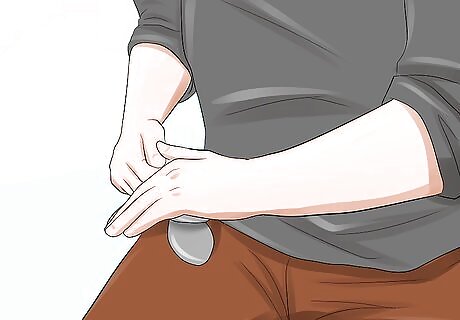
Learn the classic roll. Stretch the fingers of your left hand stiffly apart so that each finger is spread equally. Then turn your hand so that the thumb is pointed upwards and your spread fingers pointed away from your body. Slowly drag your spoons down across your outstretched fingers to create a sound like a drum roll and end by striking the spoons on your leg. Your roll should cascade from one finger to another evenly to create a metered rhythm in your roll. Keep a consistent speed as you drag your spoons down our splayed fingers. If your roll isn’t working well, or the individual beats of the roll are indistinct, it’s likely your spoons are too close together. Pull your spoons deeper into your grip to correct this.
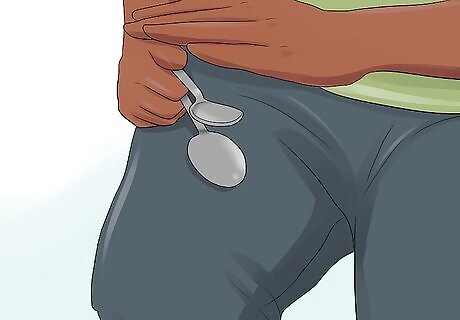
Add the gallop roll to your repertoire. The gallop roll can be overpowering, so you should only use this move sparingly to accentuate the rhythms of your spoons. First hit down on your leg. On the rebound, you should hit your left hand on the upstroke on the meaty part where your thumb meets your palm. Then cup the fingers of your hand into a C-shape, so you catch the tip of your spoons. Your curled fingers should not move at this point. A stationary C-shape works best for beginners learning the gallop roll. Due to the pronounced nature of this rhythm, you’ll likely only want to use this move as a flourish.
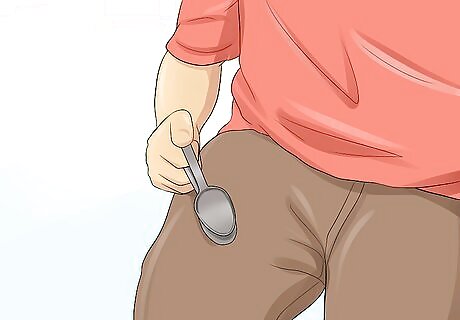
Incorporate other parts of your body for variation. Expert Spooners utilize their whole bodies while playing, both to create a more visually appealing show and to create different sounds. For example, you might create an arm roll with your spoons by drawing them against the fabric of your shirt covering your bicep and forearm.
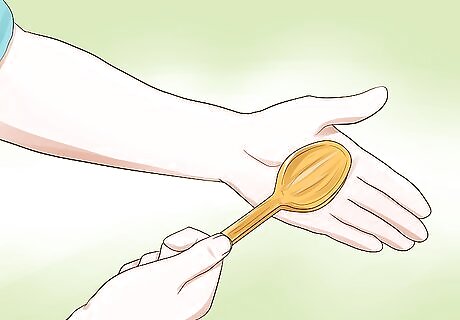
Create mouth effects. Wooden spoon in particular are recommended for mouth effects, though lightweight spoons might also work for this move. However, bouncing a metal spoon off your mouth can be painful or harmful to your teeth, so you should be cautious while trying this move out. Hold your left hand so your palm is flat before your face and: Bounce the cup of your spoons between the corner of your mouth and the flat, palm side of your left hand. Adjust your mouth shape as you do to create variation in the sound of the spoons. Due to individual differences in mouth shape, the sound produced by this move can vary considerably.







Comments
0 comment