
Cleaning the Plates
Use white ovenproof ceramic plates as a blank canvas. Plain ceramic plates serve as a nice background for many different designs. If the plates have any stickers, be sure to peel those off after you purchase them. You can buy ovenproof ceramic plates at craft stores or art supply stores.
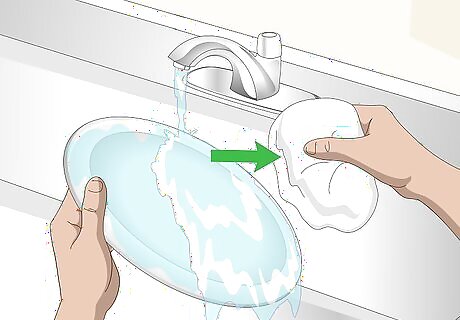
Wash and dry the plates to prepare for painting. Use your regular dish soap and warm water to give the plates a quick wash. This will remove any dust or debris that have settled onto the plates. Specks of dust or dirt may ruin the look of your painted design. Be sure to remove any price or barcode stickers from your plates.
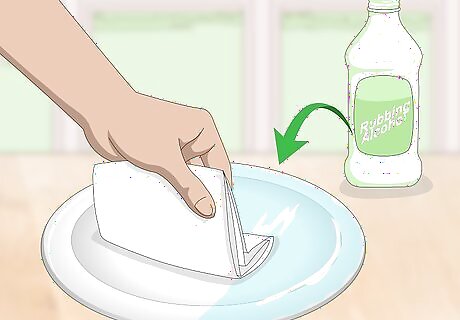
Wipe the plates with rubbing alcohol to remove any soap residue. Dip a clean paper towel or soft cloth quickly into a bottle of rubbing alcohol. Wipe the rubbing alcohol on your plates. This will remove any lingering soap residue. Rubbing alcohol will also remove any sticker residue from your plates.
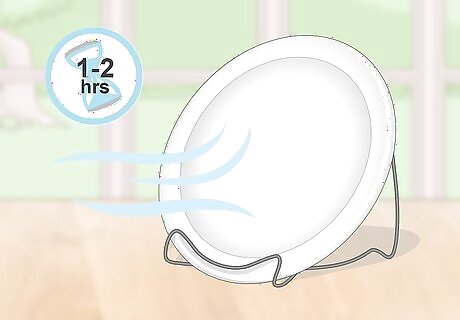
Let your plates air dry for 1 to 2 hours. After wiping your plates down with alcohol, let them dry for 1 to 2 hours before you paint them. If you paint them while they're still wet, that might affect your paint or the design on your plates. Wash your hands after handling rubbing alcohol.
Creating a Design
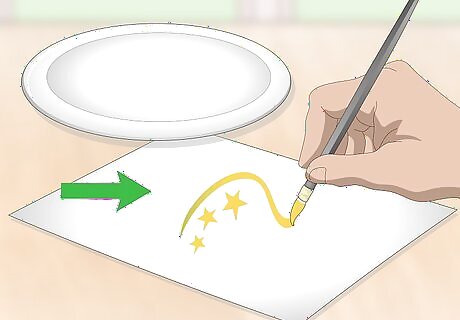
Sketch or practice your design on paper first. To prevent mistakes while painting your plate, sketch your design out or practice your technique on paper first. Basic, simple designs will be easier to paint, while more intricate designs may take more time. Choose a design you're comfortable with.
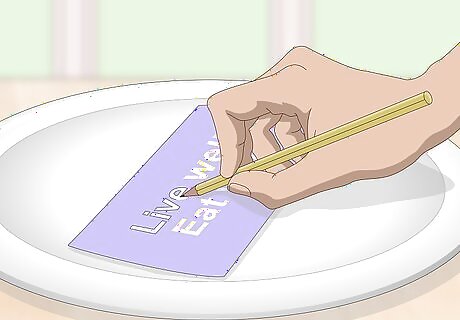
Use stencil letters to trace a message onto your plates. Lightly trace the stencil with a pencil to guide you when you paint. You can find stencils with words or messages on them at craft stores or art supply stores. Or, create your own words or phrases using single letter stencils. If your stencil letters are narrow, you'll need a paintbrush with a fine tip or a ceramic paint pen to fill them in.
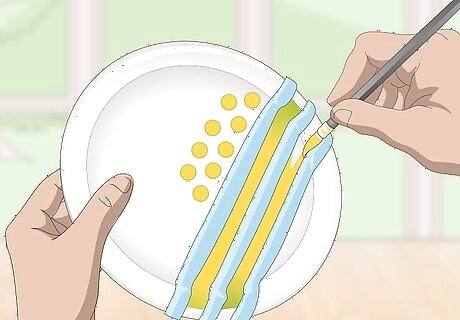
Create a geometric pattern of dots or shapes. Create stripes using painter's tape. You can also try a polka dot or square pattern. If you'd rather not paint your design freehand, use a stencil to create a pattern of shapes. Shape stencils can be used to create patterns of stars, arrows, hearts, flowers, or diamonds.

Experiment with different colors for an interesting layered design. On a palette or plate, briefly stir a few dabs of paint in different colors together using the other end of your paintbrush. See what the colors look like when mixed and choose a combination for your plates. Pairing bold colors like blue, yellow and red will create a pop art design.

Splatter paint with a wet brush for an abstract, textured look. Dip a wet paintbrush in paint and flick the bristles gently at a large piece of paper to see the effects. This design can get messy, but your plates will look artsy and fun. Start with one color first, then choose another to splatter on top. Different splatter colors add even more texture and interest.
Painting Your Design
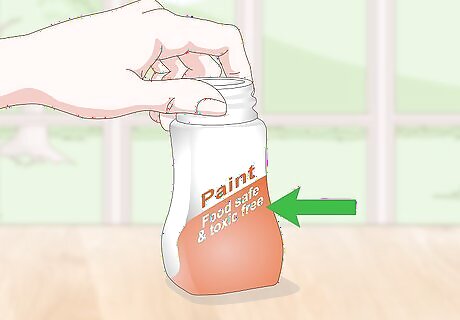
Buy food and dishwasher safe ceramic paint if the plates will be used for food. Make sure your ceramic paint is labeled food safe and toxic-free if it will be used to serve food. If your plates will be displayed in a case or hung on a wall as decoration only, you can use enamel acrylic paint. Some paints are more durable and scratch-resistant. If you know the plates will be used often, choose a quality paint that will last.

Paint large areas or straight designs easily with a flat-tipped brush. If you are painting the plates all one color or using a contrasting color around the rim of the plate, use a flat-tipped brush. Flat-tipped brushes also work well with striped or geometric paint designs. You can cover areas you don't want to be painted with painter's tape. Painter's tape will help guide your painting hand and create clean, painted lines. If you're layering or using different colors on one area, let each paint application dry for a few hours first before applying the next.
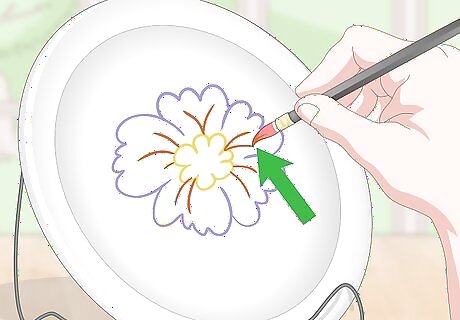
Use a pointed brush or paint pen to easily create fine designs. More intricate designs with curved lines, like hearts or flowers, might be easier to paint using a pointed brush or ceramic paint pen. If you're using a ceramic paint pen on plates that will serve food, make sure it's toxic-free and food safe. If you make a mistake, carefully wipe the paint before it dries and try again. To prevent further mistakes, you can also let an area dry for a few hours before painting an area close to it.

Peel off any tape you've used before the paint dries. Once you've finished painting your design, carefully remove any painter's tape if you used it while painting. If you remove the tape after the paint dries, the paint may stick to the tape and peel off with it. Be careful not to touch any paint you've applied while removing the tape.

Let the paint on your plates dry for 24 hours. The paint should be completely dried before you bake your plates in the oven. Depending on the instructions for your ceramic paint, you may only need to let it dry for 1 to 3 hours. If you're not sure, let it dry for 24 hours to be safe. Let your plates dry in a safe place away from kids or pets to make sure they're not disturbed.
Baking Plates in the Oven
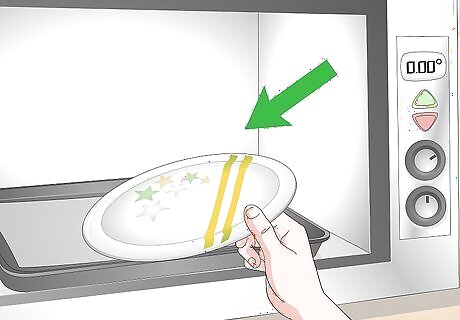
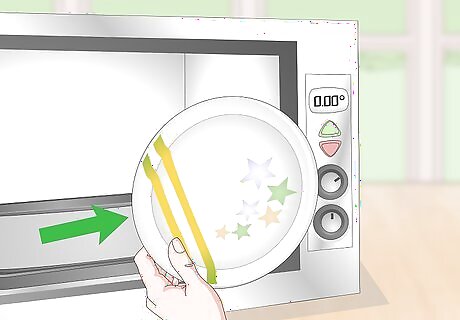
Place your plates in a cold oven. Don't preheat the oven; you want your plates to slowly warm along with the oven. Introducing room temperature plates to a very hot oven can make them crack or shatter completely. You can put your plates on a baking pan or directly on the oven racks.
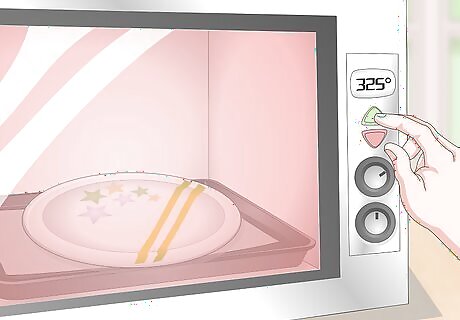
Let your oven reach 325 °F (163 °C) while the plates are inside. The plates will have warmed up to this temperature along with the oven. This allows the paint to “cure,” or set into the ceramic. If your ceramic paint instructions suggest a different temperature or baking time, follow that instead.
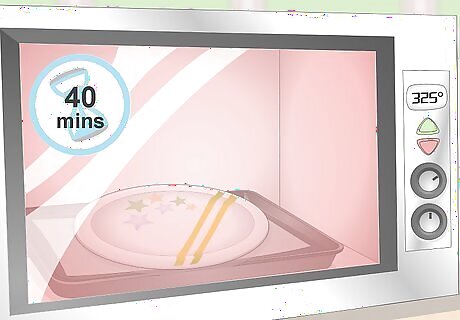
Leave your oven on for 40 minutes to let the plates cure. Once the oven temperature has reached 325 °F (163 °C), leave it on for 40 minutes. You can set a timer on your oven, phone, or a watch to keep track of the time. Most ovens will beep when the chosen temperature has been reached, so set a timer at that point.
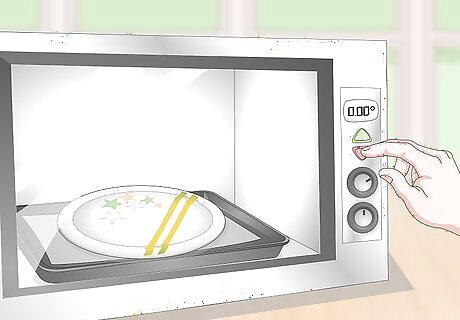
Turn off your oven to let your plates cool. You want the temperature of your plates to slowly cool down along with the oven. If you handle the plates too early, you can break them. Cooling times depend on your oven but wait at least 2 hours before checking the temperature. Be patient and don't touch the plates while they're still cooling in the oven.
Remove your plates from the oven once the oven is cooled. Since your oven should be completely cooled, the plates should be cool to the touch as well. You can use oven mitts to remove your plates to be safe.

Allow the plates to rest for at least 3 days before using or washing them. Put your plates in a place where they won't be disturbed by children or pets. Let them rest for at least 3 days before you use them or wash them. Hand wash them for the first time. While washing them, you can check your painted designs and make sure the plates were not damaged while baking in the oven.


Comments
0 comment