views
- Bake a vanilla, white, or strawberry cake in a rectangular pan for the base of your Peppa Pig cake.
- Cover the cake in pink and red frosting to create Peppa’s signature colors.
- Decorate the cake with fondant eyes, arms, and legs to make your cake look like Peppa.
Preparing the Cake
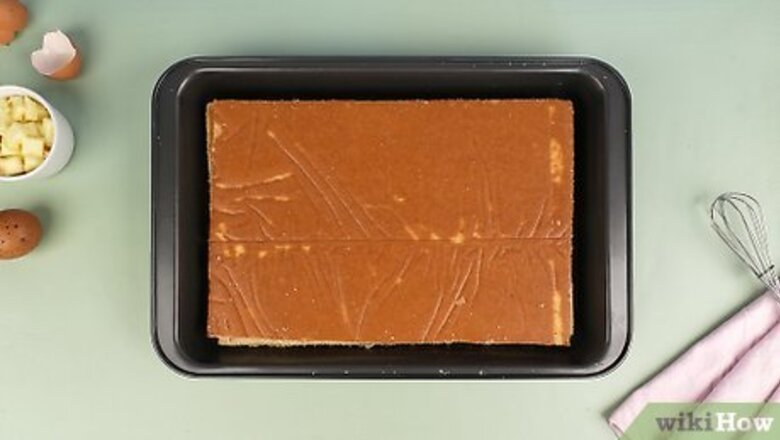
Bake a cake in a large rectangular pan or sheet. A Peppa Pig cake is so easy to make because it only requires one sheet of cake—no need to worry about stacking cakes. Simply mix up a box cake or a family recipe, pour the batter into the pan, and bake it following the recipe’s instructions. Opt for a light-colored sponge, like vanilla, white, or even strawberry flavored cake, so it’ll be easier to decorate later. A dark sponge like chocolate can be used, but it may be harder to cover with frosting.
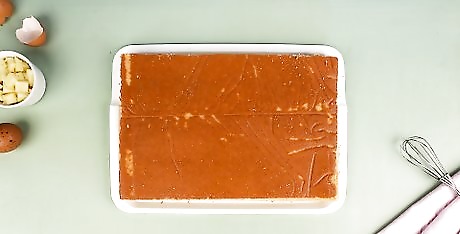
Take the cake out of the pan to cool. After the cake has been removed from the oven, let it sit for around 10 minutes until it's room temperature or firm to the touch. Then, take the cake out of the pan and set it on a cooling rack to cool completely. Never work with a warm sponge, as the cake can crumble or melt your frosting and leave quite a mess.
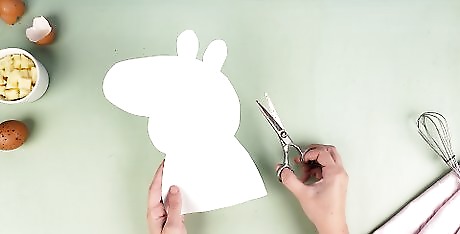
Cut out an image of Peppa Pig for a cake stencil. Trace a simple outline of Peppa Pig’s body onto a piece of paper roughly the size of your cake. Use scissors to cut around the outline to create a stencil. This stencil will be the shape and size of your cake. Consider printing a coloring template of Peppa Pig from the internet. Simply search “Peppa Pig coloring template white background,” pick an image, enlarge it in a word processor, and print. Create a stencil of Peppa’s head or her entire body.
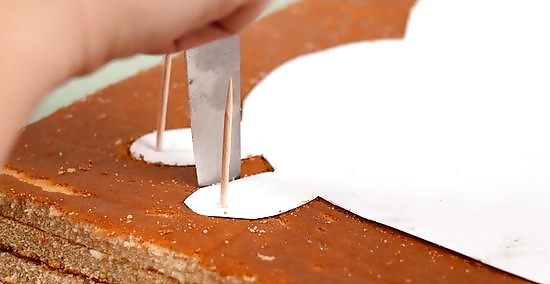
Use the stencil to cut the cake into a Peppa shape. Place your stencil on top of the cake. With a sharp knife, gently cut the cake along the edge of the stencil. Puncture toothpicks through the corners of the stencil to keep it in place while you cut. Consider cutting Peppa’s ears out of leftover pieces of cake, as the rounder corners can be harder to cut.
Covering the Cake in Frosting
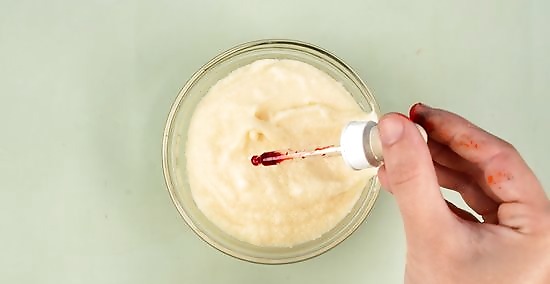
Color the frosting shades of pink and red. Make your own buttercream frosting or head to the store and purchase around 5 cups (640 g) of vanilla or white frosting (if you’re only making Peppa’s face, half of this amount should do). Use red food coloring to dye around 2 cups (256 g) of frosting a light pink, 1 cup (128 g) a slightly darker pink, and 2 cups (256 g) a light red—look at a picture of Peppa Pig, so you mix the perfect colors. The lighter shade of pink will be for Peppa’s face; the darker pink for Peppa’s outline; and the light red for Peppa’s dress. If your cake is only of Peppa’s face, skip making the light red frosting. Consider making or buying more frosting than you think you’ll need—it’s always better to have extra than to run out in the middle of decorating! Try using strawberry frosting for added flavor. If you're using traditional American buttercream, whip it up very smoothly and use room temperature butter. Otherwise, it might end up very stiff.
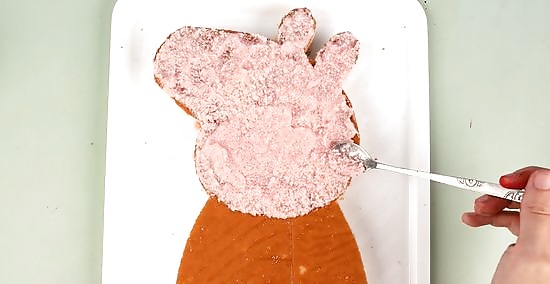
Cover Peppa’s face with the light pink frosting. Use a spatula, butter knife, or pallet knife to evenly spread the frosting on Peppa’s head. Make sure you coat the edges and sides of the cake.
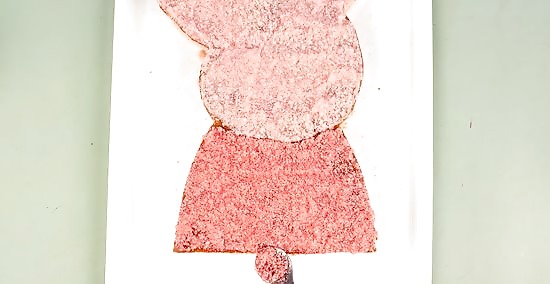
Smear the red frosting on Peppa’s dress. Wipe your spatula, butter knife, or pallet knife clean and spread the red frosting on the dress or body portion of the cake. As before, cover the edges and sides with frosting.
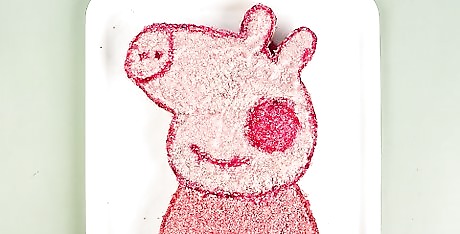
Outline Peppa’s face and add details with the darker pink frosting. Fill a piping bag with the darker shade of pink frosting. Cut a tiny hole in the point of the bag or use a small piping nozzle. Drag a line of frosting around the edge of Peppa’s face and ears. Then, draw her snout, smile, and cheeks. Reference a photo of Peppa Pig to accurately draw on her features. If you don’t have a piping bag, try using a zippable plastic bag. A pink piping gel can also be used for this step, but the color may not be accurate.
Decorating the Cake
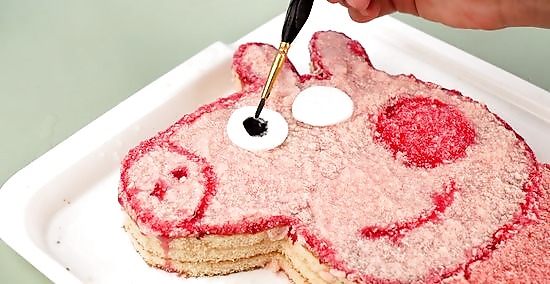
Make Peppa’s eyes with white fondant and black piping gel. Roll out a pal-sized ball of white fondant until it’s nice and thin. Use a circular cookie cutter that's roughly 1 inch (2.5 cm) to cut out the shape of Peppa’s eyes. Place a dot of frosting on the back of the fondant and arrange the eyes on the cake. Then, squeeze a dot of black piping gel or writing icing near the edges of the fondant as if Peppa’s looking at something in the distance. Look at a picture of Peppa Pig to place the eyes in the correct spots.
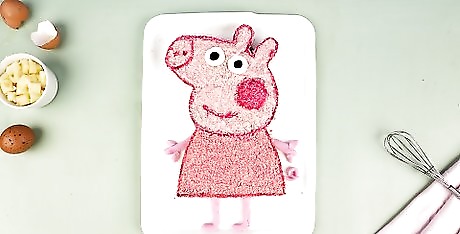
Shape Peppa’s arms and legs with pink fondant. Roll a piece of light pink fondant (the same color as Peppa’s face) into a long tube with your hands. Cut the thin tube of fondant into five 1.5 in (3.8 cm) sections. Shape 2 of the pieces into arms and hands with 3 fingers. Mold 2 more pieces into legs with rounded shoes (more fondant may be needed to make the shoes). Finally, create a curly-Q with the final piece of fondant for Peppa’s tail. Stick the fondant pieces to the plate next to your cake to finish Peppa’s body. If fondant isn’t your thing, no problem! Use leftover frosting to pipe Peppa’s arms, legs, and tail to the plate. Consider coloring in Peppa’s shoes using black piping gel or writing icing.
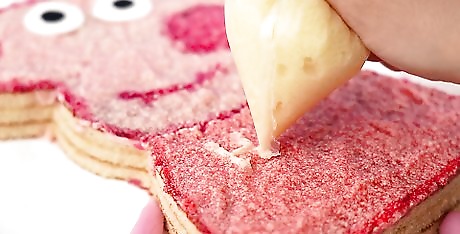
Write “Happy Birthday” on the cake for a personal touch. Finish your Peppa Pig cake with a candle(s) and a special birthday message. Maybe you write out the birthday boy or girl’s name or stick with a simple “Happy Birthday”—they’re sure to love it! Place a candy number of the child’s age on the cake for a yummy decoration. Turn Peppa’s dress into a party dress by putting sprinkles on it. Scatter the child’s favorite candy around the cake’s plate for an extra surprise.







Comments
0 comment