views
Casting On and Knitting the Cuff
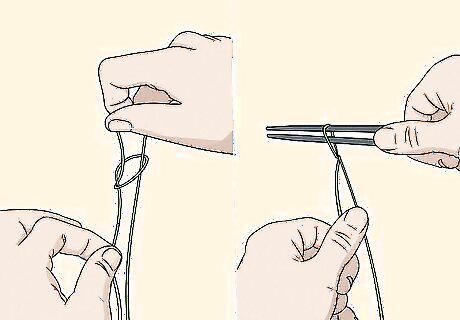
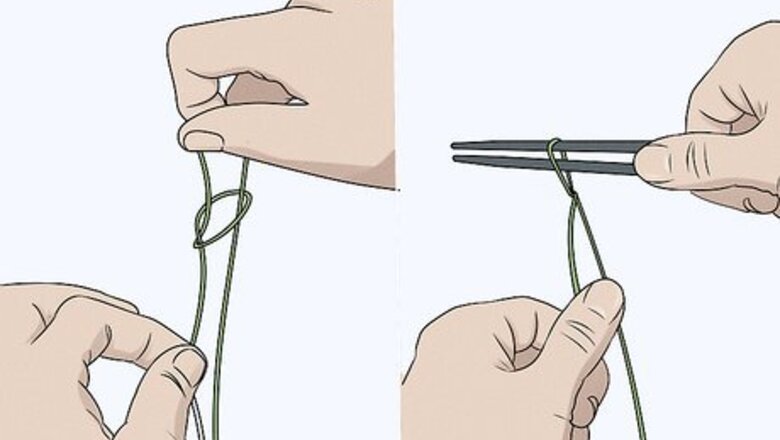
Make a slip knot and put it on your circular needle. Get out 300 yards (274 m) of fingering weight sock yarn and make a slip knot. Slide the knot onto a US size 1 (2.25 mm) circular needle that's 12 inch (30 cm) long. You can use any color of yarn as long as it's in a fingering weight.
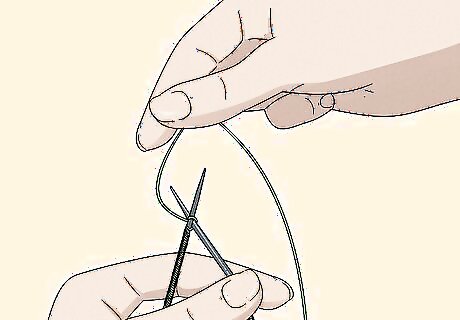
Cast on 60 stitches. Use your favorite casting on method to put 60 stitches onto your circular needle. For example, you can cast on with a backward loop or leave a long tail. This pattern will make a standard-sized sock that fits most adults.

Join the stitches in the round. Once you've cast on the stitches, smooth all the stitches so they're not twisted. They should be pointing in the same direction. Hold the needle with the working yarn in your right hand and insert it into the stitch that's on your left needle. Wrap the yarn around the needle and pull the stitch through. The first stitch you make should be a knit stitch. Your knitting is now joined in the round.

Work ribbed stitches for 1 inch (2.5 cm). To make a ribbed cuff for the sock, knit 1 (K1) stitch and purl 1 (P1) stitch. Repeat K1 P1 for the entire row. Knit as many rows of K1 P1 as you need to get 1 inch (2.5 cm). The number of rows will vary from person to person depending on your gauge, yarn, and how tightly you knit. If you prefer a different style of cuff, use your favorite stitch for 1 inch (2.5 cm).
Knitting the Body
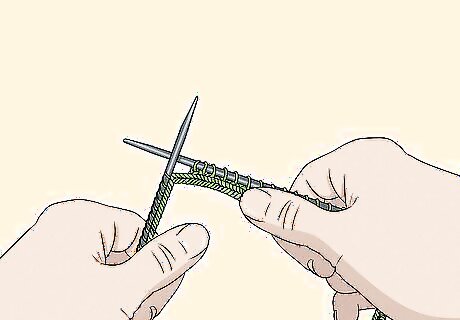
Knit 1 row. Insert a stitch marker at the end of the last row for your cuff. This will help you keep track of when to switch stitches. Insert the right needle into the left needle and wrap the yarn around it. Pull the knit stitch off of the needle and knit every stitch in the row.

Knit every stitch for the next row. When you reach the stitch marker, keep the working yarn behind the needles so you can knit stitch. Insert the right needle in front to the back of the nearest stitch and wrap the yarn around it. Pull the needle back and away to complete the knit stitch. Knit every stitch in the row.
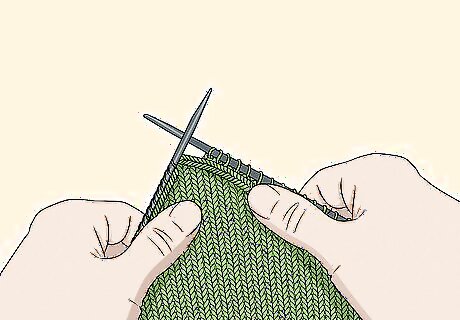
Continue to knit for 7 inches (18 cm). Knit all of the stitches on the following rows to create a stockinette stitch in the round. Keep knitting in the round to make a narrow knit tube form on the needles. Remember that the length is more important than the number of rows you make, so measure your work frequently. If you prefer a different stitch, just knit or purl your favorite stitch for 7 inches (18 cm).
Working and Turning the Heel

Knit 15 stitches to begin the heel. Once you've stockinette stitched 7 inches (18 cm), begin making the heel. Knit 14 stitches and then turn the needles around.
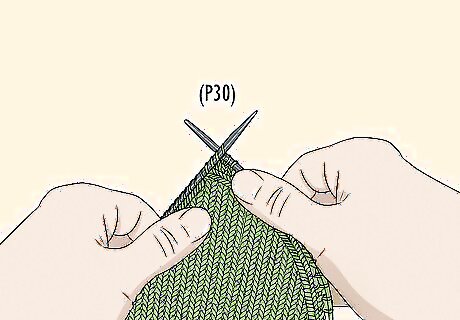
Purl 30 stitches in the opposite direction. By turning the needles, you'll be working back across the rows in the opposite direction. This will create a heel for your sock. Purl 30 stitches. Keep in mind that since you're only working the heel over 30 stitches, you'll leave the other 30 stitches unworked. This will create a bubble of fabric, so you won't have to make any darts in the heel.

Turn the needles and slip 1 (Sl1) knit 1 (K1). Swap the needles so you're again working in the opposite direction. Insert the right needle into the first stitch and slide it completely onto the needle. Avoid working the stitch, but knit the following stitch as usual.

Slip 1 knit 1 across 30 stitches. Continue alternating slipping 1 stitch and knitting 1 stitch across the rest of the 28 stitches you're working for the heel. This will make 1 row of Sl1 K1.
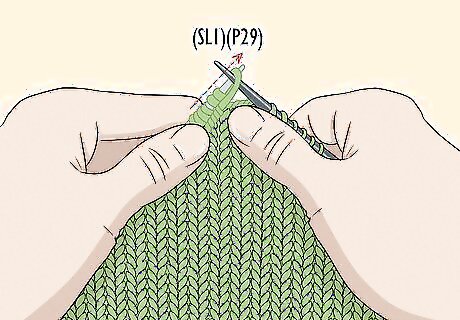
Slip 1 stitch and purl the remaining 29 stitches. For the next row, slide 1 stitch onto your right needle without working it. Purl the rest of the heel stitches to complete the row.
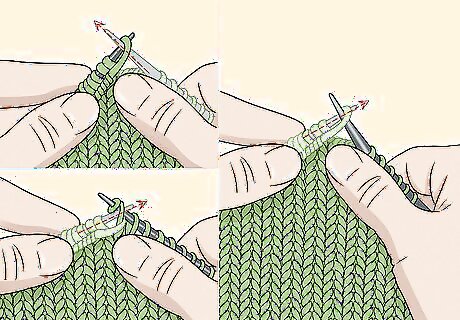
Alternate Sl1 K1 with Sl1 purl across rows. You'll need to work 28 more rows for the sock. Repeat these rows: Row 1: Slip 1, knit 1 repeatedly Row 2: Slip 1, purl across the rest
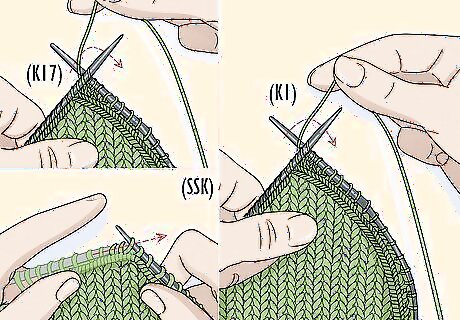
Knit across 17 stitches, slip slip knit (SSK), knit 1, and turn the needles. To turn the heel, knit across 17 stitches of your heel and then insert the right needle through the next 2 stitches on the left needle. Wrap the yarn around the needle to knit the stitch and pull it onto the right needle. This completes a slip slip knit (SSK). Knit 1 more stitch and then turn your needles.

Slip 1, purl 5, purl 2 stitches together, purl 1, and turn the needles. For the next row, slip the first stitch without working it onto your right needle. Purl 5 stitches and then insert the right needle into 2 stitches on the left. Wrap the yarn around these stitches and purl the stitch. Purl 1 more stitch and then turn the needles.
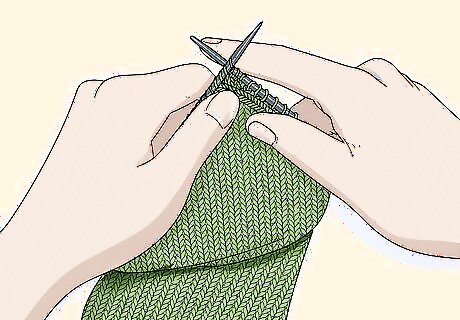
Alternate 2 rows of knitting until you've worked all of the heel stitches. The number of rows will vary depending on how many stitches you have on your needle and how tight your knitting is. Work the following rows and alternate them until you've decreased the heel to 18 stitches: Row 1: Slip 1, knit the remaining stitches until 1 stitch before the gap, slip slip knit, knit 1, and turn the needles. Row 2: Slip 1, purl the remaining stitches until 1 stitch before the gap, purl 2 stitches together, purl 1, and turn the needles.
Working the Gusset

Knit 9 stitches, place a stitch marker, and knit 9 more stitches. Now that you've made the heel flap, you'll need to begin working the remaining stitches. Start by knitting 9 stitches and then inserting a stitch marker. This will be the center or beginning of the round. Knit 9 stitches.
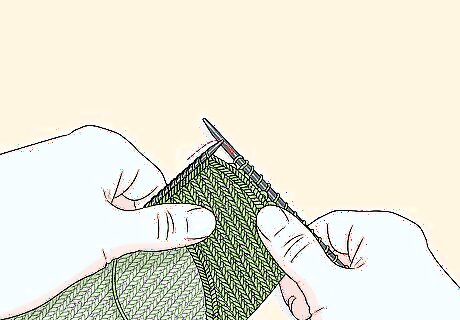
Pick up the 15 long stitches on the heel flap's side. Insert your right needle into the stitch on the left needle and pull up to slide it onto the right. Avoid working the stitch. Pick up the next 14 stitches from the left needle onto the right.
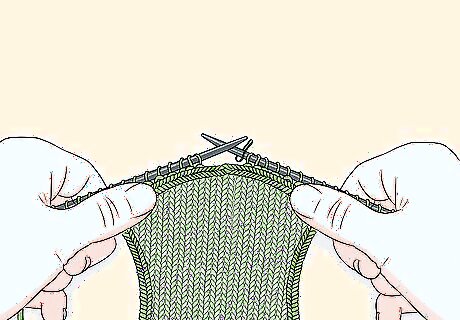
Knit 1 stitch and place a marker. Pick up an extra stitch by knitting 1 stitch. The stitch should be in the row that's right below the heel flap. Insert a stitch marker once you've knit the stitch.
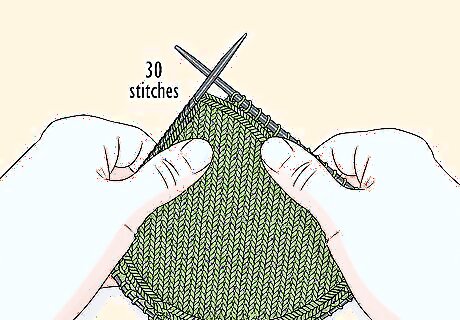
Knit 30 stitches. You should now be at the stitches that you didn't work when you made the heel flap. Knit all 30 of these stitches and place a stitch marker.
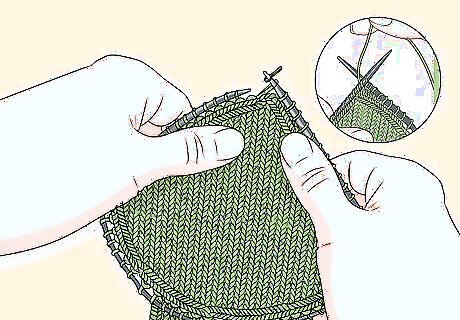
Pick up 1 extra stitch and the 15 long stitches on the other heel flap side. Knit 1 extra stitch in the row underneath the heel flap. Then slide the next 15 long stitches onto the right needle without working them. Once you've finished this step, you'll be working the sock in the round again.
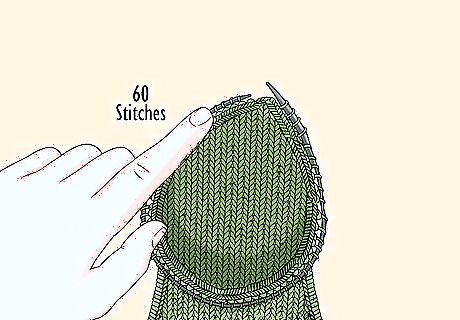
Decrease the gusset by alternating 2 rows. Work the gusset by alternating 2 rows of stitches until you have 60 stitches left on your needles. Alternate: Row 1: Knit up to 2 stitches before the second stitch marker, knit 2 stitches together, place a stitch marker, knit to the next marker, place a stitch marker, slip slip knit, and then knit to the beginning of the round marker. Row 2: Knit all of the stitches.
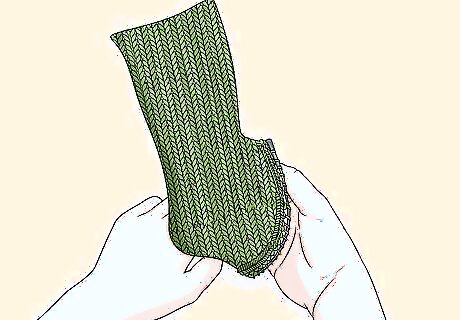
Place a stitch marker and knit the sock until it's as long as you like. Slip the stitch marker to the start of the row and continue to knit all of the stitches in the round. Remove the other 2 stitch markers when you get to them. Knit until the sock is as long as you like or about 2-in (5.1 cm) less than how long the sock should be. If you leave the 2-in (5.1 cm) space, you can finish the edge in a decorative stitch such as a twisted or ribbed stitch.
Working the Toe and Finishing the Socks
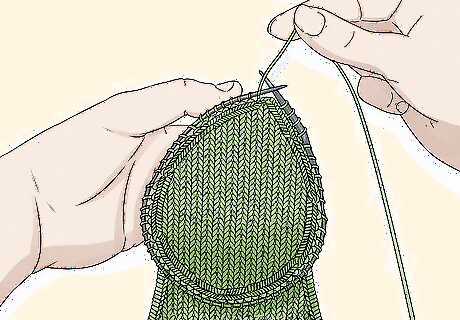
Knit 15 stitches on the circular needle. Starting at the stitch marker that shows the center of the heel, knit 15 stitches. This will help you begin to transfer the stitches to double pointed needles. You'll need to use double-pointed needles for finishing the toe.
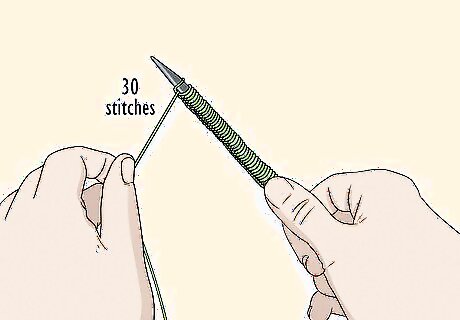
Knit 30 stitches onto 1 double pointed needle. Take an empty double pointed needle in the same size as the circular (US size 1 or 2.25 mm) and knit 30 stitches. Hold the double pointed needle to the side.
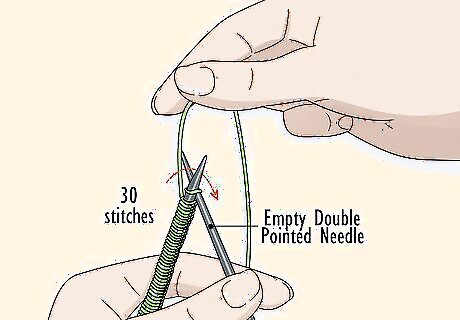
Knit the remaining 30 stitches onto another double pointed needle. Take another empty double pointed needle and knit 30 stitches onto it. The circular needle should now be empty.
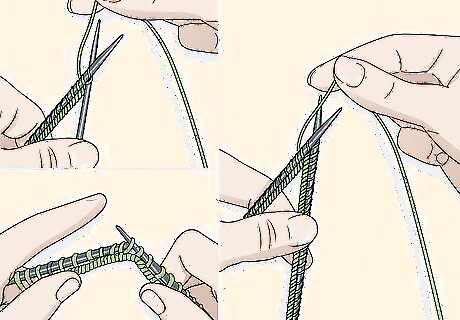
Work the stitches on 1 needle. Insert the empty needle into the next stitch and knit 1. Slip slip knit 2 stitches to make 1 and then knit all but the last 3 stitches on that needle. Knit together 2 stitches to make 1 and then knit the last stitch on the needle. Pull the yarn tightly as you begin stitching on the next needle. This will keep the knitting tight and prevent gaps.
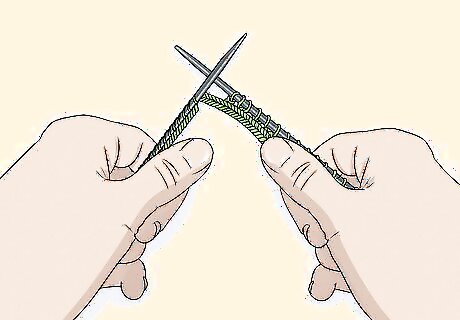
Turn and work the stitches on the other needle. Insert the empty double pointed needle into the stitches on the other needle and knit the first stitch. Slip slip knit 2 stitches to make 1 and then knit all but the last 3 stitches on that needle. Knit together 2 stitches to make 1 and then knit the last stitch on the needle. You should now be back at the stitch marker since you've completed 1 row.
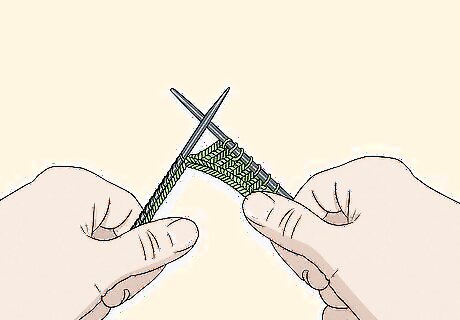
Knit all of the stitches for 1 row. Knit all of the stitches on the first double pointed needle and then turn the work. Knit all of the stitches on the other needle so you return to the stitch marker in the center.

Alternate rows until 30 stitches are left. Work the stitches on both double pointed needles to decrease a few stitches each row. Then knit all of the stitches on the next row. Keep alternating rows until 15 stitches are on each of the 2 double pointed needles. These are the instructions for the 2 rows you should alternate: Row 1: Knit 1, slip slip knit, knit to the last 3 stitches, knit 2 together, knit 1, and turn the work. Repeat this for the stitches on the second needle. Row 2: Knit all on both needles.
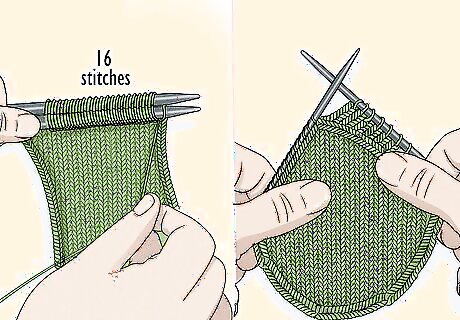
Alternate rows until 16 stitches are left. Keep working decreasing rows and alternating them with knit rows. Continue until 8 stitches are left on both of the double pointed needles.
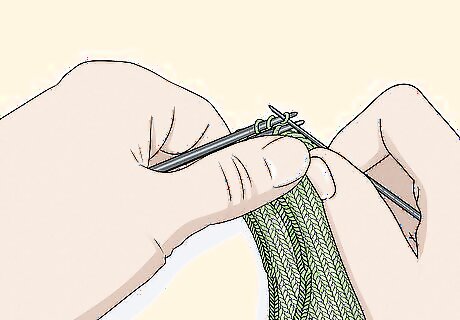
Cut yarn and graft the toe. Leave a 2 ft (61-cm) tail of yarn that you can thread through a tapestry needle. Use the tapestry needle to seam together the stitches that are on your double pointed needles. Pull the yarn through the final stitch and tighten it into a knot. Cut the yarn and weave in any ends.
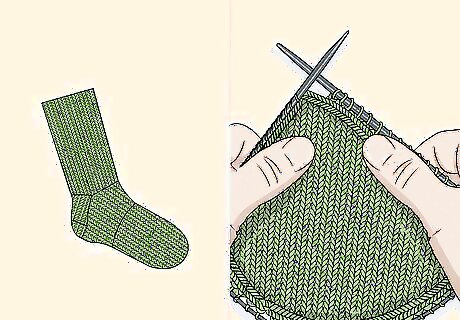
Knit 1 more sock. Repeat all of the steps to create a matching sock for the pair. Keep in mind that this pattern will make standard-sized socks to fit most adults. If you'd like to make socks for children or babies, use a pattern designed for smaller feet.



Comments
0 comment