views
Removing the Outer Hull
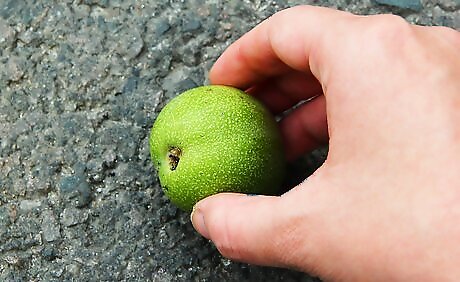
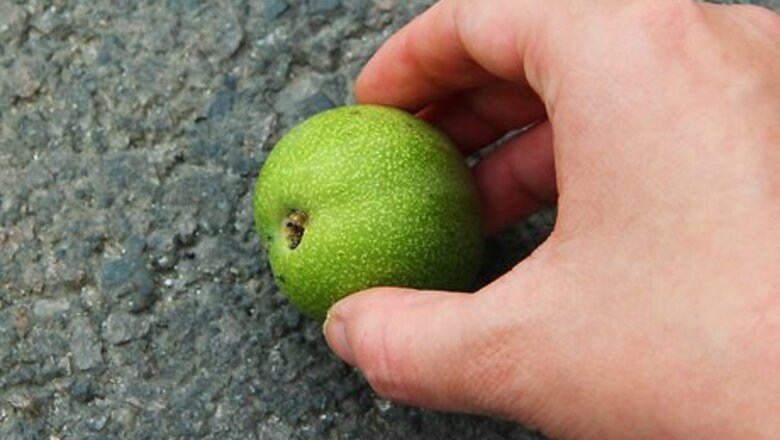
Place the whole walnut on an asphalt surface. The juices will stain a concrete surface.
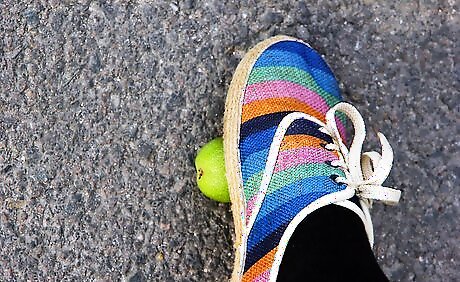
Stomp on the walnut with your foot and twist the nut into the asphalt surface.
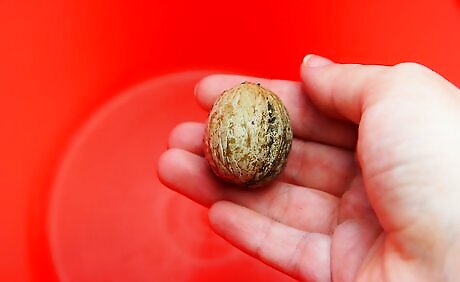
Pick up the nut and place it in a large pail.
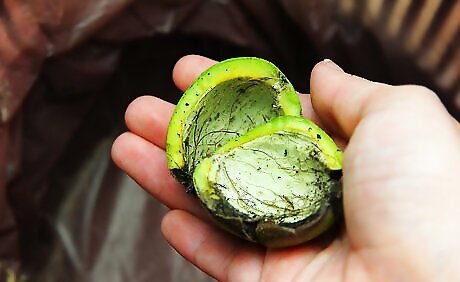
Discard the hulls in the garbage or your compost pile.
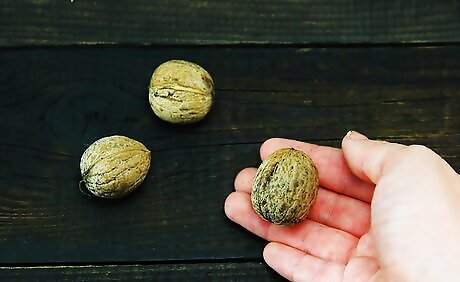
Spread your walnuts on a large picnic table or another flat area. Make sure that you are wearing rubber gloves to protect your skin from the juices on the nutshells and that you’re working in an area that you can get dirty.
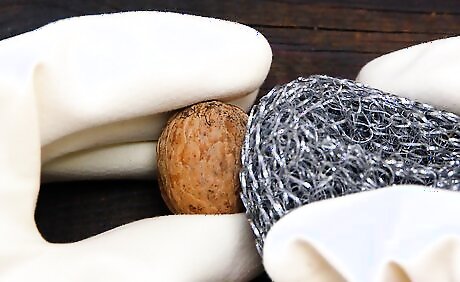
Scrub the exterior of the shells with a wire brush to remove any remaining hull pieces.
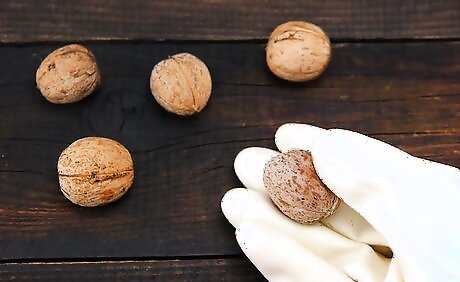
Spread the cleaned walnuts in a single layer on a flat surface in a dark, cool, dry and well-ventilated area. Make sure that the surfaces are not touching one another.
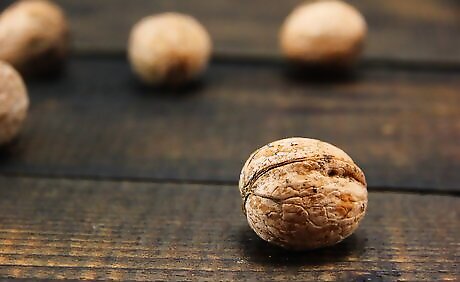
Cure the walnuts for 5 to 6 weeks. If you crack a fresh walnut, then the meat will be rubbery. Curing them allows the kernel to become firm and crunchy.
Removing the Nutshell
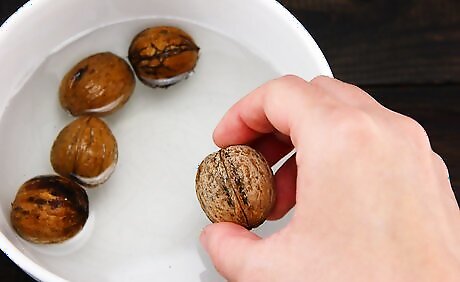
Soak cured walnuts for 24 hours in hot water. This will soften the shell and will make it easier to crack.
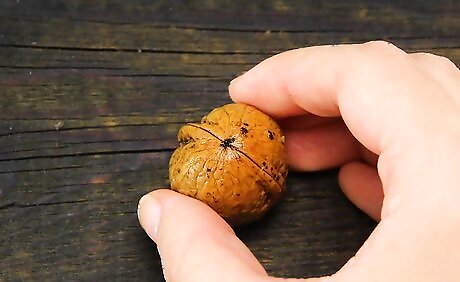
Remove the walnut from the water. Place the walnut on a flat surface with the pointed end facing up.
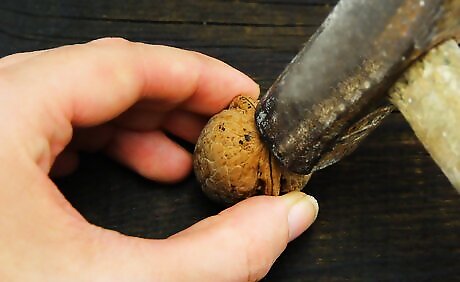
Strike the pointed end with a hammer until the nut cracks along its axis.
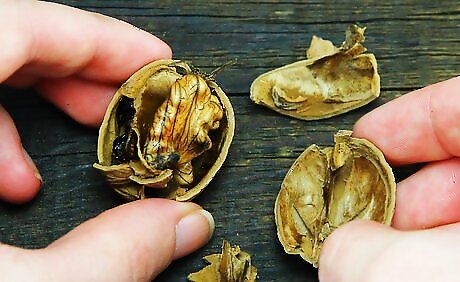
Pull the shell apart with your fingers.
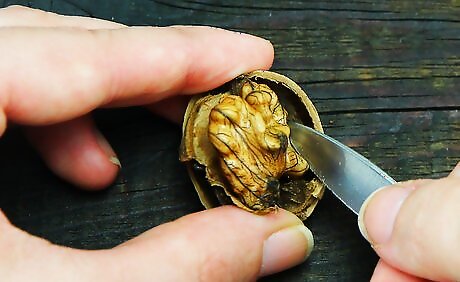
Place the pointed end of a nutpick under the kernel. Run the nutpick along the edges of the kernel to loosen it from the shell.
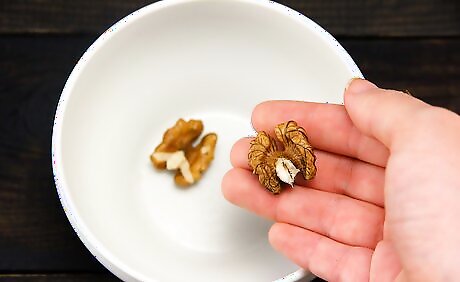
Place the kernel in a separate bowl. Repeat the process until you have shelled all of your walnuts.




Comments
0 comment