
Using Google Photos on Phone, Tablet, or Computer
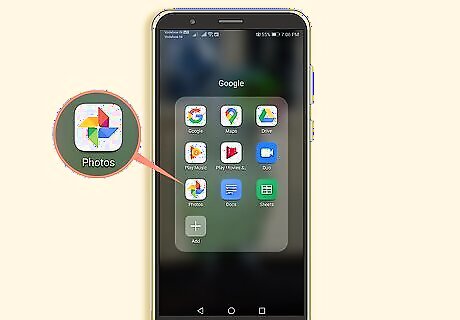
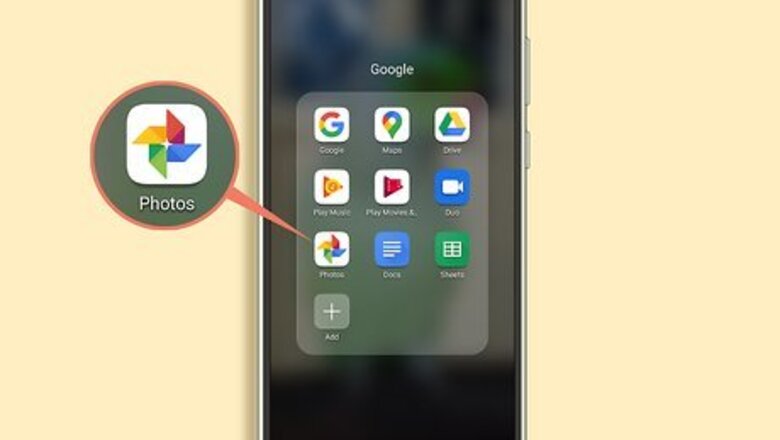
Get the Google Photos app or go to https://photos.google.com/. Most Android phones have Google Photos installed by default. If you don't have the mobile app, you can get it for free from the Google Play Store or App Store. You'll need a Google account if you want to use Google Photos, but this app and the website are free to use. You can use both the app and website by following this method.

Open the photo you want to edit. You can tap or click on the photo inside Google Photos to see it in more detail.

Click or tap the iPhone Photo Edit Button icon. You'll see this icon that looks like three adjustment sliders in the top right corner of the photo in the web browser and centered at the bottom of your screen in the mobile app.
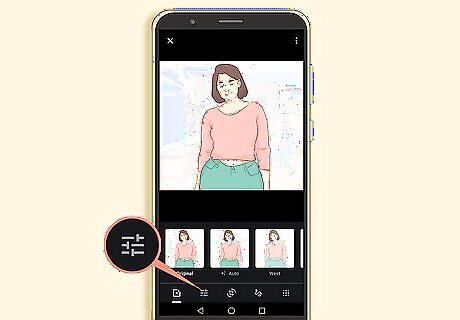
Click or tap the iPhone Photo Edit Button icon again. You'll see this icon that looks like three adjustment sliders either in the center of the editing panel on the right side of the page (if you're using a browser), or the second icon from the left at the bottom of your screen (if you're using the mobile app).
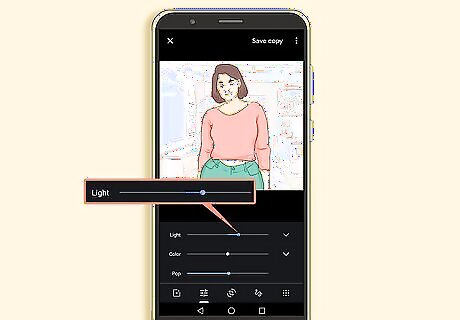
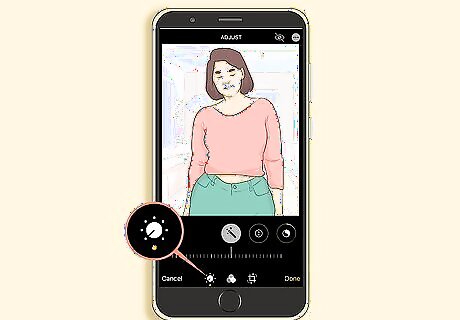
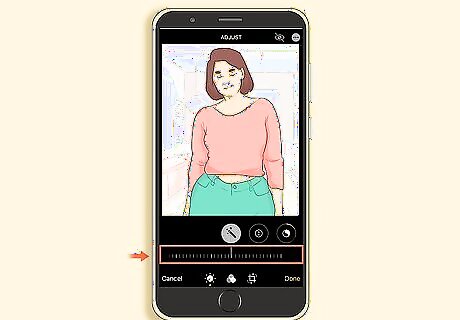
Drag the slider next to or under "Light." If you want your image to appear darker, you should drag the slider to the left. Drag the slider to the right to make your image brighter. Tap Android 7 Expand More (the down arrow) for more options. You'll see more sliders for exposure, contrast, whites, highlights, shadows, blacks, and vignette. Drag these sliders to experiment with the lighting. If you're using the mobile app, tap Android 7 Expand Less to close the extra sliders.
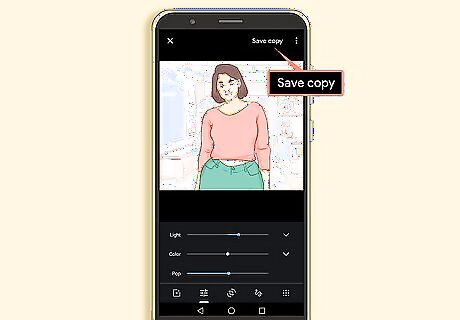
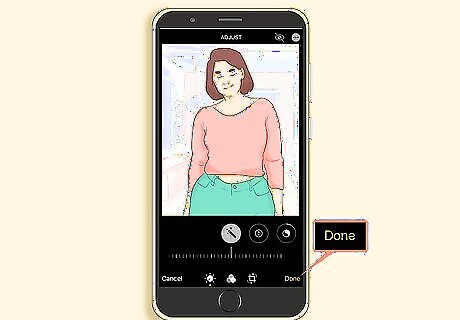
Click or tap Done (website) or Save (mobile) when you're done. Your edits will be applied to your photo, but you can undo them any time if you click or tap iPhone Photo Edit Button > More (Mobile only) > Undo edits.
Using the Photos App on iPhone, iPod Touch, or iPad
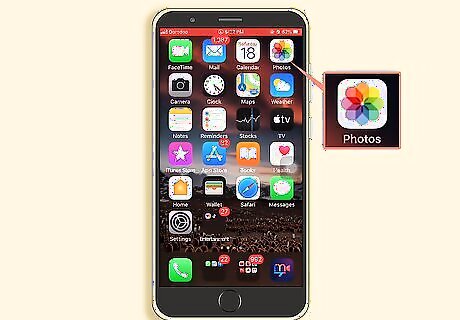
Open the Photos app. This is a multi-colored pinwheel icon that you'll find on your Home screen or lock screen. You can only use this method on iPhone, iPad, or iPod touch.
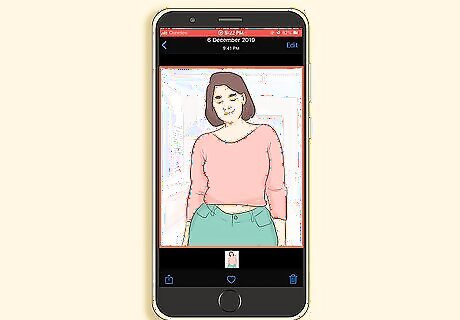
Tap the photo you want to edit. It'll open in greater detail.
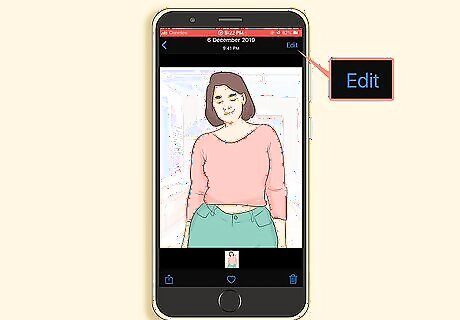
Tap Edit. You'll see this in the top right corner of your screen.
Tap the iPhone Adjust Button icon. You'll see this icon that looks like a dial with dots around it at the bottom of your screen. Slide to choose if you want to use Auto adjustment or if you want to adjust each element directly. You can adjust the brilliance, exposure, saturation, highlights, warmth, tint, and more.
Drag the slider to make changes. If you drag the slider to the left, you'll lessen the lighting effect you have selected (exposure, saturation, etc).
Tap Done. You'll see this in the bottom right corner of your screen. If you don't like your changes, you can tap Cancel instead.
Using Photos with Windows 10
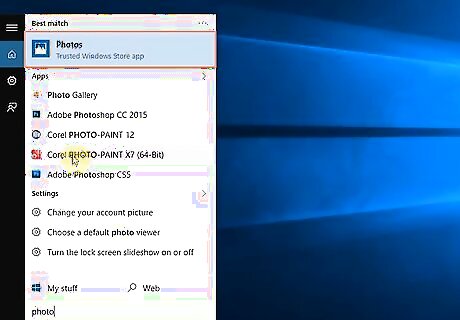
Open the photo you want to edit in Photos. You can either find the program in your Start Menu or right-click the photo file in your file explorer and select Open with > Photos. Photos is the free, default app that comes pre-installed on most Windows 10 computers. If you don't have the program on your computer, you can get it from the Microsoft Store for free.
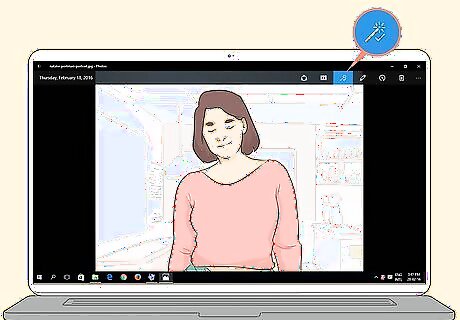
Click the Android 7 Edit icon. You'll find this icon that looks like a pencil or pen in the top right corner of your photo.
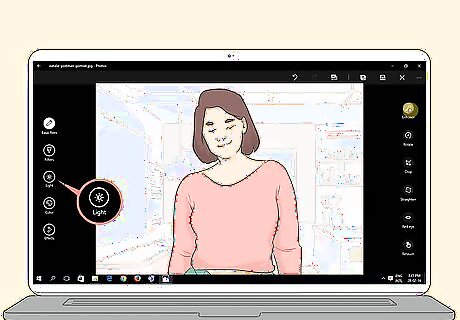
Click Light. You'll see this on the left side of the window with the icon of a half white, half black sun.
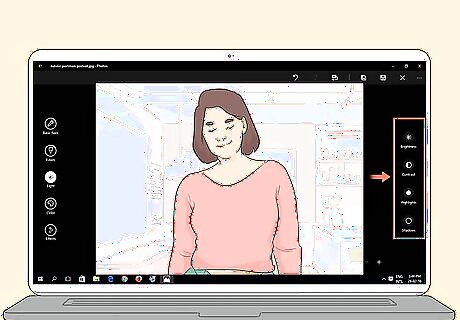
Select either Brightness, Contrast, Highlights, or Shadows. You'll see these light settings on the right side of the window. Brightness changes the overall brightness of your photo. Contrast affects the differences between light and dark areas of your photo. If you change the setting for highlights, you will change how dark or bright the light sources on your photo are. If you change the settings for shadows, you will change how dark or bright the shadows, or places lacking light, are.
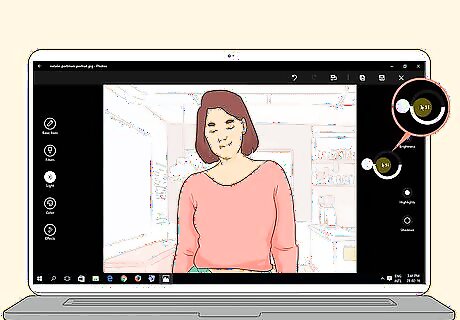
Drag the white knob around the circle. If you drag the knob clockwise, you'll make the picture brighter, and if you drag it counterclockwise, you'll make the picture darker.
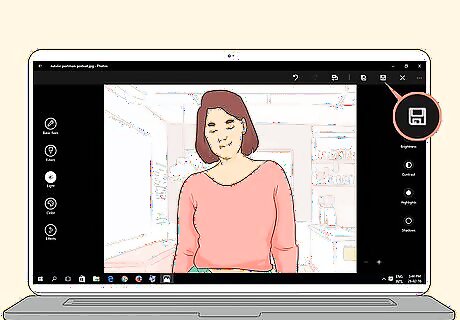
Save your photo. You can either save your edit over the original by clicking the floppy disk icon next to the x icon, or you can save a copy by clicking the floppy disk with a shadow (first icon from the left in that menu).
Using the Photos App on Mac
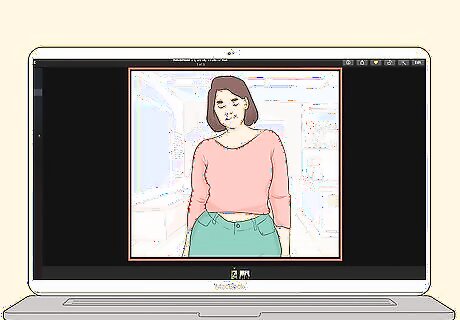
Open the photo you want to edit in the Photos app. You can find the Photos app in the Applications folder in Finder. Double-click a photo in your timeline to edit it. The Photos app for Mac is a free, default application that most Macs come pre-installed with.
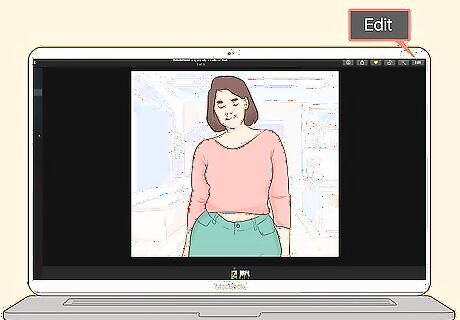
Click Edit. You'll see Edit in the toolbar.
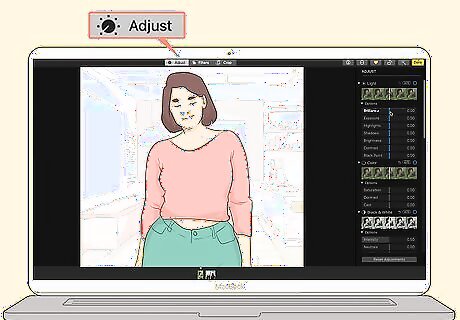
Click Adjust. You'll see this in the toolbar as well.

Click ▼ next to Light. The light adjustment bar will slide down.
Drag the slider to adjust the light levels in your photo. You'll see a small preview of the adjustment as you drag the slider. You can also click Auto to automatically change the lighting. If you want to make finer adjustments, click ▼ next to "Options." You can make adjustments to Brilliance, Exposure, Highlights, Shadows, Brightness, Contrast, and Black Point. The Brilliance setting affects the overall brightness and look of your photo. The Exposure setting changes the overall tones of the photo. The Highlights setting changes the highlights. The Shadow setting adjusts the details in shadows. Brightness changes the overall brightness of the photo. Contrast changes the differences between light and dark areas of your photo. The Black Point setting alters the darkest point visible; anything darker than the black point setting will appear as black, without detail.
Click Done. You'll find this in the top right corner of the editing menu. You can close the app and your edited image will automatically save.
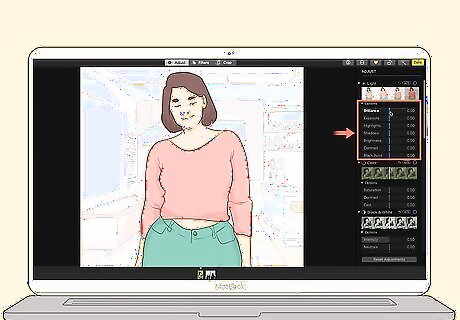
Using the Adobe Photoshop Lightroom Mobile or Desktop App
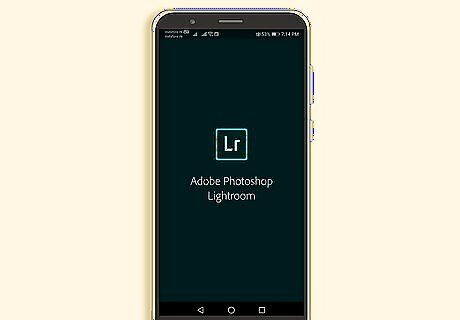
Get Adobe Photoshop Lightroom. You can get the mobile app from either of the app stores (iOS and Android) or you can go to the Adobe website to get the desktop version. If you haven't used Adobe Photoshop Lightroom before, you can sign up for a free 7-day trial, after which there are plans you can subscribe to ranging from $9.99/mo-$52.99/mo. You'll be able to use the mobile app and desktop program similarly once you pick a subscription to trial.
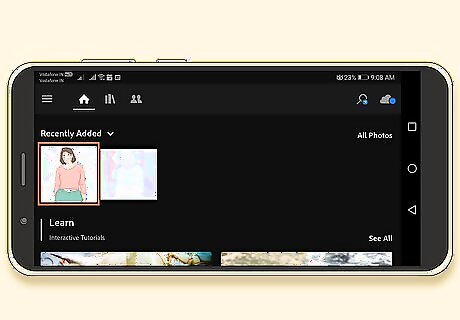
Click or tap to select the photo you want to edit. If you don't see your photo in the selection, click or tap (+) to open your file browser (or Gallery on mobile) and select the photos you want to upload.
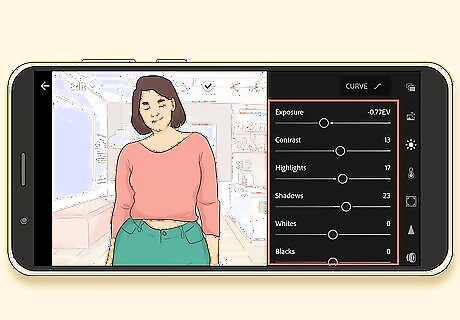
Drag the sliders under the header "Light." If you want your image to appear darker, you should drag the Exposure slider to the left. There are sliders for exposure, contrast, highlights, shadows, whites, and blacks. Drag different sliders to experiment with the lighting. You can also tap or click Auto to automatically adjust the lighting sliders.
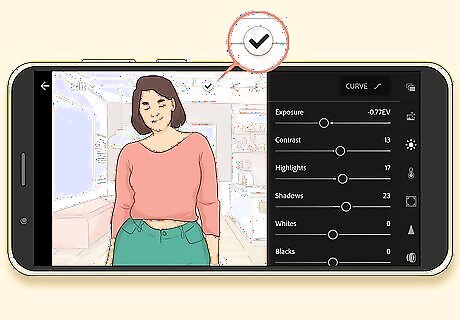
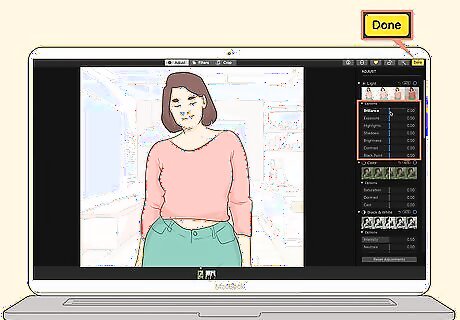
Save your edited image. You can save by going to File > Save.


Comments
0 comment