views
Creating Your Design
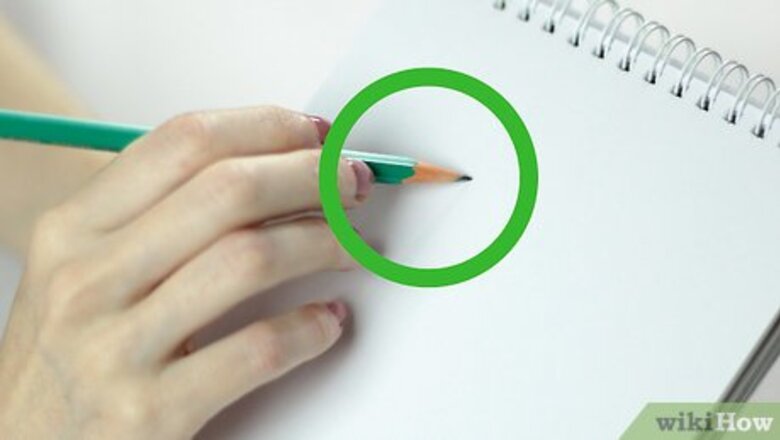
Start with pencil to make it easy to erase mistakes. Henna tattoo designs feature common images and shapes. These designs tend to use repeating patterns and have a flowing feel. Check out these examples of common motifs: flowers, tendrils, leaves and vines crisscross patterns paisleys and spirals water drops
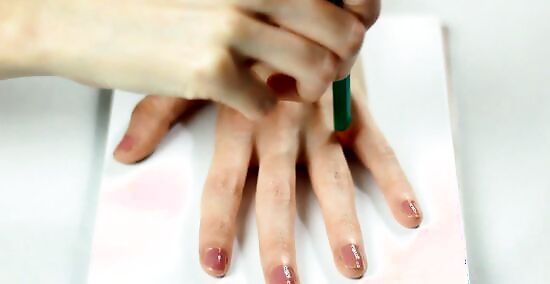
Trace your hand. If you intend to create a henna design for your hand, you can begin by tracing your hand on a sheet of paper. This gives you a sense of scale and shape for your unique henna design. If you are creating a design for another location, it is still a great idea to begin with an outline that depicts the ultimate size and shape of your henna tattoo. Be sure to use regular white copy paper if you are going to use this design to create a tattoo stencil.
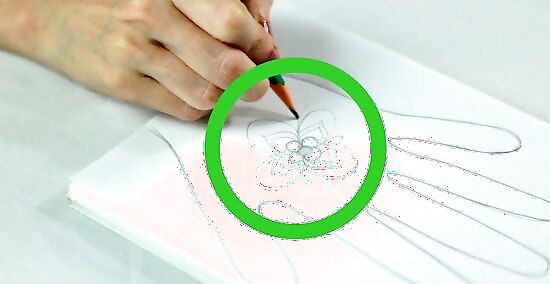
Design the “palm.” Henna designs often feature a central “mandala,” or circular symbol, with tendrils and other details radiating outward. This central mandala comprises the “palm” of your design, while the other details make up the “fingers.” You can start by pinpointing the center of your palm and creating a spiral, flower, or star that emanates from this center. Add paisley shapes, crisscrosses, spirals and other shapes to add detail to your design.
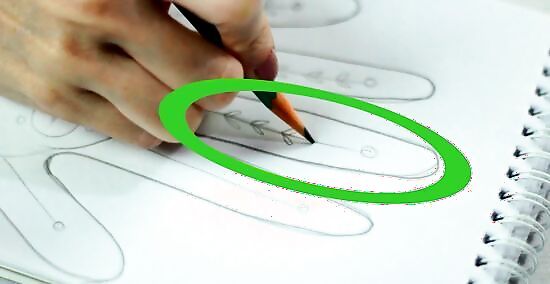
Design the “fingers.” The “finger” portion of a henna tattoo often uses long repeating patterns. These might be “natural” representations (like leaves, drops of water, or flowers), or more abstract designs (like swirls, shapes, or braided lines). Using your pencil, design the fingers of your henna tattoo.
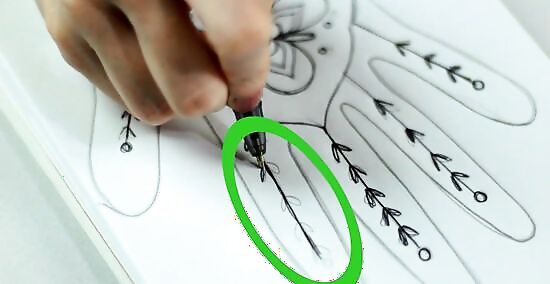
Finish with pen. Once you have created your final design, carefully trace over your pencil design with pen. Be sure to use a ballpoint pen if you are going to use this design as a stencil. Once you have traced the design in pen, completely erase all pencil marks.
Preparing Your Henna Dye
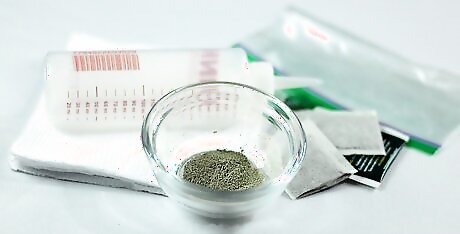
Gather supplies. In order to create a henna paste and apply a henna tattoo, you will need a few basic supplies. You are going to need two black tea bags, water and a kettle (to make tea), one plastic baggie, and a small plastic bottle with a pointed lid. You will also want to keep some paper towels handy, because henna can be a bit messy. You can find a small plastic bottle with a pointed lid at either a craft store (they are typically used for paint) or a beauty supplies store (they are typically used for hair dye).
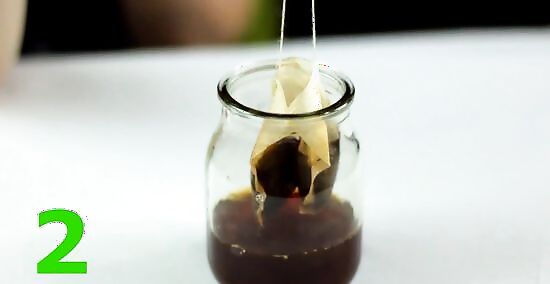
Make black tea and let it cool. Boil 1 cup of water in a kettle and add your tea bags. Remove tea from heat and allow it to cool completely. You can place it in the refrigerator to speed up the process.
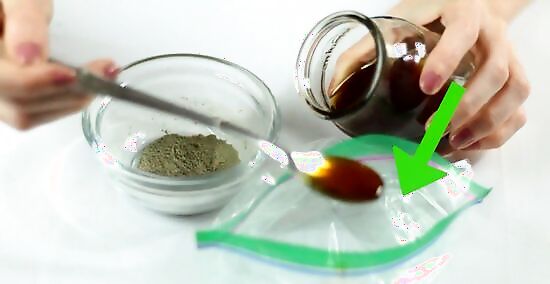
Mix tea with henna powder. Mix 3-4 Tbs. of cold black tea with 2 Tbs. of henna powder in a plastic bag. Move the baggie around in your hands to ensure that it is evenly blended and all lumps have been worked out. Let this mixture sit for two hours. Your paste should be the consistency of cake batter.
Transfer the paste to a small bottle with a pointed lid. Using a pair of scissors, cut one corner off your plastic baggie containing the paste. They squeeze the henna paste through this opening and into the small plastic bottle. You will use this bottle to apply the henna paste to your skin. Depending on the size of your design, you may want to begin by transferring just a little of your paste. Any remaining unused paste can be kept in a sealed container in your refrigerator for up to two weeks. Using a small bottle is preferable to applying the paste with a paintbrush. You can also use the plastic baggie to apply your henna.
Applying Your Henna Tattoo
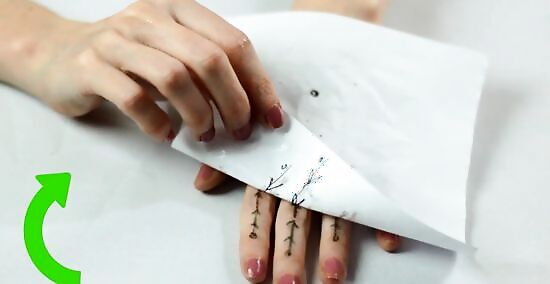
Make a stencil of your design. For this you will need your original design (made with ballpoint ink on white copy paper), scissors, and clear deodorant. First, cut out your design. Next, apply a thin layer of clear deodorant to the location on your body where you want your stencil. Then, apply your design to this location, ink side down. Hold it firmly in place for five seconds. Then slowly peel away the paper and the image should appear on your skin.
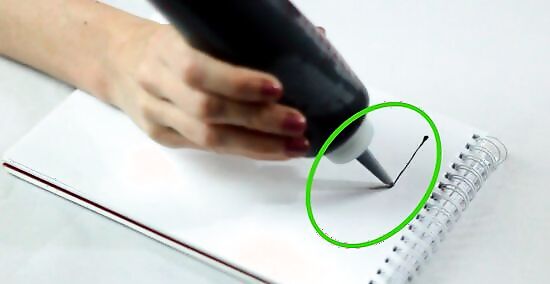
Test your squeeze bottle. Practice using your squeeze bottle to create a thick, accurate line. You can do this on a sheet of paper or a paper towel. Be sure you are comfortable using the squeeze bottle before you begin applying the henna to your skin.
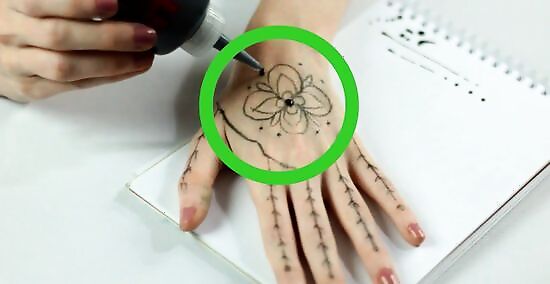
Carefully apply henna to your skin. Using your squeeze bottle, slowly and carefully trace the stencil you have made on your body with thin lines of henna paste. Shake your bottle regularly to avoid clumps. Fortunately, henna works very slowly and takes a long time to dry. If you make a mistake, simply wipe off the henna with a paper towel and apply it again.
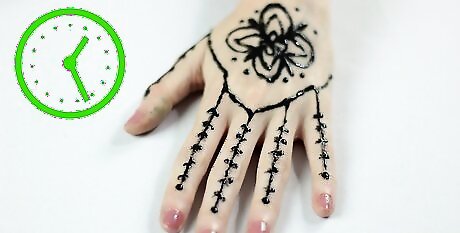
Wait a long time. Henna ink will require a minimum of two hours to dry and stain your skin, or up to five hours for a nice dark image. Leave the henna on your skin for no less than two hours, but preferably closer to five. You can watch a movie, listen to an audio book, or hang out with a friend while you wait!
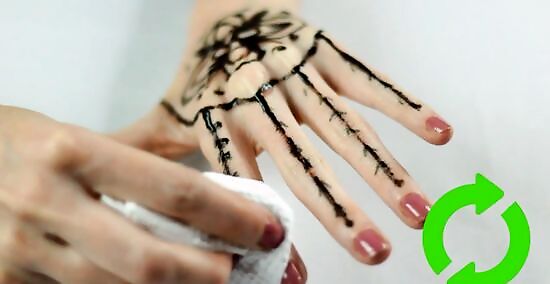
Wipe off the dried henna paste. Using a damp cloth or paper towel, carefully remove the dried henna paste from your body. Your henna tattoo should be effectively stained into your skin. This tattoo should last 2-3 weeks.




Comments
0 comment