views
Planning the Job
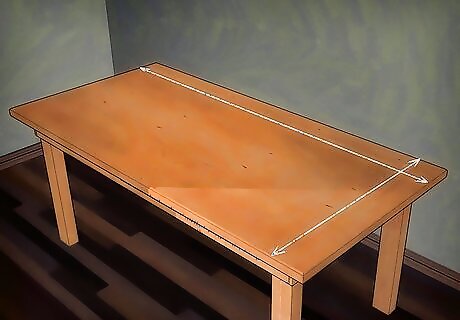
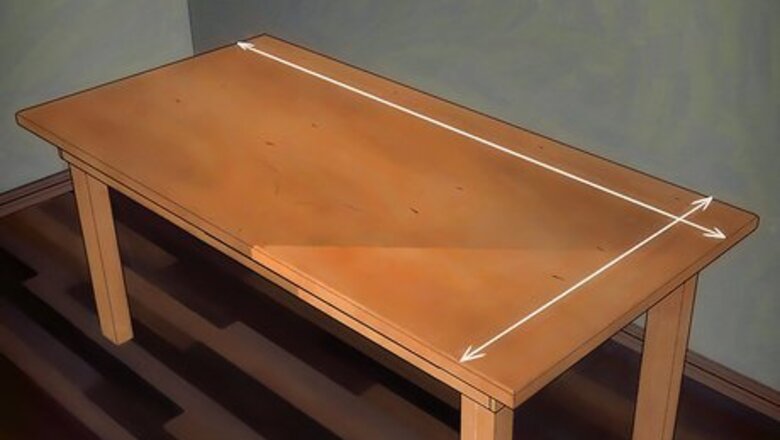
Measure the installation area and purchase the laminate. Carefully measure the space with a tape measure, then measure it once more for the sake of accuracy. Add 1 inch (2.5 cm) to all sides, just in case chipping or splitting occurs when you make your cuts. You will need to buy 5% to 10% more material than what your measurements dictate to account for waste and mistakes. The standard measurement for laminate stock sheets is 48 by 96 inches (1.2 m × 2.4 m). For detailed instructions on measuring for the floor, read How to Measure the Floor for Laminate. Purchase the number of laminate sheets you’ll need for the job at any hardware store.

Allow the new laminate 72 hours to acclimate before you begin. Laminate expands and contracts when exposed to humidity. Bring your purchased laminate sheets inside your home and lay them down for about 72 hours before you plan to begin the job. Open the boxes and allow the laminate time to acclimate to the humidity level before you start making cuts. If you don’t allow the sheets a chance to acclimate, you could end up with laminate that pulls apart or buckles after you’ve installed it.
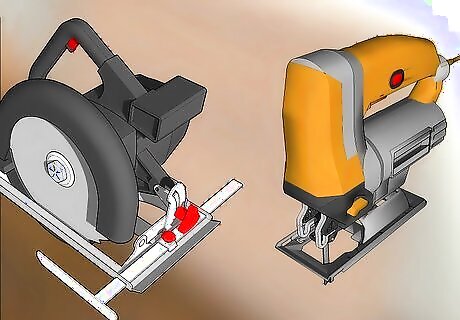
Choose a cutting tool. There are many efficient cutting tools used for laminate, but no matter which one you choose, the blade needs to be extremely sharp and thin. In general, the thinner the blade, the less likely it will be to cause splits or chips in the laminate. Your options for cutting tools are table saws, circular saws, jigsaws, miter saws, and hand saws. Table saws, circular saws, and jigsaws are usually the favored options. If you choose a jigsaw as your tool, be sure to get special laminate cutting blades to go with it. These blades are quite cheap – they will be efficient to use for one job, but you’ll need to throw them out after that. If you plan to be cutting a lot of laminate flooring, consider purchasing or renting a laminate floor cutter at a hardware store. These are easy to use, create no noise and generate no toxic laminate dust.
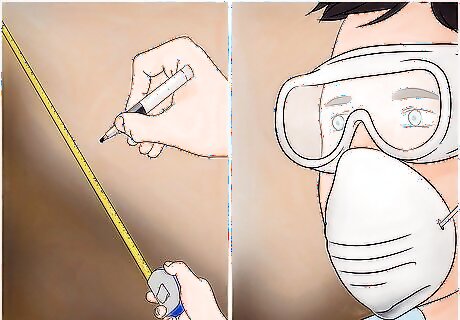
Gather the other necessary tools. Aside from cutting tools, you will also need a dust mask, safety glasses, a tape measure and a non-permanent fine-tipped marker for this job. Do not skip the protective glasses and dust mask. The dust generated from cutting laminate is known to cause cancer and other health issues, so you definitely need to avoid breathing it in or getting it into your eyes. If you will be cutting a lot of irregular or curved shapes, consider investing in a forge profile gauge. This tool will make it very easy for you to accurately mark curved lines onto the laminate before you start making the cuts.
Cutting Laminate to Length
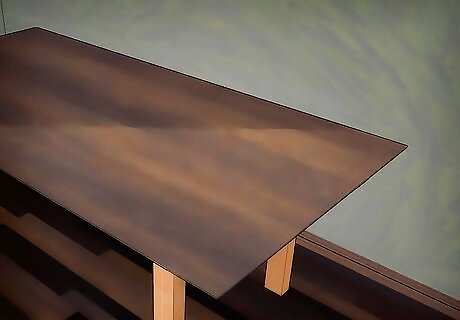
Spread the laminate sheets out. Be sure to lay the sheets out on a flat work surface to ensure accurate measuring and marking. Since you will be cutting the laminate with the finished side up, you’ll want to lay the sheets out face up, as well. You will be marking the cut lines directly onto the finished surface of the laminate.
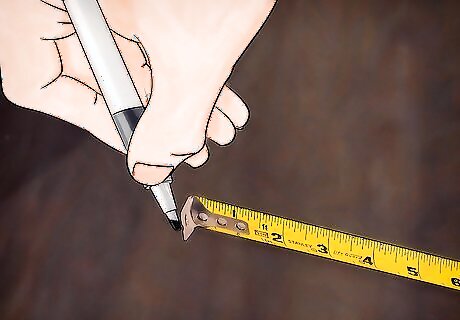
Measure the length you need and mark the cut lines. Use a tape measure to get the length you need, then use a fine-tipped marker with non-permanent ink to mark the lines where the cuts need to be made. Be sure to mark the lines on the finished side of the laminate. You can easily remove non-permanent ink from the laminate with a damp cloth as long as you do so fairly quickly after you make your cuts. Many people opt to use a wax pencil for marking lines onto laminate, but the wax lines can get dull and difficult to see quickly.
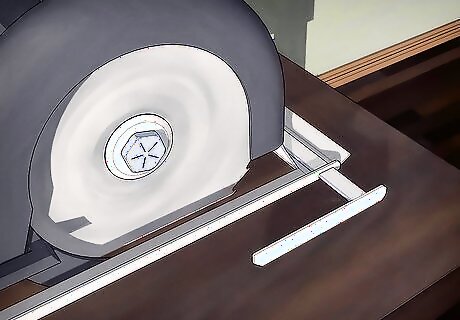
Cut the laminate. To make straight cuts like this, a circular saw or a handsaw is usually the best option. Keep the laminate sheet with its finished side up. Use your cutting tool to carefully saw along the line you’ve just measured and marked. After you make the cut, use a damp cloth to wipe away any remaining ink from the laminate’s surface. Be careful when you handle newly cut laminate. After you make the cut, the edge will be extremely sharp. When using a circular saw, use a fine 140-tooth plywood blade to make an accurate cut without damaging the finish. Because the edges are so sharp, you may want to wear protective gloves when you're handling cut laminate. Keep your safety goggles and dust mask on at all times. Place a bucket beneath your cutting table, so the majority of laminate dust falls into it while you're sawing. Frequently bag up this debris and throw it away. If you want to avoid chipping, place a piece of painter’s tape along your cut line. Believe it or not, but the tape does an amazing job reducing tear out.
Cutting Laminate to Width
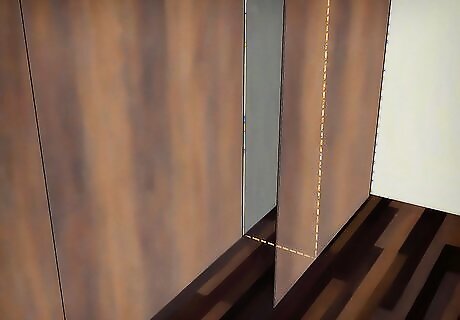
Lay out the sheet and measure the overlap. Cutting laminate to width is necessary on the last piece used before you get to an obstacle like a wall, fireplace, cabinet or pipe. Take a full sheet of laminate and lay it on top of the second-to-last piece. Line the sheet up so that it fits snugly against the wall. Leave the sheet there while you create your template. Carefully measure the amount of overlap with your tape measure.
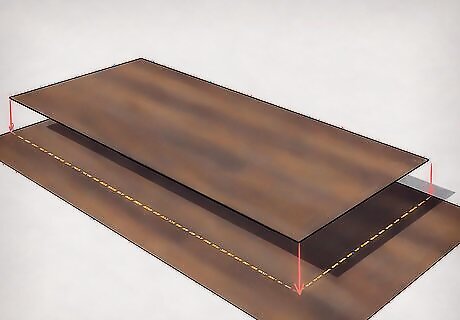
Create a template to guide your cut. Use a scrap piece of laminate to create a template. Make sure to cut the scrap to be the same width as the overlap. Then place the template on top of the laminate sheet you need to cut, which should still be lined up closely against the wall. Push the template snugly against the wall, as well. If you’re cutting laminate flooring, add ⁄4 inch (6.4 mm) to account for possible expansion. Don’t drape laminate over a tabletop since it could damage the finished surface.
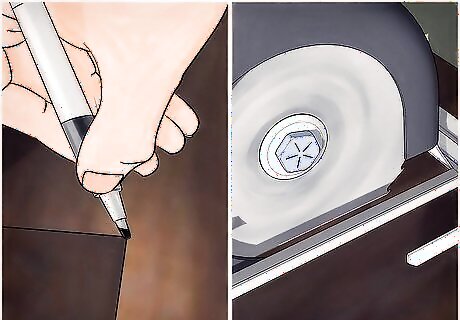
Mark and cut the laminate. Use the template to mark your cut line onto the laminate's surface with the non-permanent marker, then put the template aside. Use your cutting tool to saw along the marked line. Since this is another straight cut, a circular saw, jigsaw or handsaw will work best. After you make the cut, use a damp cloth to wipe away any remaining ink from the laminate’s surface.
Cutting Laminate Around Obstacles
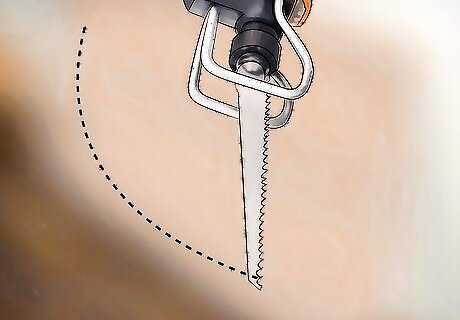
Choose a jigsaw blade for cutting curved lines. Obstacles usually require irregular or curved cuts to be made. The jigsaw is the ideal cutting tool for this. Use a jigsaw with a standard blade or, if you’re cutting flooring, use one with a laminate flooring jigsaw blade with fine teeth. The fine teeth will reduce the likelihood of chipping the laminate.
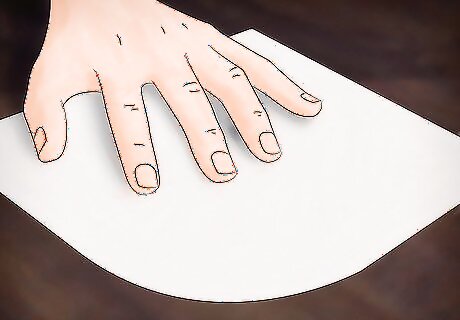
Create a paper template to guide your cut. Making a template will help you get the curved cut just right and prevent wasted laminate. Hold a piece of paper up against your obstacle and trace around the object. Cut the shape out of the paper. Put the paper template back down next to the obstacle to confirm the accuracy of the shape. You may need to make several attempts before you get the template exactly right. Instead of creating a paper template, you can also use a forge profile gauge. Push the gauge up against the obstacle to get the shape, then transfer that shape onto the laminate by tracing it with your marker.
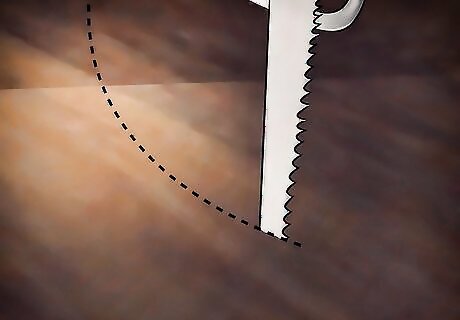
Trace the shape onto the laminate and make the cut. Use your paper template to trace the required curved shape onto the piece of laminate with the non-permanent marker. Use the jigsaw to carefully cut along the marked line. Hold the jigsaw vertically, which will help the blade make a smooth cut from one side of the laminate to the other. After you make the cut, hold the laminate up to the obstacle to confirm it will fit around it exactly right. Use a damp cloth to wipe off any remaining ink from the laminate’s surface. If you’re cutting a circle, drill a hole in the center and cut an X-shape towards the edges. Score the edge with a utility knife so you can snap off the pieces individually.


Comments
0 comment