views
Using Electric Power Tools
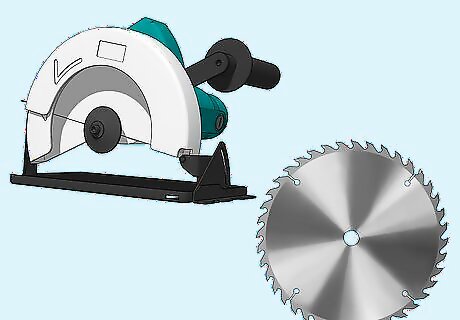
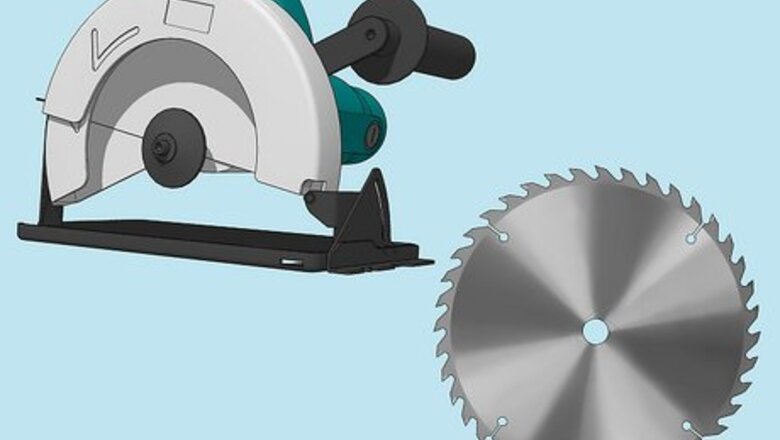
Use a wood-cutting saw with carbide-tipped blades to cut most aluminum. Select a fine-toothed blade and don't cut aluminum with a wall thickness of more than ⁄4 inch (0.64 cm). If possible, choose a saw blade that creates narrow kerfs (the notch or slot made by the saw).
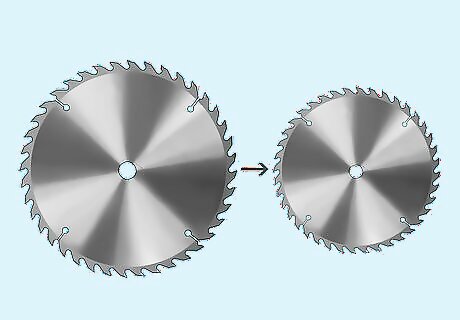
Reduce the diameter of the cutting blade for better results. The cutting speed used for wood is generally going to be too fast to safely cut aluminum. For example, if you use a 10 inch (25 cm) saw, you can reduce the blade to 7.25 inches (18.4 cm). This will slow your cutting speed. If it's not possible to alter blade sizes, consider purchasing equipment with a variable speed router and use the slowest setting. These types of equipment are typically more expensive, but offer a degree of flexibility ideal for cutting aluminum.
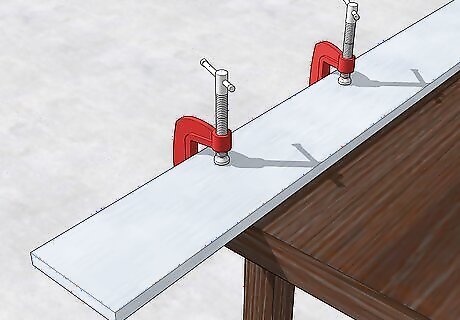
Use a C-clamp to secure your aluminum piece(s). Loosen the bar within the jaw by turning it counterclockwise. Place the clamp upright, with the open end of the jaw facing your working surface and the bottom of the jaw underneath the tabletop. Place your aluminum into the jaw and tighten the clamp around it by turning the metal rod clockwise. As an additional safety measure, use a push stick to hold and move your aluminum piece into the saw. This allows you to cut your aluminum without getting near the blades. Since aluminum does not tend to close as you cut it, create narrow kerfs whenever you can.
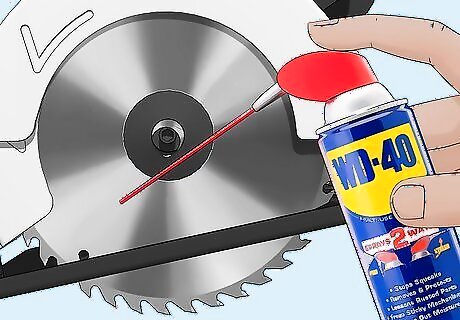
Apply cutting lubricants on your blades or bits. This can range from standard oil to saw wax. Since you'll be cutting metal on metal, make sure to lubricate it to prevent sparks and slippage. WD-40 is the standard lubricant when cutting aluminum. Apply 5 to 6 small spurts on both the bottom and top halves of the blade.
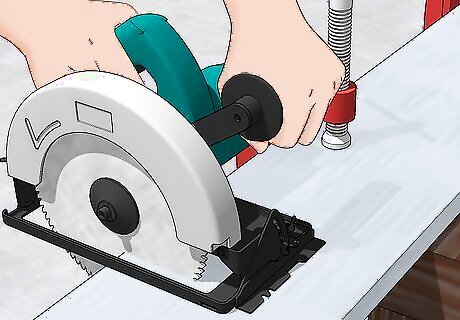
Feed the aluminum through the blade, or the blade through the aluminum. Hold the saw firmly with your dominant hand. Apply downward pressure as you move the blade along your metal. Be sure to work slower than you would with wood. Steady, even pressure is the safest way to go. Remain clear from the kickback zone (where recently cut pieces are thrown clear by the power of the saw) when cutting. This is usually directly behind the saw. Alternately, you can use a bridge to secure your saw and reduce kickback. Always keep your fingers away from the saw blade.
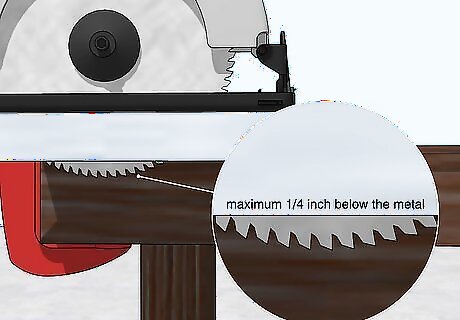
Adjust the blade depth so the blade extends ⁄4 inch (0.64 cm) at most. Retract the blade guard and hold it beside your aluminum piece. Loosen the depth adjustment knob or lever and rotate the base of the saw until the blade is 0.25 inches (0.64 cm) below the metal at most. Afterwards, tighten the knob or lever. Always keep the power off when adjusting blade depth.
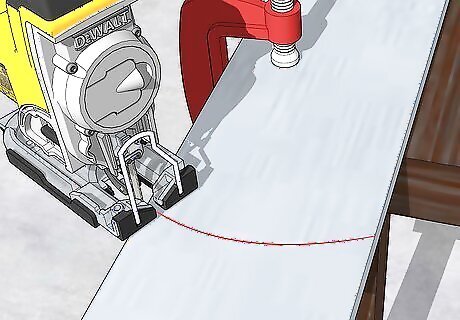
Use a jigsaw if circular cuts need to be made in the aluminum. Clamp a guide to your aluminum on both sides of your saw. Position the saw close to the side of the aluminum where you want to begin cutting. Afterwards, lower the blade approximately 0.39 inches (0.99 cm) past the metal and guide the blade along the metal. Push the saw slowly across your aluminum piece by twisting the back of the saw into the direction opposite to the direction you want the blade to move. Keep your blade aligned with the cut line. Always use carbide-tipped blades. Lubricate the blade before using it, and cut slowly.
Using a Cold Chisel
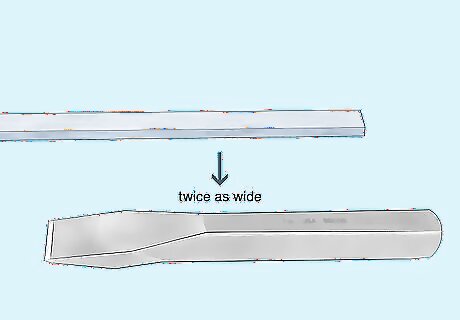
Purchase a cold chisel that is 1 size wider than the aluminum. Use a measuring tape to determine the width of your aluminum. Afterwards, select an appropriate sized chisel. Common sizes are ⁄4 inch (0.64 cm), ⁄2 inch (1.3 cm), ⁄4 inch (1.9 cm), and 1 inch (2.5 cm). For example, if your aluminum piece is ⁄4 inch (0.64 cm) wide, use a chisel that is ⁄2 inch (1.3 cm) wide.
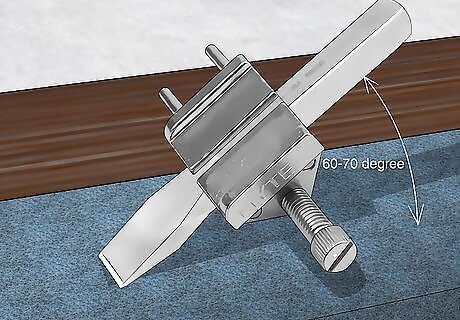
Sharpen your chisel to a 60- to 70-degree bevel using a honing guide. Fit your chisel into your honing guide (a tool that clamps onto your tool either from the sides or from above and below) and tighten the screws on both sides to keep it in place. Set the guide to the appropriate angle, and then place the bevel (the metal edge of your chisel) against a second-cut, medium-coarse file. Hold the guide with both hands and move the chisel back and forth in a thin, figure-eight pattern. Once you notice scratches on your chisel's bevel, switch to a medium grit. When new scratches begin to appear, switch to a fine grit. Wipe the bevel between each grit using a dry, clean cloth.
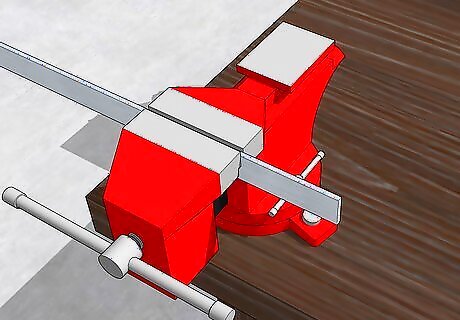
Place your aluminum piece into your vice and tighten it. Position the piece in the center of the vice's jaws. Make sure that it's tightened firmly in place. Be sure to use a heavy-duty model bench vice.
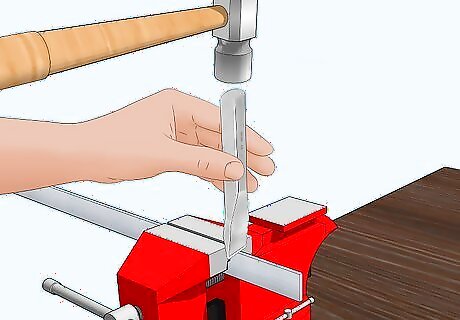
Align the chisel with your vice's screw and hammer the aluminum. Hold the chisel tip against the metal—perpendicular to it—with your non-dominant hand. Use a ball-peen hammer to strike the chisel's handle and always cut perpendicular to the jaws of the vice. Continue striking the metal until there is a notch in it. At this point, you should easily be able to snap it into 2 pieces with your hands. You should be able to cut your aluminum metal piece within 30 seconds. Anything longer and you're probably using the wrong sized chisel, or you need to use a saw. Add 1 drop of 30-weight machine oil to the chisel's edge for lubrication. This makes it easier for your chisel to get into your aluminum's hardened grains of metal. Never use a claw hammer—the heads are not designed for hitting hard metal and are prone to chipping. If you're cutting a line in a sheet of aluminum, you can skip the vice and cut your way down the sheet on a flat surface. Use wood as a backing piece to help push the chisel through the metal and prevent the chisel's tip from wearing.
Cutting with Tin Snips
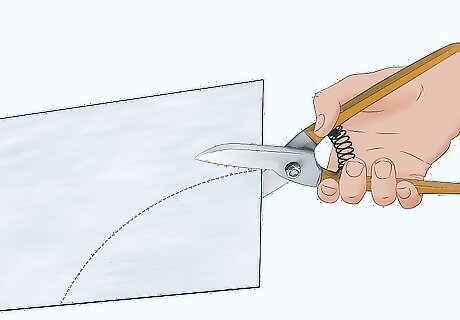
Cut circles in aluminum using curve-cutting snips. Draw a circle in permanent marker on the aluminum piece. Afterwards, create a starter hole within the circle by hammering the back of a straight-blade screwdriver into the metal. Then, place your tin snips into the opening. If you're cutting counterclockwise, use red-handed offset compound snips; if you're cutting clockwise, use green-handled snips. Avoid straight-cutting snips—even if you manage to cut a circle, the hole will end up having a jagged edge. Use both green and red snips for tough cuts. When 1 pair stops working, swap snips. Air conditioning and heating work will most likely require you to alternate between the two because they require a combination of straight and curved cuts.
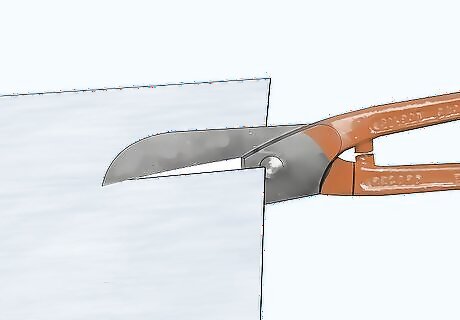
Purchase large tin snips to make straight cuts in aluminum sheets. Always open your snips as wide as possible before making a straight cut. Straight cuts are best accomplished using smooth, long strokes. As you cut, pull the cut strip upwards, and then to the side—this prevents it from sticking to the handle of your snips or blocking your handle during the cutting motion. The longer your straight cut, the longer your strokes should be. Compound snips are designed for situations that require maneuvering as opposed to straight cuts. If you have no other option, be sure to fully open and close the snips for each stroke that you make—this will ensure maximum cut length.
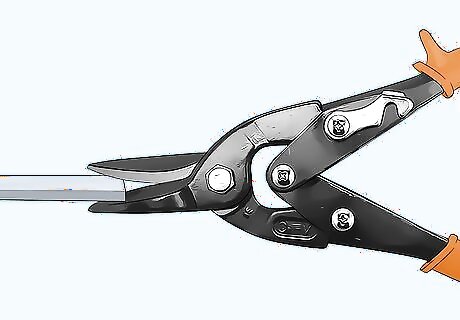
Use straight-cutting compound snips opened wide for thick metal. Be sure that the thick aluminum is straight and deep within the wide-open jaws before you make the cut. Although they aren't ideal for cutting curves, these snips are perfect for thick metals as they provide a great deal of leverage compared to other snips. Straight-cutting compound strips are most effective for doubled-up or thick sheet metal. They can typically handle a maximum of 18-gauge mild steel, which is equivalent to 0.0403 inch (0.102 cm) thick aluminum. Avoid using straight-cutting compound strips for cutting curves.


Comments
0 comment