views
- Give your hair volume and bounce with lightweight shampoo and conditioner and curl-boosting spray or mousse.
- Tight curls tend to be more long-lasting, so use a small-barreled curling iron on high heat and hold the iron on your hair for 8-20 seconds.
- To lock your curls in place, spray your hair with strong-hold hairspray while the curls are still hot.
- After you curl your hair, style it with your fingers rather than a hairbrush so your curls won't fall.
Boosting Your Hair’s Ability to Hold Curls
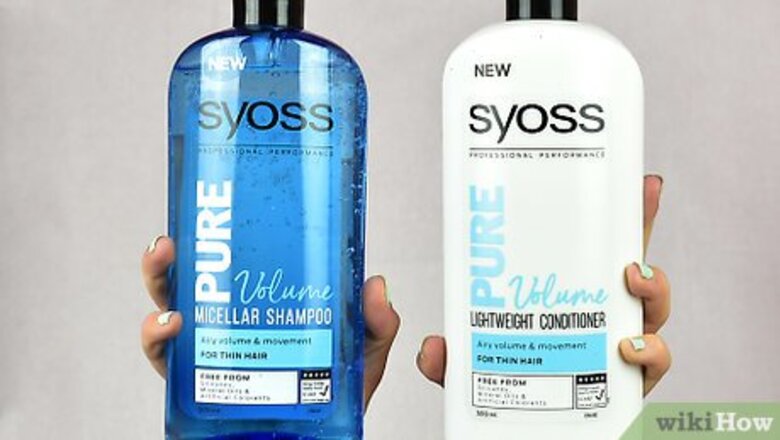
Use lightweight shampoo and conditioner to give your hair bounce. When you are shopping for shampoo and conditioner to use daily, look for products that are described as “lightweight” and/or “clarifying.” These products are designed to strip the impurities out of your hair, leaving your hair feeling extra light and fluffy. Using lightweight shampoo and conditioner will keep your hair from getting weighed down, making it easier to get curls that will hold for hours. To avoid weighing down your hair even more, only apply conditioner to the bottom half of your hair. Avoid shampoos that contain sulfates since they can damage your hair. Limit how often you wash your hair. Washing your hair every day can dry your hair out and damage it.

Avoid washing your hair for at least 1 day before curling. As a rule of thumb, avoid using any type of shampoo and conditioner for 1 to 3 days before you plan on curling your hair. While you don’t want your hair to get too dirty or feel gross, hair that has been recently washed with shampoo and/or conditioner won’t hold curl as well. When you take a shower during this period, rinse your hair thoroughly with hot water to cleanse. If your hair starts to feel or look greasy or dirty, use a volumizing dry shampoo.

Dampen your hair to apply a curl-boosting spray or mousse. Before curling your hair, dampen your hair slightly until it is moist but not soaking wet. Then, follow the instructions on the bottle to apply a curl-boosting spray or mousse all over your hair. These types of products are designed to make even the finest, straightest hair more malleable and help them retain a curl shape even after your hair has dried. You can dampen your hair by getting your hairbrush wet, or by wetting your hands and running them over your hair.
Air dry completely or rough blow dry your hair with your hands. After you have applied a curl-boosting spray or mousse, let your dampened hair air dry completely or rough blow dry your hair using a hair dryer. To rough blow dry your hair, bend over to flip your hair over your face and, using only your hands, blow dry your hair under medium to high heat while shaking it with your free hand. Both air drying and rough blow drying your hair will encourage any natural curl in your hair to come out, and will give your hair more of the rough texture and volume needed to hold a curl. Blow drying your hair upside down will also give it more volume. Make sure that your hair has completely dried before moving on to the next step. Putting a hot curling iron on your hair can be very damaging.
Using a Curling Iron
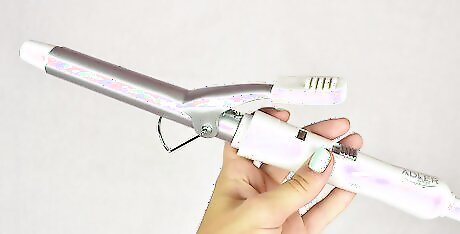
Select a small barrel curling iron. When choosing a curling iron to use to curl your fine, straight hair, select an iron with a barrel that is about ⁄2 inch (1.3 cm) to ⁄4 inch (1.9 cm) thick. Since it is difficult to get fine, straight hair to hold a curl, you will need a small barrel curling iron in order to get tighter, more defined curls. That way, even if your hair starts to relax, some of the curl will still be in place.
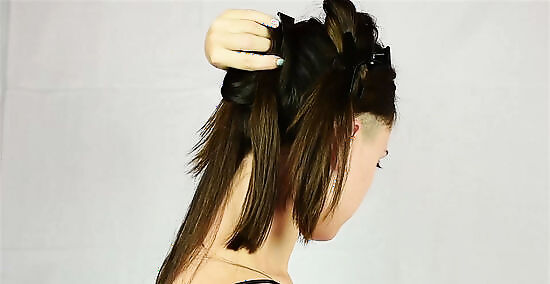
Divide your hair into 3 to 4 sections. Using alligator clips or rubber bands to separate, divide your hair into 3 or 4 distinct sections, depending on how much hair you have. This will make it easier for you to further section off your hair and to concentrate on getting tight, defined curls in one section at a time.
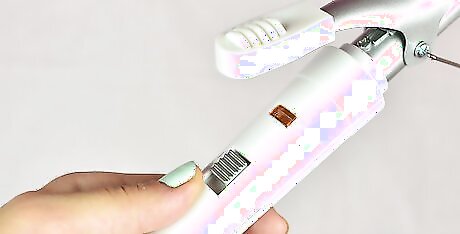
Heat up the iron to the highest setting that is safe for your hair. In general, the hotter the curling iron barrel is, the better it can curl your hair. If your hair is healthy and free of any processes or dyes, you can turn up the heat to a higher setting, up to 450 °F (232 °C). If you hair is dyed and processed or if you deal with split ends, use a lower setting that is around 320 °F (160 °C).
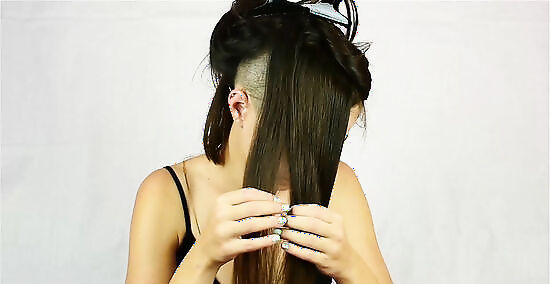
Untie and further divide one of the sections of hair. As your curling iron is heating up, unclip or remove the rubber band from one of the 3 to 4 sections of hair. Then, separate out a smaller subsection of the now-loose section of hair to begin curling, about ⁄2 inch (1.3 cm) to 1 inch (2.5 cm) thick. If the section of hair has any knots when you take out the clip or rubber band, briefly brush them out with a hairbrush before separating out the first smaller section.
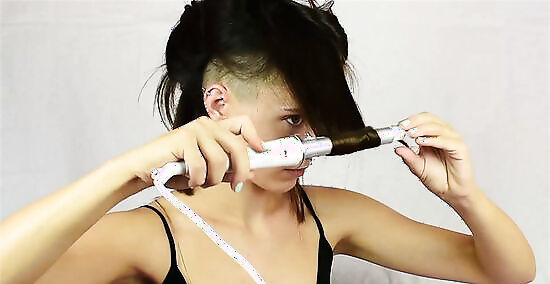
Wrap the smaller subsection of hair around the curling iron barrel. Once the curling iron has reached your desired temperature, start curling your hair by wrapping the first piece around the barrel. How you will wrap your hair around the iron depends on the type of curling iron that you are using. If you are using a curling iron with a clamp on the barrel, start by placing the end of your hair on the barrel near the handle and closing the clamp to secure it in place. Then, wrap the rest of your hair around the barrel by rolling the iron up towards your head. Stop rolling when you get about 1 inch (2.5 cm) from your scalp. If you are using a curling wand (a curling iron without a clamp), start wrapping your hair around the barrel about 1 inch (2.5 cm) from your scalp. Then, wrap the rest of your hair around the barrel using your hands until you get to the very end. You will need to hold the end of the hair to keep it in place.
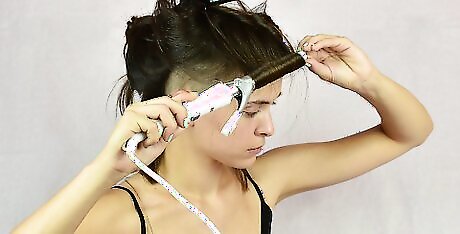
Hold the iron in place for 8 to 20 seconds. Once the small section of hair is wrapped firmly around the curling iron barrel, leave it to heat up for several seconds. The length of time that you hold the iron in place will vary depending on the heat setting. If you are using a lower heat setting, for example, you can leave your hair wrapped around the barrel for up to 20 seconds. You will likely need to try several trial curls to find the right time that it takes to get the curl to hold.
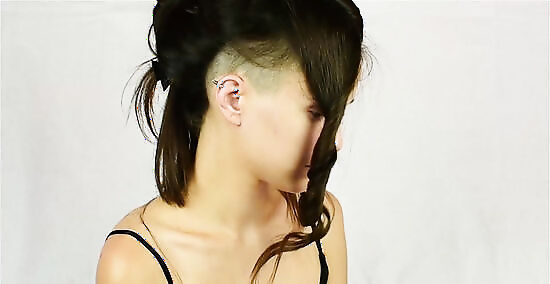
Release your hair from the curling iron barrel. After about 8 to 20 seconds, release the clamp or unwind your hair and let it fall from the barrel. If you held the wrap long enough on a high enough heat setting, your hair should immediately bounce into a tightly defined curl. If your hair is particularly straight and hard to curl, at this point, you may need to quickly coil the ironed section of hair back in to a curl and pin it to your head with a metal hair pin. Leave the pin in your hair until your hair has completely cool. Once you remove the pins, your hair should hold the curl.
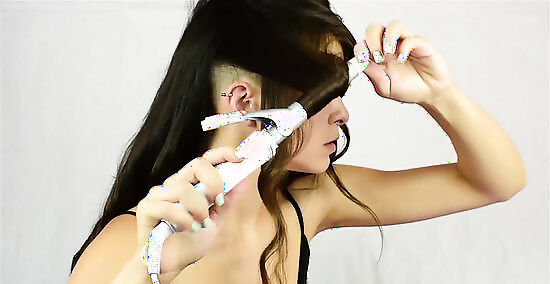
Curl the rest of the hair in each section. Once you have finished the first curl, move on to the next curl by taking another smaller section of the first section of hair and curling it with the iron. Repeat this until you have finished this section, about 3 to 4 times depending on how thick your hair is. Then, release the next section of hair from the clip or rubber band and repeat this process until all your hair is curled.
Setting and Maintaining Your Curls
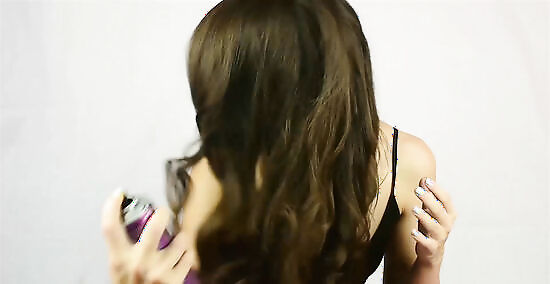
Set your curls with strong hair spray. Once you have finished curling each section of hair, immediately spray your hair with a strong hair spray. If it is your first time using the product, make sure that you follow the instructions on the spray bottle. For best results, do this while the curls are still hot. Look for hairsprays that have terms like “strong hold” and “long-lasting” on the label. If the curls look too tight after a few minutes, run your fingers loosely through your hair to get them to relax a bit.

Leave your hair to cool completely. After setting your hair with hairspray, leave it to cool completely before touching the curls or adding any accessories. This will ensure that your curls stay intact as long as possible.
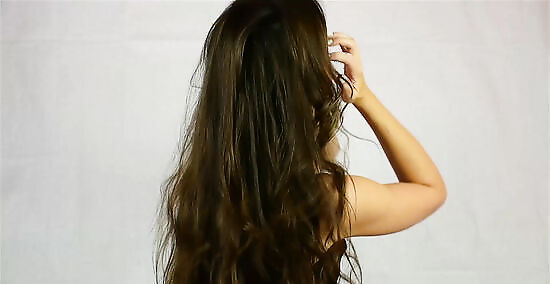
Avoid using a hairbrush to maintain your curls longer. While it may be tempting to use a hairbrush to brush through your curls if they look too tight at first, doing so can make your curls fall out. Instead, wait until your curls have completely cooled. Once cooled, if the curls are still too tight for your taste, gently run your fingers through them once to get them to loosen faster. In most cases, your curls will loosen naturally over time. If you want looser curls, if possible, try curling your hair several hours ahead of time to give them time to naturally fall out a bit.
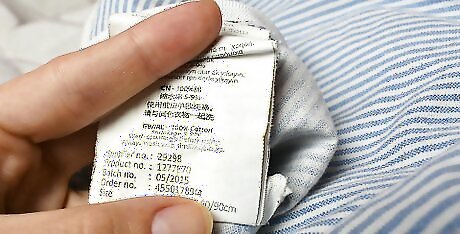
Sleep with a 100% cotton or silk pillow case to help hold curls overnight. 100% cotton and silk pillowcases create less friction on your hair, allowing your hair to maintain its moisture. This keeps your hair from getting frizzy or flattening out, both of which are disruptive to curls. While silk pillowcases can be expensive, they are generally the most effective at helping you hold your curls overnight. 100% cotton pillowcases are less expensive and while less effective, are still a better option than pillowcases made with linen or synthetic materials.





Comments
0 comment