views
Crocheting a Simple Cell Phone Case
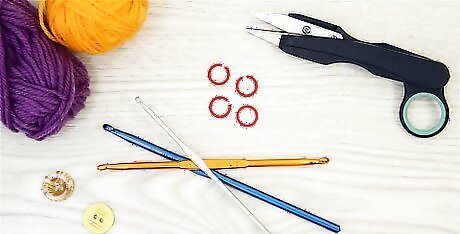
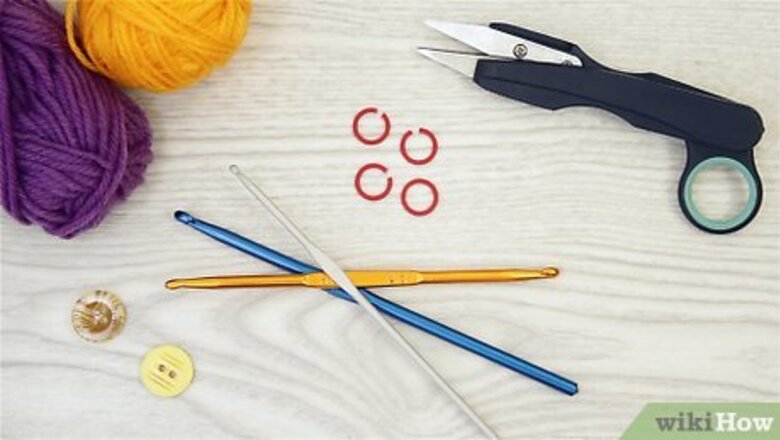
Gather your tools and materials. Making a crocheted cell phone case is much easier than it might seem. You just need a few things to do it. You will need: Yarn in the color and type of your choice A crochet hook appropriate for the type of yarn you are using. Be sure to check the label of your yarn for recommendations on what size hook to use with the yarn. Scissors Button Needle and thread
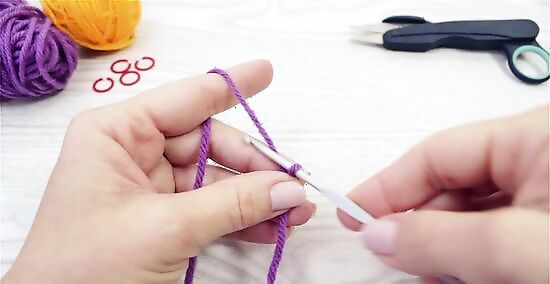
Chain enough stitches to wrap around your cell phone. You don’t need to worry about measuring your phone to get the right measurements for your cell phone case. All you need to do is to make a chain long enough to wrap around your cell phone width-wise. The chain should be snug, but not super tight. If the chain is too tight, add a chain or two. If it is too loose, take a couple of chains out. Leave a long tail of about 10 to 12 inches (25 to 20 cm). You can use this yarn to sew the bottom closed after you finish making the case.
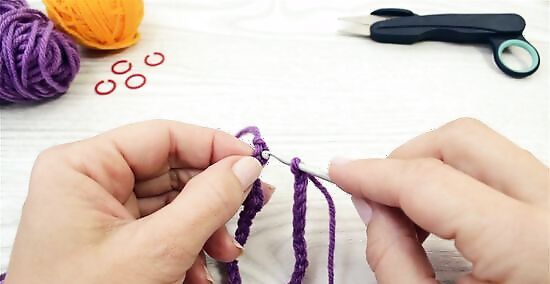
Connect the chain with a slipstitch. Next, you will need to connect the beginning and end of the chain to begin crocheting in rounds. With the loop still on your hook from the last chain you crocheted, insert the crochet hook into the first link in your chain. Then, loop the yarn over the hook, and pull it through both stitches to secure them together. Your chain should now be connected in a circle.
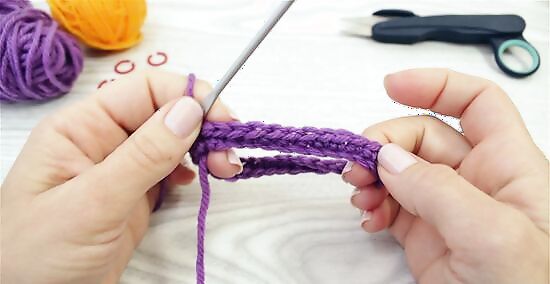
Single crochet around the chain. Once the chain is a circle, you can begin single crocheting around it. Start by inserting the hook into the first stitch in the round. Then, loop the yarn over and pull this yarn through the first loop. Loop the yarn over the hook again and then pull this yarn through both stitches on the hook. This will complete your first single crochet stitch. Single crochet to the last stitch in the round, and then slipstitch to connect the first and last stitches. If you prefer to use a different type of stitch, then you can. For example, you could try the double crochet stitch, popcorn stitch, or cluster stitch. Be careful not to twist the stitches.
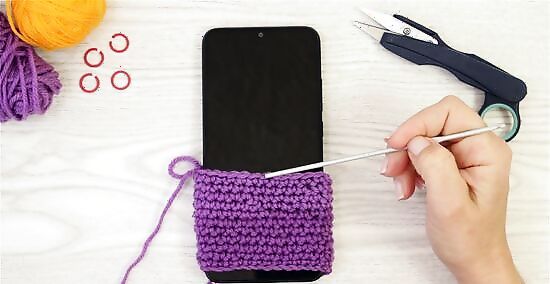
Continue to single crochet all rounds. You will need to continue to single crochet all rounds until the case is long enough to hold your cell phone. Once it looks like you are getting close, try slipping your cell phone into the case to see how far you have to go. Keep going until your entire cell phone fits in the case.
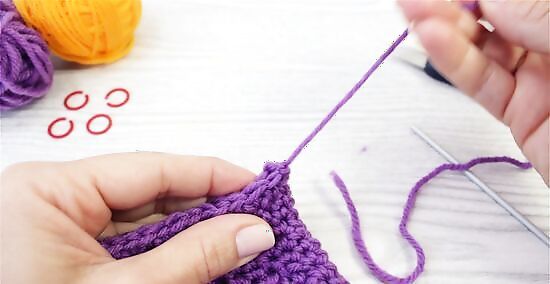
Bind off. After you have achieved your desired length for the cell phone case, you will need to bind off your work. To do this, cut the free end of the yarn a few inches away from the hook, and then pull it out through your last loop to secure it. To deal with the tail, you can either weave in the end using a darning needle, or tie it in a second knot and cut the excess.
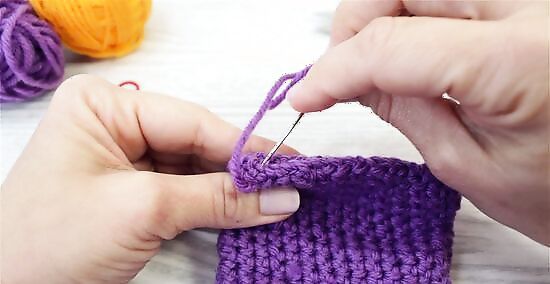
Sew the bottom closed. Use the tail that you left at the beginning of making the case to sew the bottom of the case closed. If you did not leave a long enough tail, then tie a 10 to 12 inch (25 to 30 cm) piece of yarn to the tail and thread it through a darning needle. Then, stitch along the bottom of the cell phone case to close it.
Adding a Closure
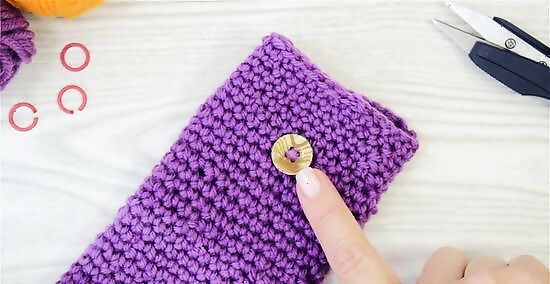
Sew on a button. To make a closure for your cell phone, case, the first thing you will need to do is to sew a button onto one side of the case. You can choose any type of button you like. However, keep in mind that a larger button may provide a more secure hold. Use a needle and thread to sew the button into place. Try to position it in the center top portion of the case.
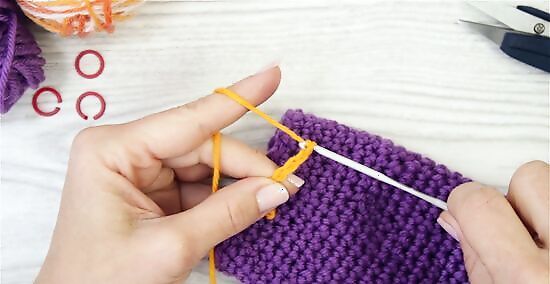
Make a chain extending from the back of the case. Next, tie a piece of yarn to one of the stitches in the back of the case. Then, begin making a chain. Crochet a chain that it long enough to extend to the front of the case, loop around the button, and then connect back to the same spot in the back of the case. Do this with the phone in the case. Having the phone in the case will give you a more accurate idea of how secure the button and chain closure will be.
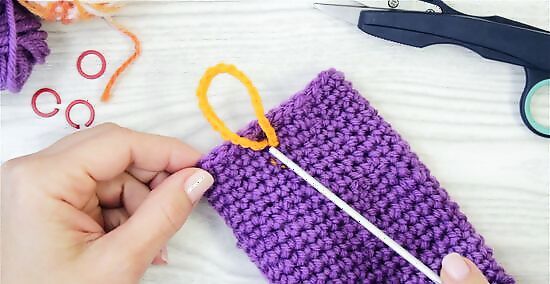
Attach the other end of the chain. After the chain is the desired length, snip the free end and pull the end through the loop to secure the chain. Then tie this end to the back of the case near the beginning of the chain. Your cell phone case it now ready to use! You can keep it as is, or add a chain handle.
Adding a Chain Handle
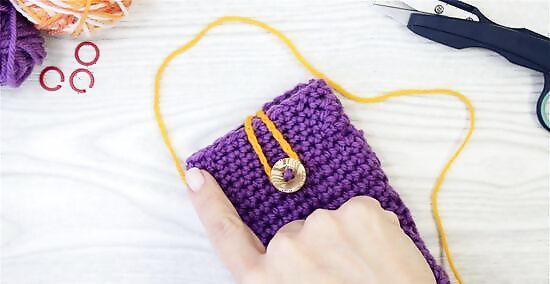
Decide what type of handle you want to add. To make it easier to carry your crocheted cell phone case, you may want to make a handle. However, keep in mind that this is optional. You can make a short length handle to carry your cell phone like a clutch, or you can add a long chain handle to carry your cell phone like a purse.
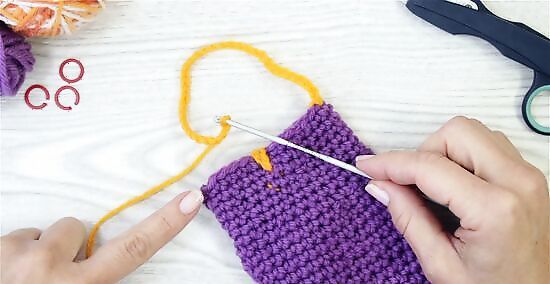
Make a chain long enough for your handle. Tie a piece of yarn to the case where you want one end of the handle to begin. Then, begin to crochet a chain. Make the chain as long as you want it to be.
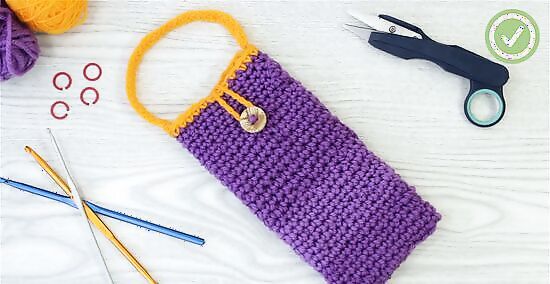
Tie off the chain at the end. When your handle is the desired length, cut the free end a few inches away from the hook. Then, pull the end through your last loop to secure the end of the chain. Then, tie this end to the case where you want the other end to be. This will complete a simple chain handle. If desired, you can single crochet along the chain one or more times to make a thicker handle.


Comments
0 comment