
- To make an herbal tincture using the folk method, combine dried, powdered, or fresh chopped herbs in a jar with 80 proof alcohol and let it steep for 1 to 4 weeks.
- After the tincture has steeped, strain it using a sieve and a piece of muslin. Keep your tincture stored in a dark, cool place for up to 5 years.
- Make a tincture in about 24 hours using the percolation method: combine herbs with 80 proof alcohol in a percolation cone and let it steep overnight, then drain the percolator.
How to Make a Tincture Using the Folk Method

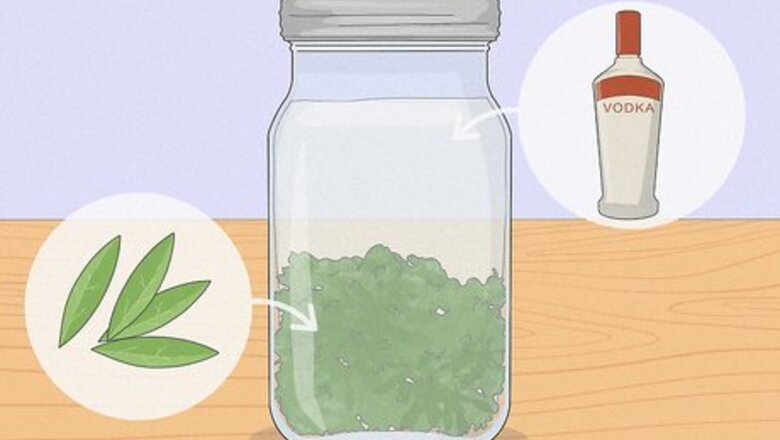
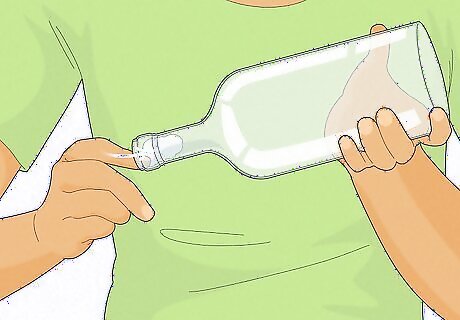
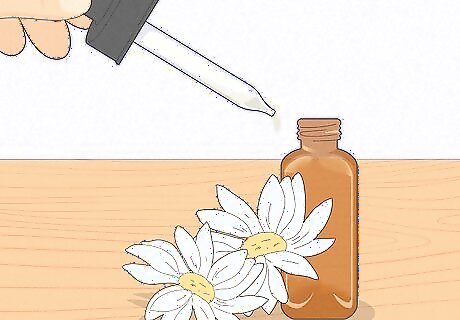
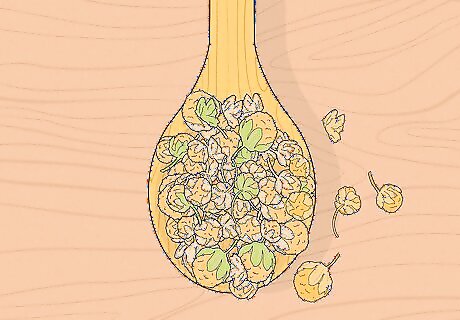
Fill a glass jar halfway with herbs and fill the rest with 80 proof alcohol. Whether your herbs are dried, fresh, or powdered, add them to a clean glass jar about halfway. Purchase 80 proof alcohol (40% alcohol) and fill the jar up to the top with the alcohol. Vodka is the recommended choice of alcohol, since it’s colorless, odorless, and generally tasteless. If you don’t want to use alcohol, try making a tincture from quality apple cider vinegar or glycerin. Avoid using metallic or plastic containers because these can react with the tincture or leach dangerous chemicals over time. Items such as a Mason jar, a glass bottle with an attached stopper, etc., are ideal for steeping a tincture.
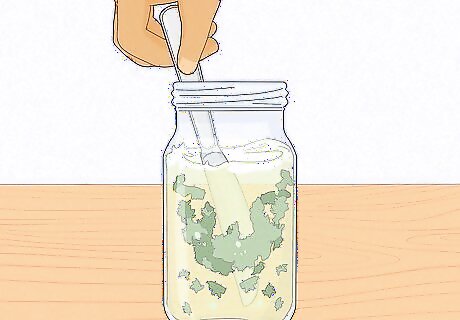
Stir the mixture with a butter knife to remove air bubbles. The herbs may cause air bubbles to form in the alcohol. Using a butter knife, stir around the edge of the glass container to ensure that any air bubbles are broken.
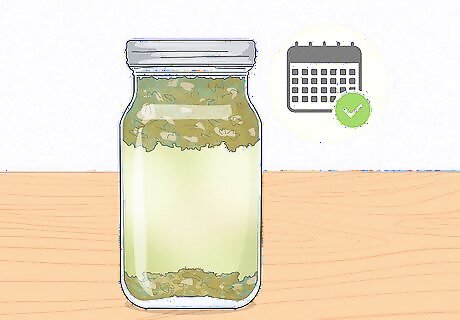
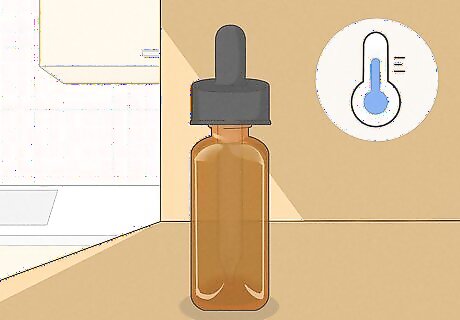
Seal the container and store it in a cool, dark area for 1-4 weeks. A cupboard shelf works best. Store the container there for one week to a month to let the tincture macerate, or steep. Be sure to label the steeping tincture so that you know what it is and the date on which it was made. Keep it out of the reach of children and pets.
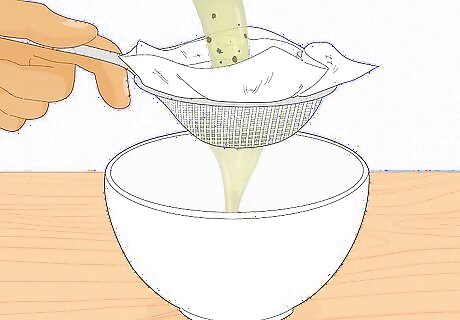
Use a sieve and a muslin cloth to strain the tincture. Once the steeping time is finished, strain the tincture by placing a muslin cloth across a sieve and putting a large bowl underneath the sieve. Gently pour the steeped tincture through the muslin-lined sieve. The muslin will capture the plant material and let the liquid pass through into the bowl underneath. Press the herb material with a wooden or bamboo spoon to squeeze out some more liquid, and lastly, twist the muslin to extract any leftover liquid from the herbs. A coffee filter or cheesecloth can be used in place of the muslin cloth.
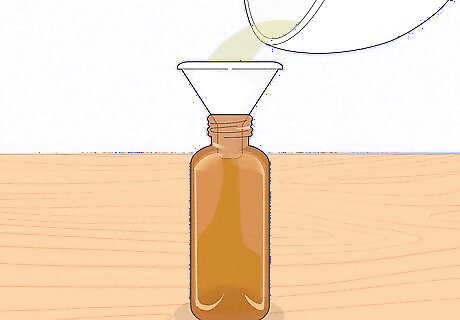
Decant the liquid into a prepared tincture bottle. Use a small funnel for this step if you don't have a steady hand. Tighten the lid and date and label the tincture. If you're storing this long-term without using until later, consider sealing the caps with wax.
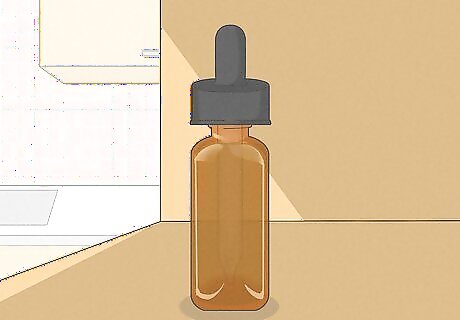
Store your tincture in a dark place for up to 5 years. A cupboard or cellar is an ideal spot. A tincture can have a shelf life of up to 5 years owing to the fact that alcohol is a preservative. Different herbs may have a shorter shelf life, so be sure you know what ingredients you’re using in your tincture prior to storing. Bear in mind that herbal treatments can be dangerous if you don't know the properties of the herb and its consequences.
How to Make a Tincture Using the Percolation Method
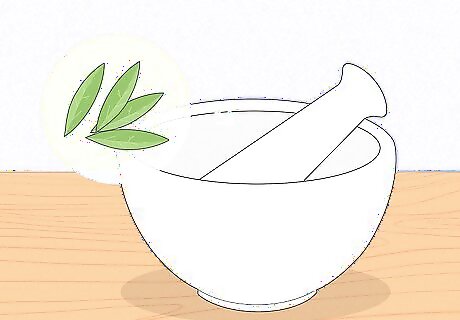
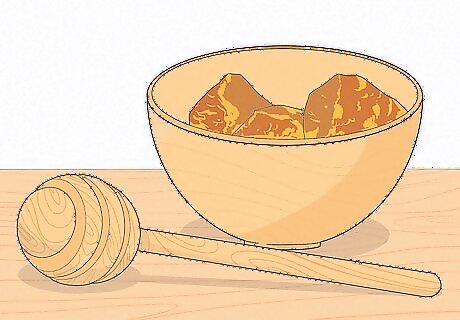
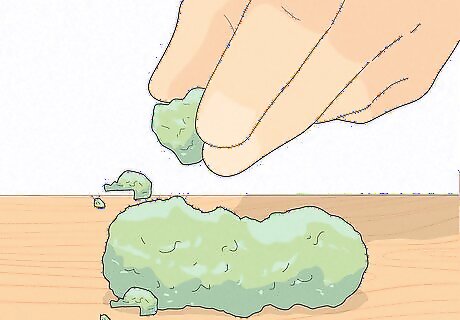
Grind 40 grams (1.4 oz) of dried herbs into a fine powder. Use a mortar and pestle, or grind your herbs in your coffee grinder (just be sure there’s no coffee residue in it). Avoid overgrinding the herb: you want it to compact and cake if you press it between your fingers, but you don’t want it to be dense. If it compacts too densely, you’ve overground it; if it’s too crumbly, it’s not ground enough. The percolation method is more involved and requires specific equipment that the folk method (or maceration method) doesn’t, but it takes much less time to complete—only about 24-48 hours. If you’re using a coffee grinder to grind your herbs, pulse your grinder 2 or 3 times for a second or so each time; this will likely be enough to ensure your herbs are ground to the right consistency.
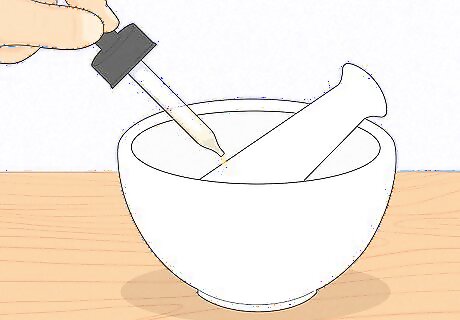
Moisten the ground herbs with alcohol and let it sit for an hour. Place the ground herbs in a bowl and use a dropper to add 10–25 millilitres (0.34–0.85 fl oz) of 40 proof alcohol to the herbs. Mix the herbs with a spoon until it’s the texture of damp sand. Then cover the bowl with a lid or plastic wrap and allow it to sit for an hour. Vodka is the recommended alcohol to use: it’s colorless and scentless and near flavorless. If you don’t wish to use alcohol, you may use apple cider vinegar or glycerin.
Add a cotton ball to the bottom of a 50 millilitres (1.7 fl oz) percolation cone to seal it. While your moistened herbs are sitting, set up your 50 millilitres (1.7 fl oz) percolator and position a jar or bottle beneath the percolator’s funnel or neck. Add a clean, dry cotton ball to the percolator so that it’s sitting directly over top of the funnel. Use a small cup or a dropper to dampen the cotton ball with just a few mL of alcohol so that it will seal to the bottom of the percolator, over the funnel. Use a stirrer or the handle of a long spoon to gently tamp the cotton down inside the percolator. You can buy a lab funnel to make your tincture, or you can create your own by cutting the base off of an empty wine bottle.
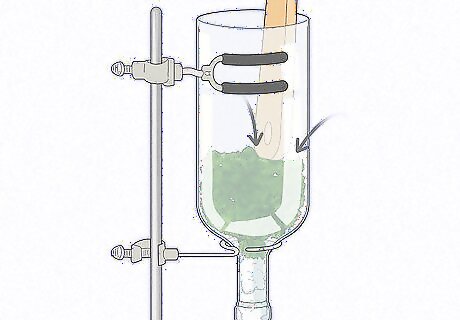
Add your herbs to the percolator and use a stirrer to tamp them down. Gently shovel all of your herbs out of the bowl and into the percolator. Go slowly, and tamp the herbs as you go using your stirrer or the end of a wooden spoon. Pack the herbs down into the percolator, but be sure not to pack them so densely that the alcohol can’t flow through.

Pour 200 millilitres (6.8 fl oz) of alcohol into the percolator and close the valve. Slowly add your alcohol to the percolator and watch as it drenches the herbs as well as the cotton plug. Once the alcohol has drenched the herbs, tighten the valve so that none of the alcohol drips into your bottle or jar. The alcohol will take more or less time to dampen your herbs depending on what herbs you’re using and how packed they are. Be sure to leave the valve open as you pour the alcohol in. If the valve is closed, the air coming in from the top of the percolator may cause rivulets to form through the herbs as they soak; an opening in both the top and bottom ensures the herbs will be soaked evenly and form no rivulets.
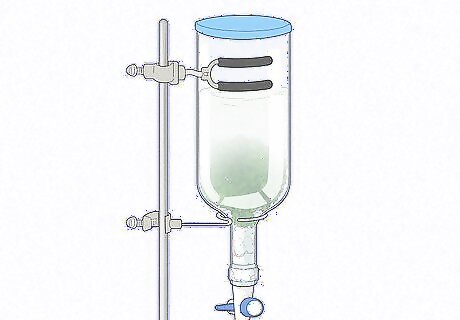
Seal the top of the percolator and let the tincture sit for 24 hours. Set a lid or other covering over top of the percolator and leave the tincture alone for a full day. During this time, the herbs will steep in the alcohol to form the tincture.
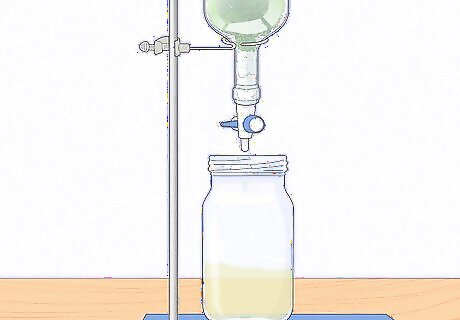
Open the valve so that the tincture drips once every 2-3 seconds. Once your tincture has sat and steeped for 24 hours, open the valve on the percolator to let the alcohol drip. Open the valve so that it drips about once every 2 or 3 seconds into your jar or bottle. Let it drip until there’s no more alcohol coming out—this may take a few hours. Go slow opening your valve, and adjust it until you get to the speed you’re looking for.
Keep your tincture in a dark, cool place for up to 5 years. Depending on the herbs you’ve used, your tincture may expire sooner, but most tinctures will be good for up to about 5 years as long as they’re sealed and kept in a cool, dark place. Consider keeping your tincture in a basement or cupboard. Be sure to label your tincture with the ingredients and the date so you know when it was made and what’s inside.
Why use tinctures?
Tinctures are a simple way to get all of a plant’s healing benefits. Different herbs carry different natural healing properties, and a tincture is an easy and effective means of reaping all of an herb’s benefits. Tinctures are simple to make, and they’re also simple to take: they can be administered straight from the dropper, or you can add them to a cup of tea or sparkling water, if the taste of the tincture is too bitter to ingest on its own. Just make sure to consult a qualified doctor before taking any herbs you’re unfamiliar with. Not every herb is safe to ingest, and the amount you’ll need of a tincture depends on the type of herb and what you’re using it for. Also keep in mind that while certain herbs have been known to treat certain conditions, the same herbs may carry unwanted side effects.
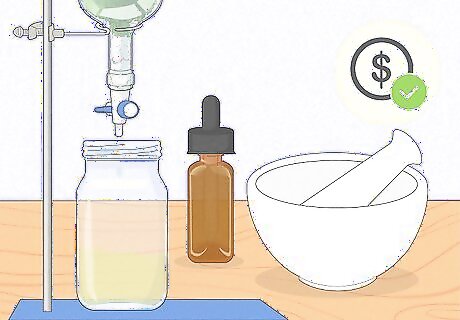
They’re easy (and often cheap) to make. Unless you’re using rare, expensive herbs to make your tinctures, they’re usually pretty simple and inexpensive to make, making them a more accessible form of care than traditional medicine. In fact, studies indicate around 80% of the world’s population rely on tinctures for some aspect of their healthcare. Tinctures also tend to have a long shelf life. As long as they're securely sealed and stored in a dark, cool space, they may last up to 5 years. Tinctures are often for wellness, but they may also be used to flavor teas and cocktails.
What herbs should I put in my tincture?
Consider propolis for allergies or skin conditions. Some studies suggest a tincture made with propolis—a substance produced by bees—may be beneficial for people with skin disorders or allergies. It may also help to heal acne. Benzoin may also help certain skin disorders, but it’s not safe to ingest benzoin. Instead, add a few drops of a benzoin tincture to a rash or wound.
Use chamomile for anxiety and to reduce inflammation. You may have noticed chamomile tea makes you drowsy, but studies also show chamomile is effective at alleviating anxiety and depression and reducing inflammation. Make a tincture with chamomile to promote calm and comfort.
Try cannabis for pain, nausea, anxiety, and seizures. Cannabis has been proven to help treat pain, seizures, and nausea, as well as to help alleviate anxiety. Just be careful making a cannabis tincture: it’s not legal everywhere, and the FDA has only approved 3 cannabis components for medical purposes—dronabinol, nabilone, and cannabidiol (a.k.a. CBD).
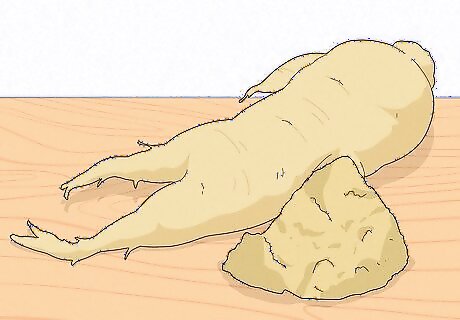
Use turmeric to treat inflammation. Curcurmin, an anti-inflammatory and antioxidant compound, can be found in the herb turmeric. Studies indicate tinctures made from turmeric may help alleviate joint pain.
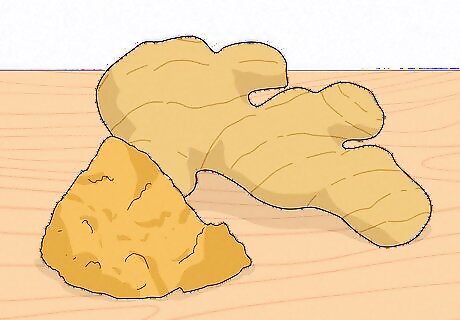
Add ginger to treat nausea and motion sickness. If you’re pregnant or just feeling a little seasick, a ginger tincture could help you out. Ginger has been proven to alleviate nausea in pregnant women, and plenty of people swear by its efficacy at reducing motion sickness.
Try echinacea for an immunity-boosting tincture. Echinacea has been suggested to be beneficial at raising your immune system. Add it to a tincture for potential health benefits—but know that evidence supporting echinacea’s efficacy is scant.


Comments
0 comment