views
Creating a To-Do List
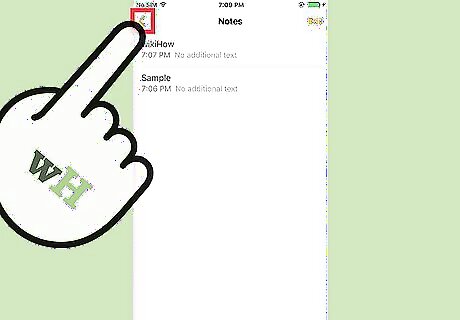
Upgrade your Notes app. You'll need to be running iOS 9 or later in order to create a checklist in Notes. Once you've updated to the latest version of iOS, open the Notes app and tap "<" to view the folder list. Tap "Upgrade" in the corner and select "Upgrade Now." This will give you access to all of the latest features, including checklists.
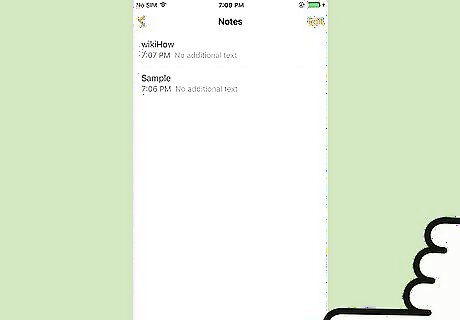
Tap the "New Note" button in the Notes app. This button is in the lower-right corner on the note list screen. You can also add a to-do list to an existing note if you'd like, the process is the same.
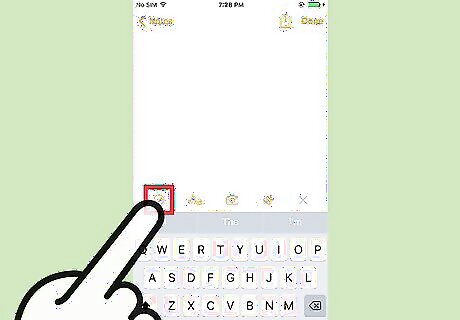
Tap the "✓" button. You'll find this at the bottom of the screen if the keyboard isn't open. If the keyboard is open, you'll need to tap the "+" button above the keyboard on the right side first. You can lower the keyboard by tapping "Done." You can also select existing text and then tap the "✓" button. Each new line will be turned into a checklist entry, making it easy to convert an old list into a checklist.
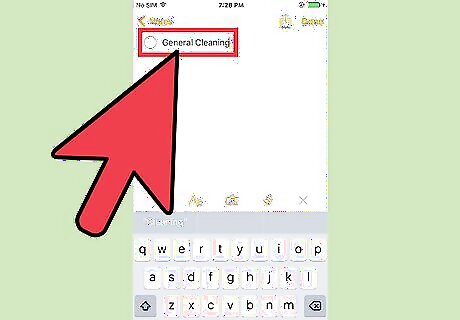
Enter the first item on your to-do list. After tapping "✓" an empty circle will appear on the current line. Type the task you need to complete onto the line.
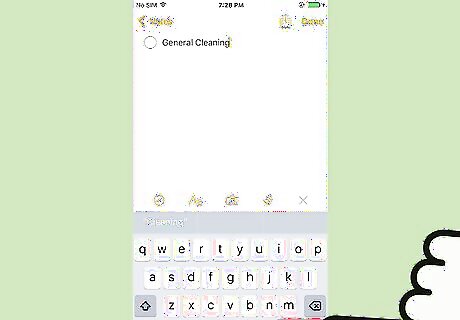
Tap "Return" on your keyboard to create a new entry. Each time you move to the next line, a new blank circle item will be added.
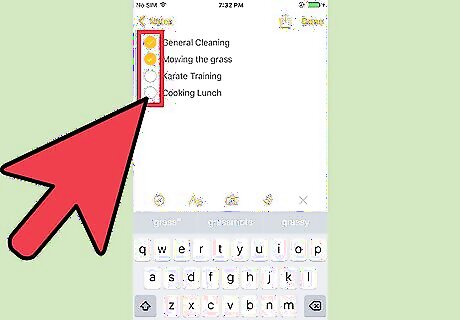
Tap an empty circle to check the item off your list. The circle will fill with a checkmark, indicating that you've completed the task.
Using Your To-Do List Effectively
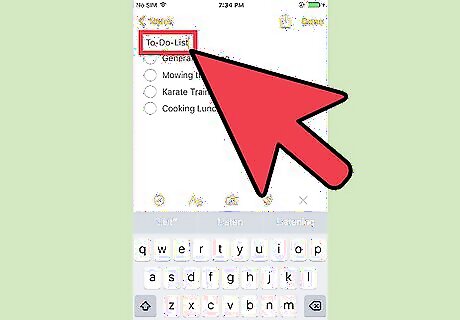
Make the first line your list title. The Notes app will automatically turn the first line of the note into the note's title. Make the first line "To-Do List" or something similar so that your list is easy to identify.
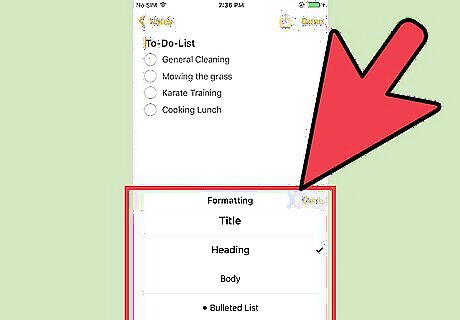
Break your list into sections. Your entire note doesn't need to be a checklist, so you can use regular text to break your list into categories. This can help make your list a little more manageable, and make tasks easier to find. To turn off the checklist function, just tap the "✓" button again. The current line will be turned back into regular text. You can start up a new checklist by tapping "✓" again. You can create headers and other emphasized text by tapping the "Aa" button above the keyboard. This is great for titling sections of the list. You can insert pictures and sketches between your checklists. you can use an image as the "title" of your list, with all of the tasks related to the image (For example, take a picture of your room and then create a checklist for cleaning it).
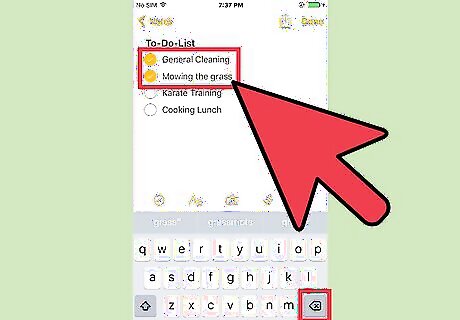
Regularly delete finished tasks. If you're adding items to your list on a regular basis, you'll want to clean out some of the old finished tasks to keep your list easy to read. Checking an item off does not remove it from the list, so you'll need to go back and do this manually every once in a while.
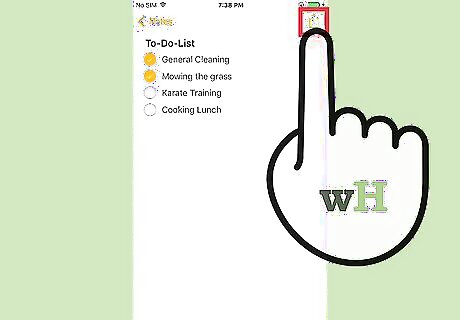
Share your list with others. You can share your to-do list with other people, which is useful if you're delegating tasks or getting help from friends. Tap the "Share" button in the upper-right corner when your list is open. Select the method you want to share the list. The list contents will be copied to a new message using the selected app. Send the message. This will not actually send the note, but the copied text instead, so it will lose the ability to tap the circles to check them off.




Comments
0 comment